Jewel Box
by Alejandro Tombolini
Introduction
Complete description of a RGB image - Main notes: Use of HDRComposition tool for reparation of saturated stars and Morphological Tansformation to correct stars profile. Date: August 2015.
Image Data
- Object: NGC 4755 - Jewel Box
- Camera: Canon 5DIII - Filter Type I
- Telescope: William Optics 132 FLT - Focal Lenght 925 mm - f/7
- Images: 27 x 300 seconds - 13 x 30 seconds - 10 x 5 seconds - 1 x 0.3 seconds @ ISO 1600
- Total Time: 2 hs 22 minutes
- Processing Software: PixInsight
- Comments: From Trenel - La Pampa - Argentina
- Author: Alejandro Tombolini
Processing
All the different exposure times images must be registered to the same reference image. The easy way is to use BatchPreprocessing script to calibrate and align them.
I previously inspected all the image with Blink tool and reject some bad ones and choosed one to use as reference image.
In BPP intoduced the SuperBias, MasterDark, the individual flat frames and the lights of 300, 30 and 5 seconds and deactivate the option of integrate images.
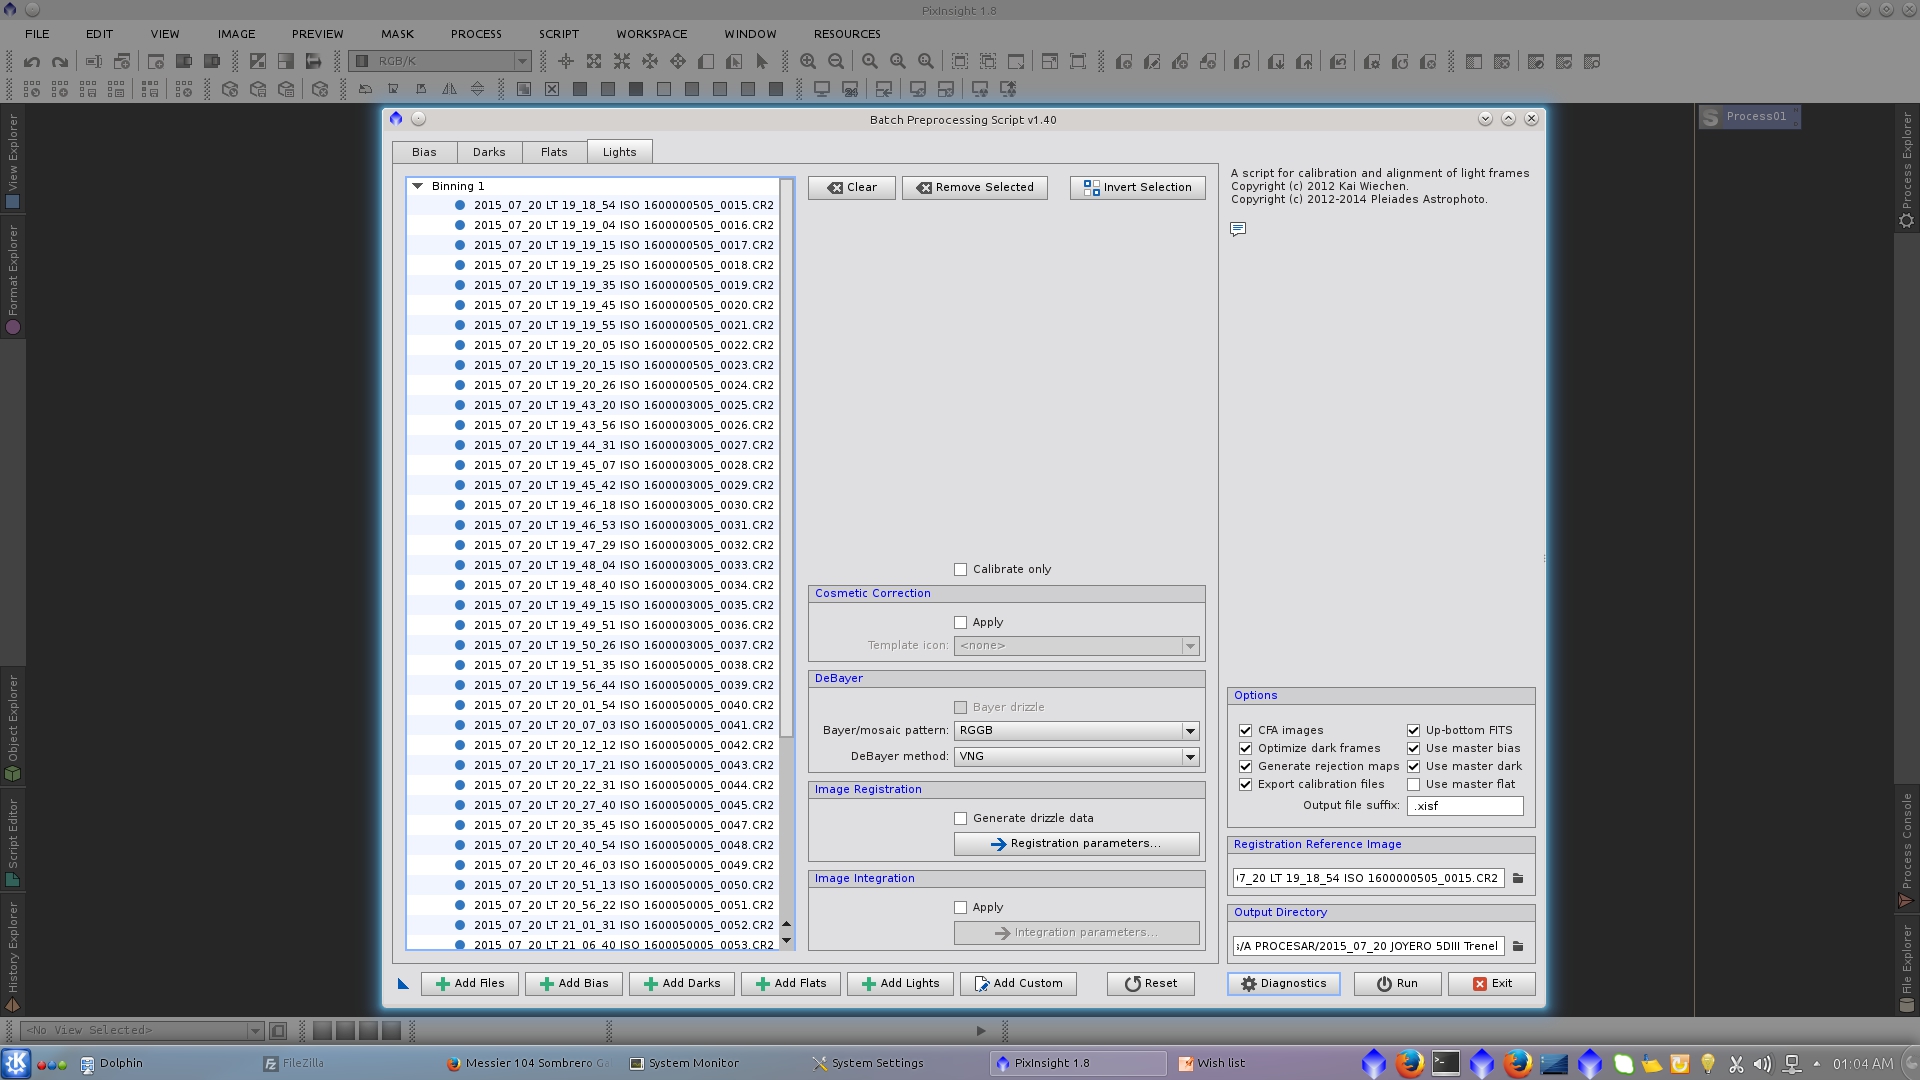
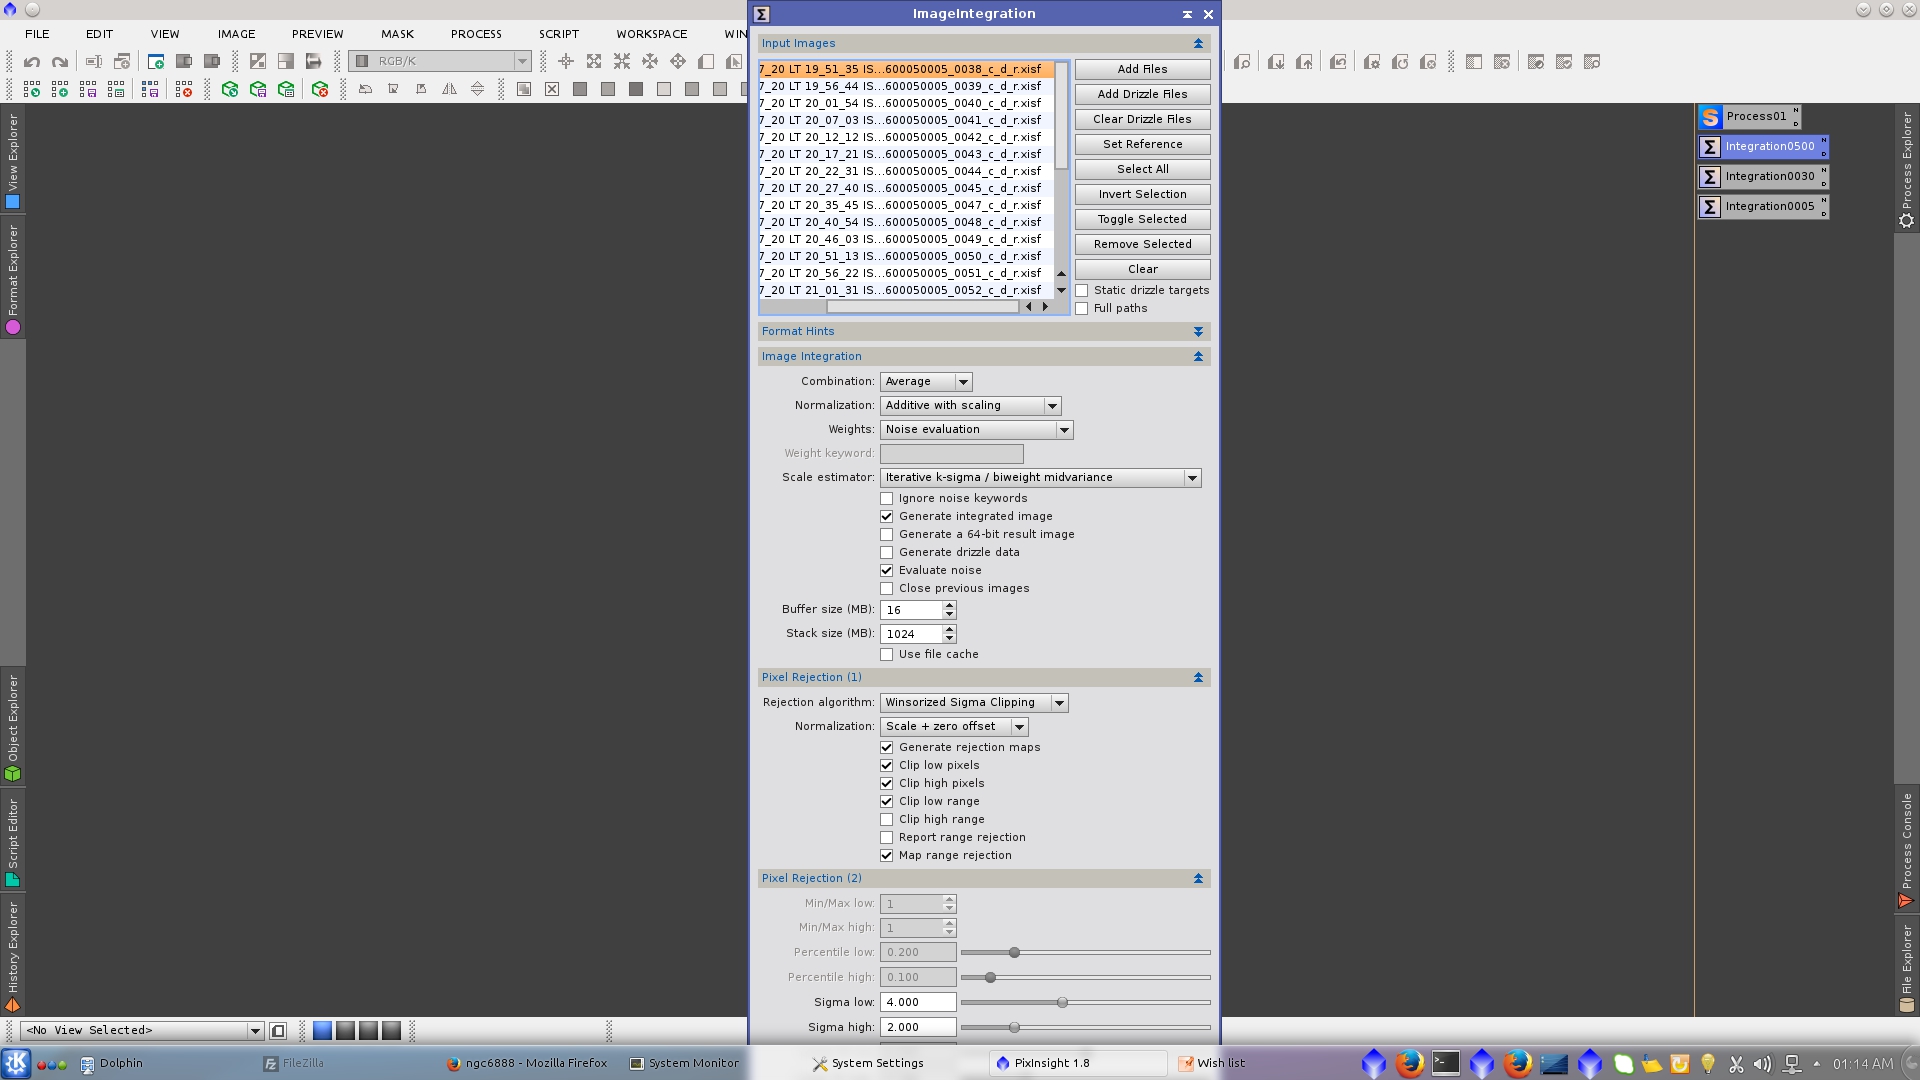
Once you have all your calibrated, debayered and registered images ( _c_d_r ), open ImageIntegration tool for integration of the different groups of images. I use the same parameters on each integration
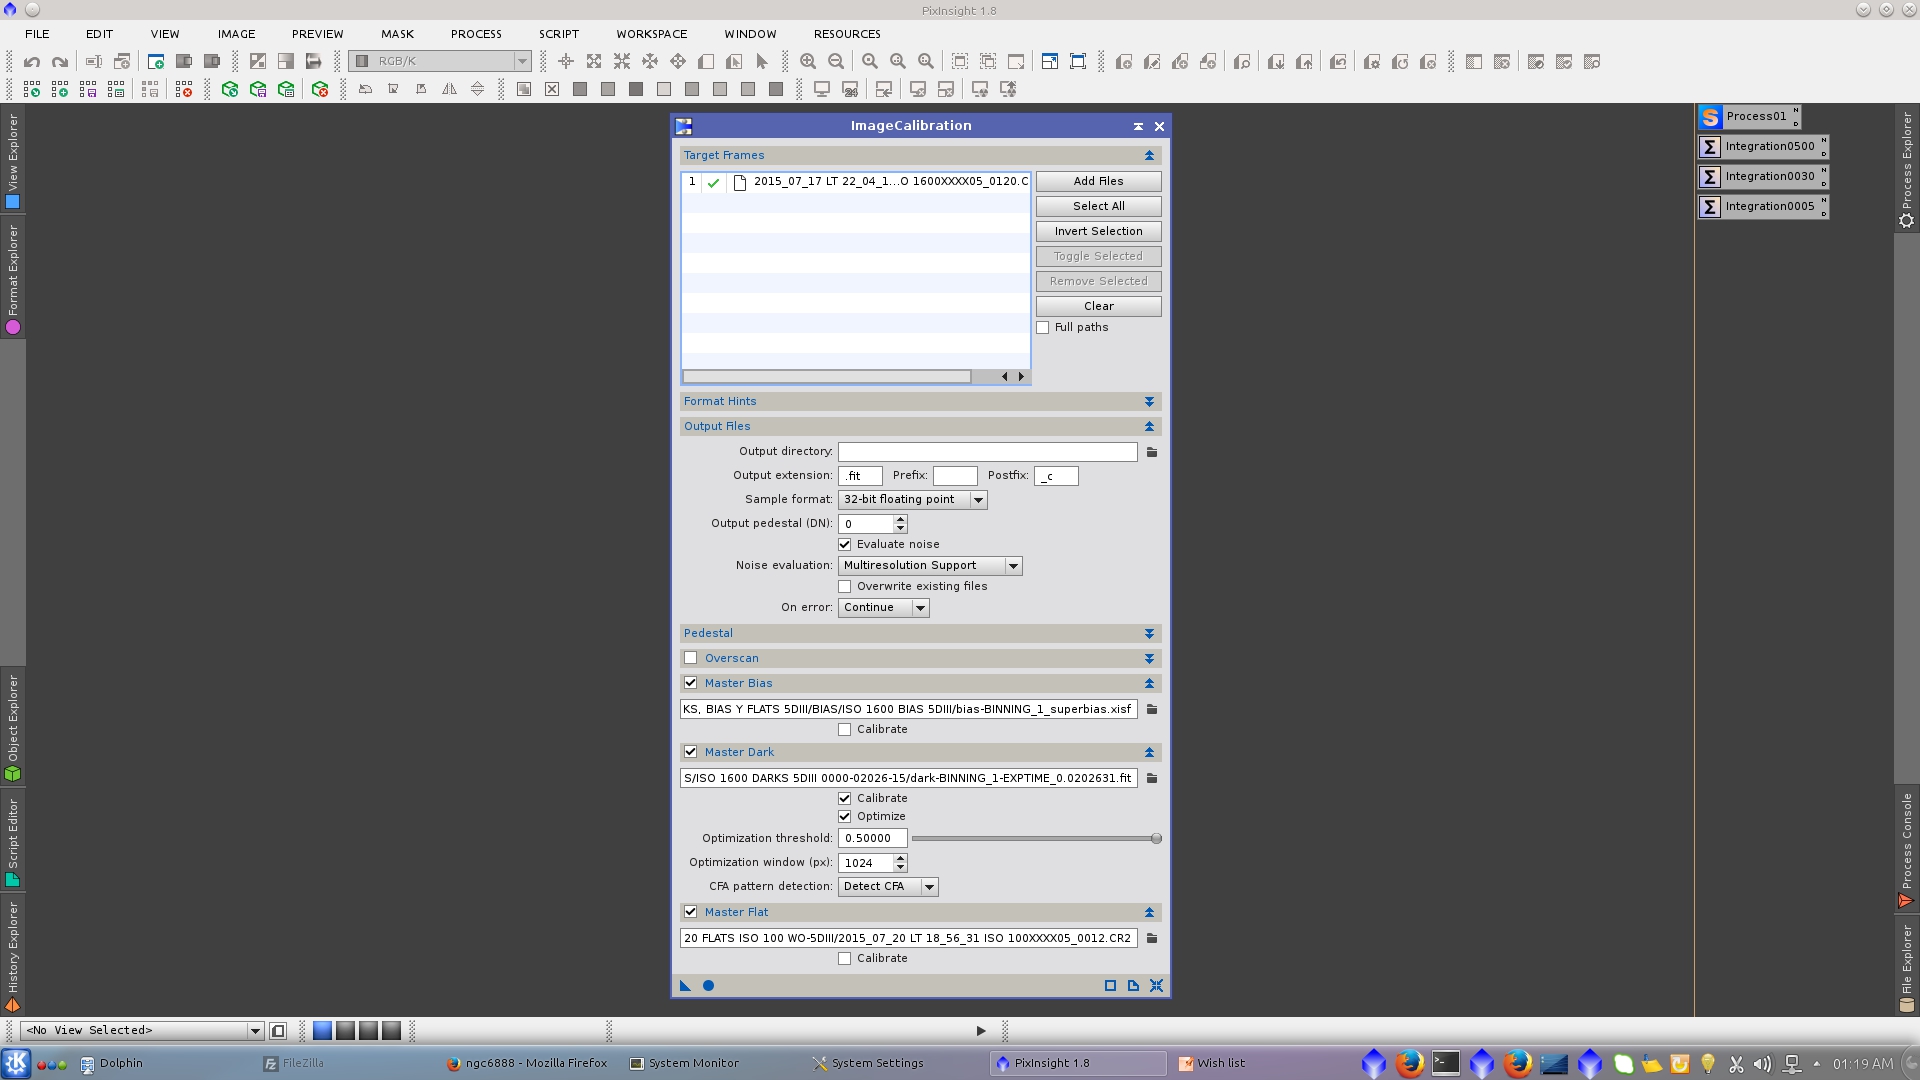
I also had a very short exposure time image that I decided to include as the 5 second image still had a saturated brigth star, so I calibrate the single image using ImageCalibration tool.
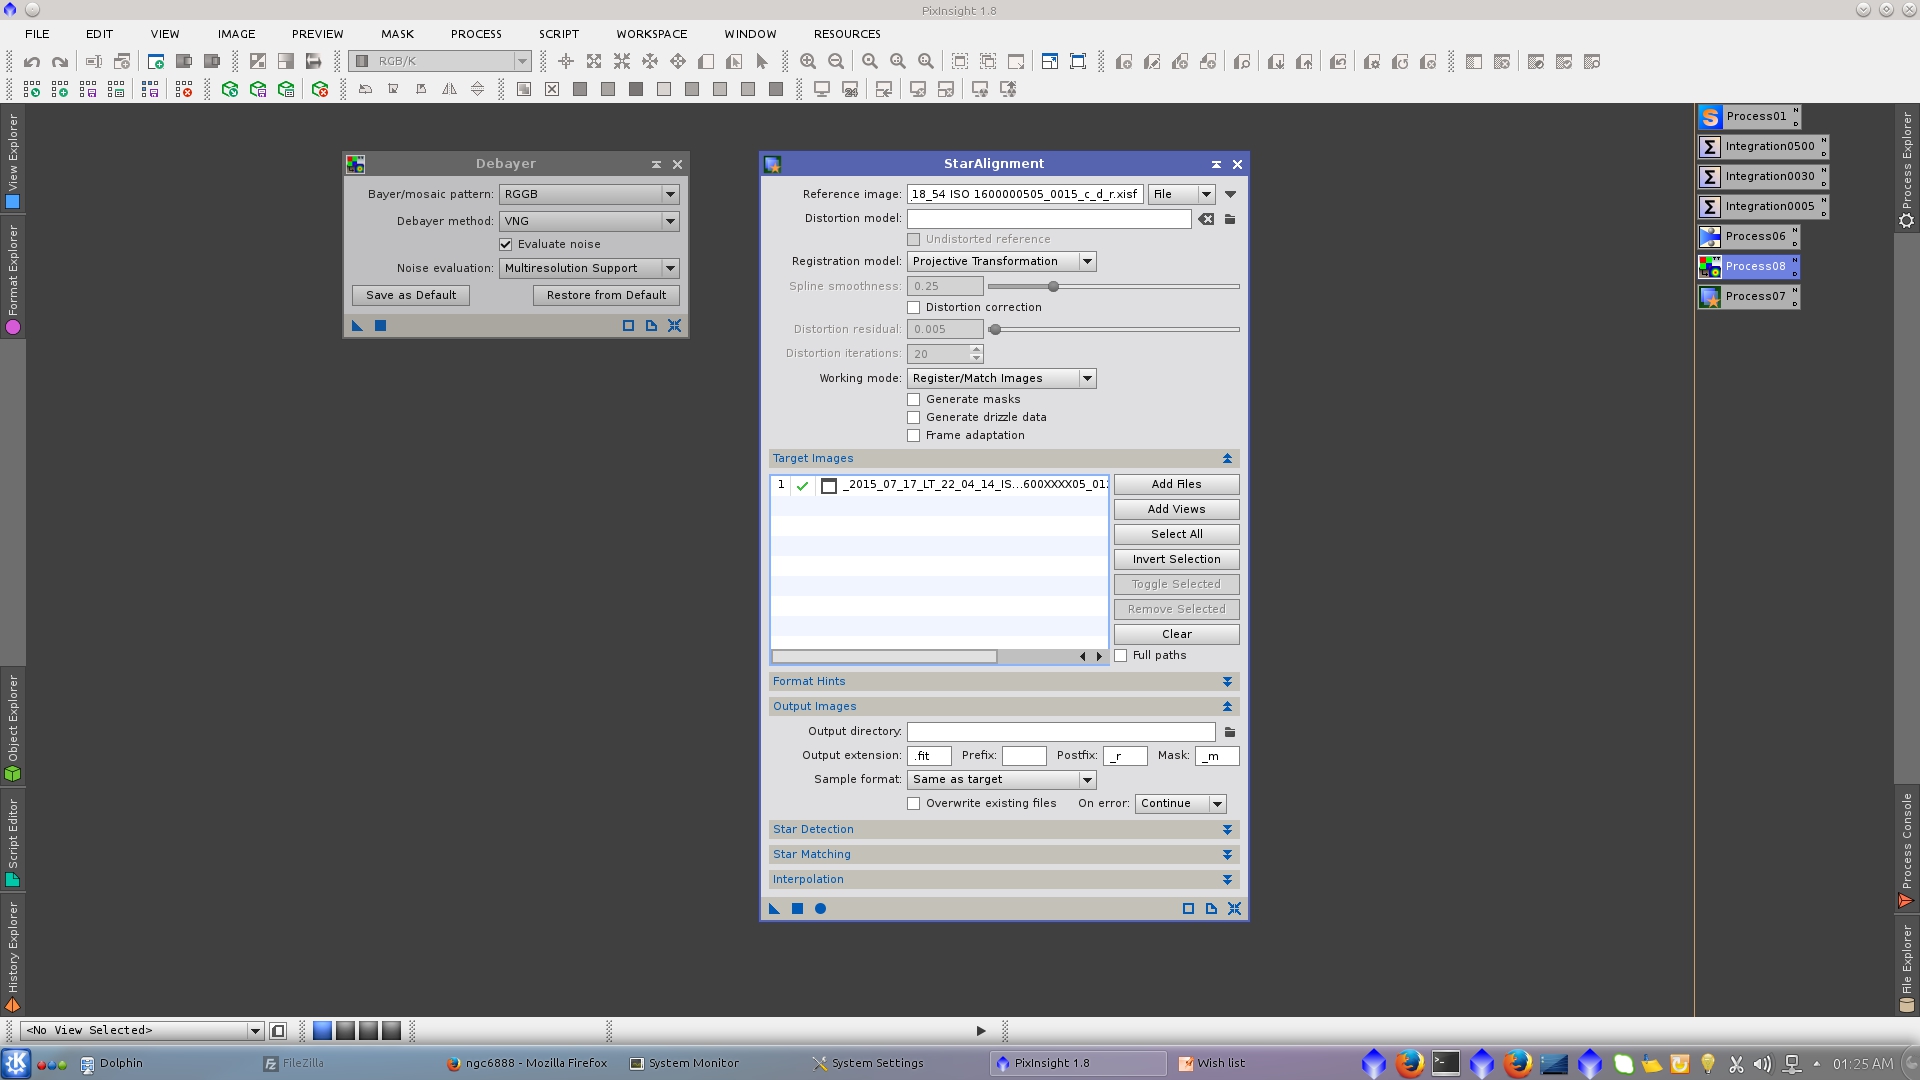
After debayering it with Debayer tool register to the same reference image using StarAlignment tool
Additive gradients, if they are dissimilar across the set of integrated images, will hurt the accuracy of the HDRComposition process. If possible, all additive gradients should be removed prior to HDRComposition. This involves applying the DBE or ABE tool to the linear images. In this example the gradients are similar and I will remove them in the final HDR image.
Now use HDRComposition tool and select the four integrated images with different exposure times. This tool will integrated those images and will generate a 64-bit HDR image. Our goal is to integrate all of those exposures into a high dynamic range image where the satureted areas of an image will be replaced by the unsaturated from the next image ordered in decreasing exposure order.
HDRComposition tool by defautl will shor its imput images automatically by computed relative exposures. If the option is disabled, the list of input images must be sorted by decreasing exposure order. In some cases you may need to disable this option.
The most important paramater to consider is Binarizing threshold. You will need to adjust its value most of the times.
It could also be useful to define a Fitting Region that represent the area where HDRComposition will restrict the scaling of the image. It speed up the process and has the additional advantage that if there are slight flat fielding errors near the edges of the images (which is the case in this example), will improve accuracy of image scaling.
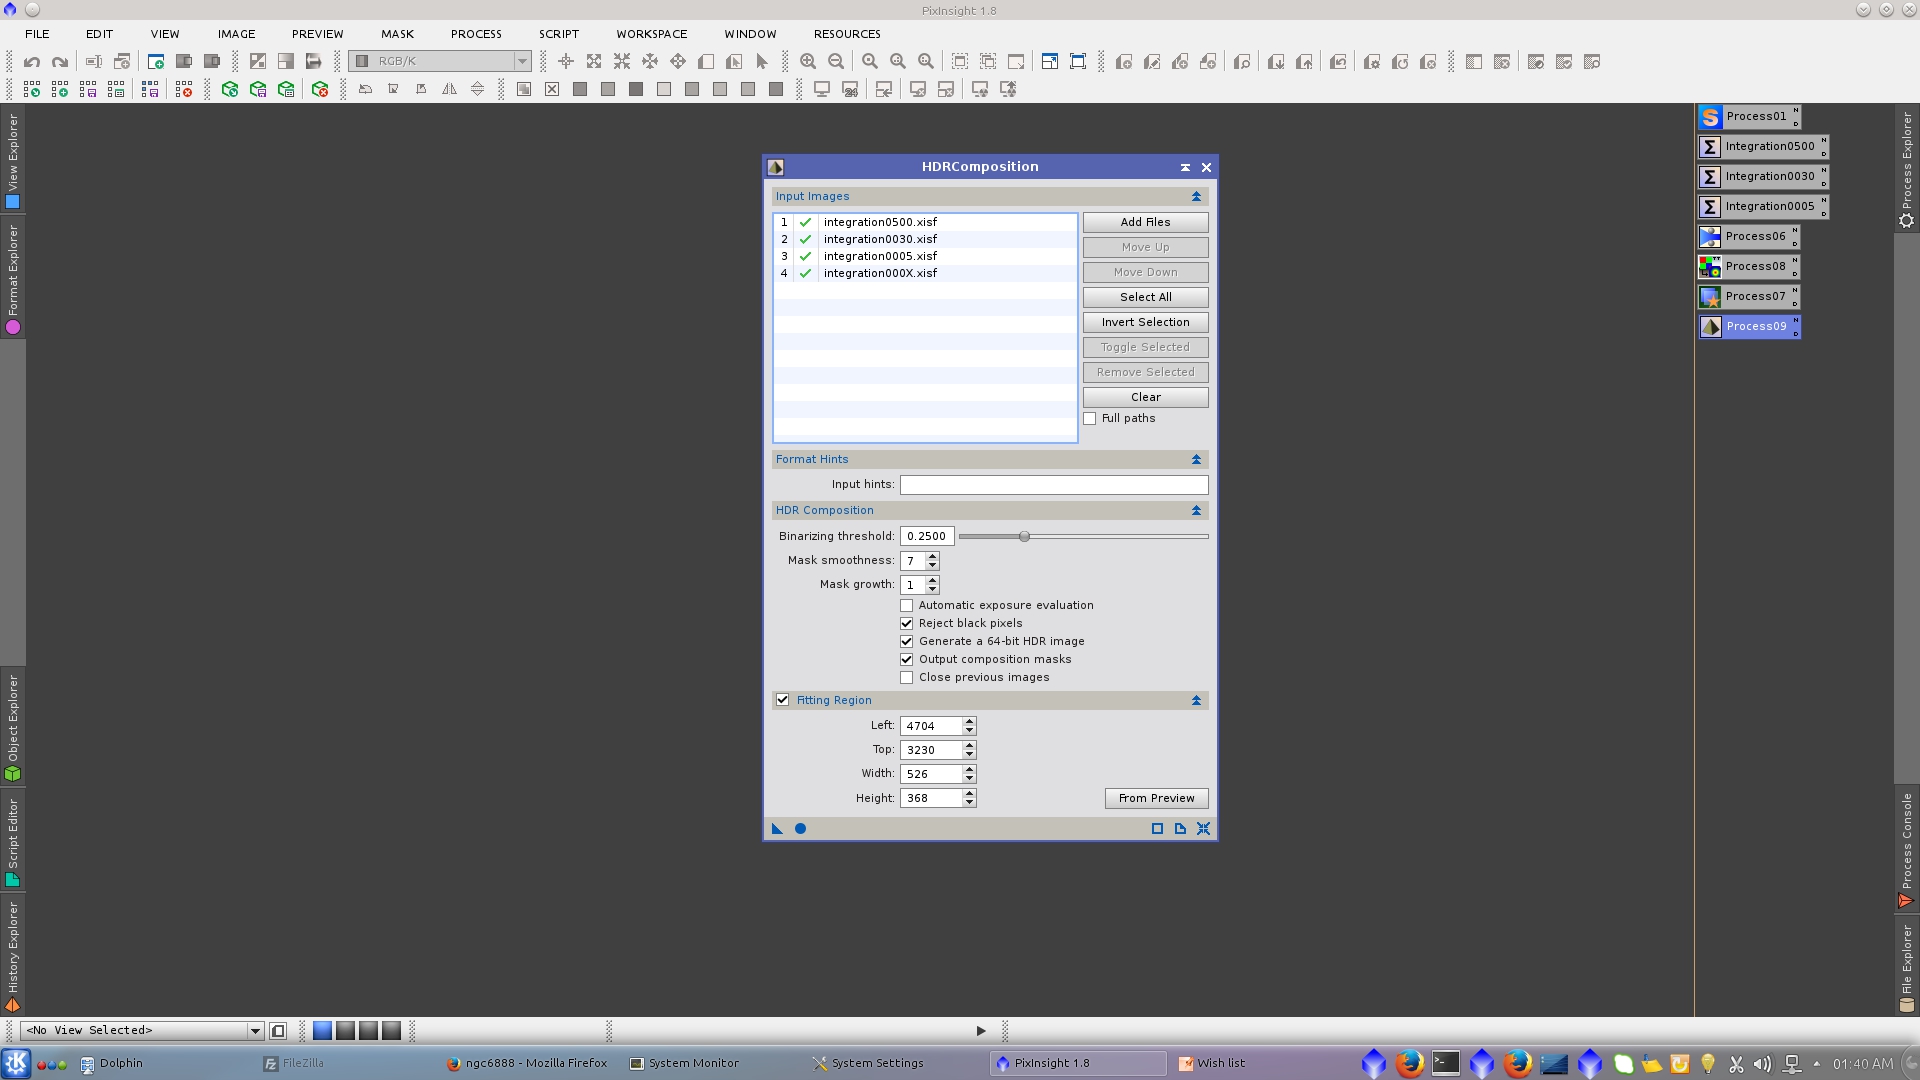
The generated masks that HDRComposition tool uses internally will be the main parameter that you have to evaluete in order to determinate if the actual Binarizing threshold value is correct. If the mask do no represent the saturate area of the corresponding image the value have to be adjusted. Each composition mask is white where the pixels on a long exposure have been replaced with the corresponding pixels from the next exposure in decreasing exposure order.
The warning: "** This HDR composition cannot integrate further images - aborting process." indicates that the process was incomplete and if you have seleted "Output composition mask" you will see that the generated masks are less than the needed. You should have i-1 masks, where i=number of images added to HDRComposition tool. In general it means that you need to decrease the value o Binarizing threshold.
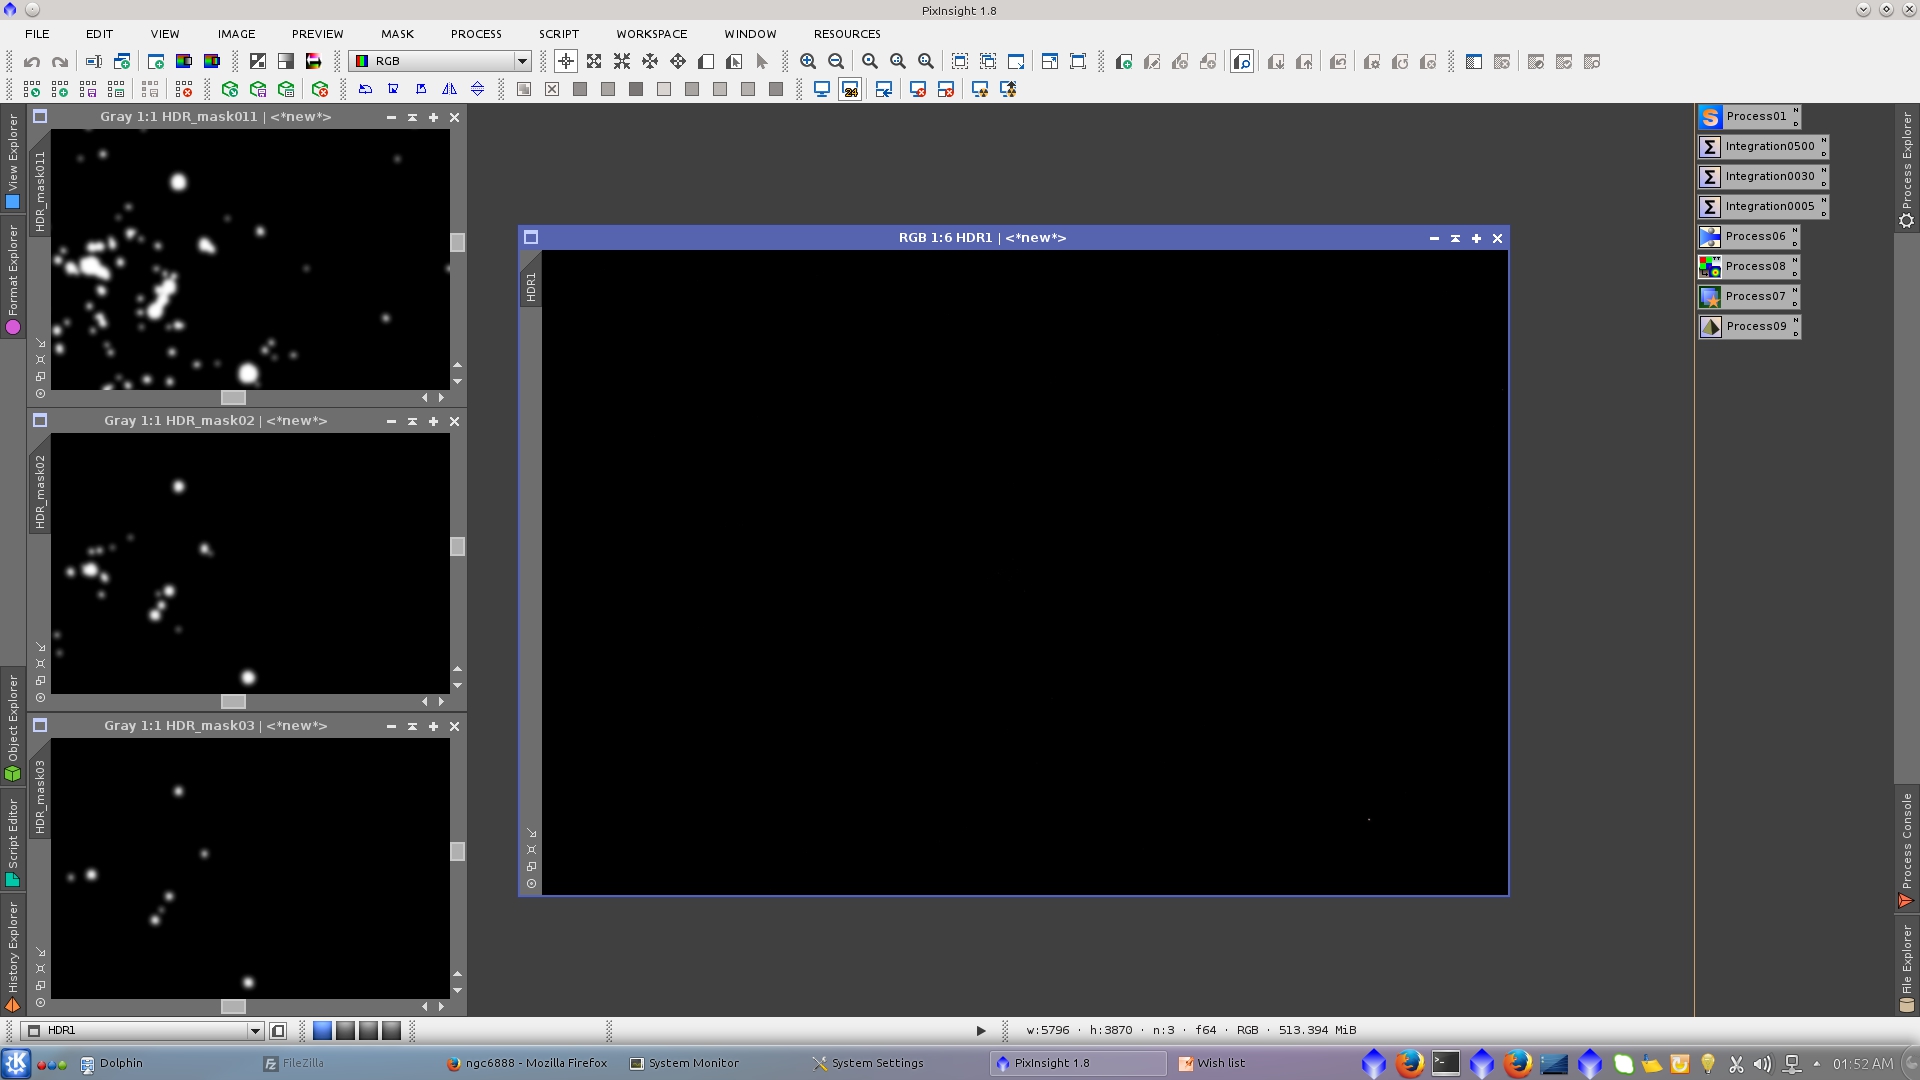
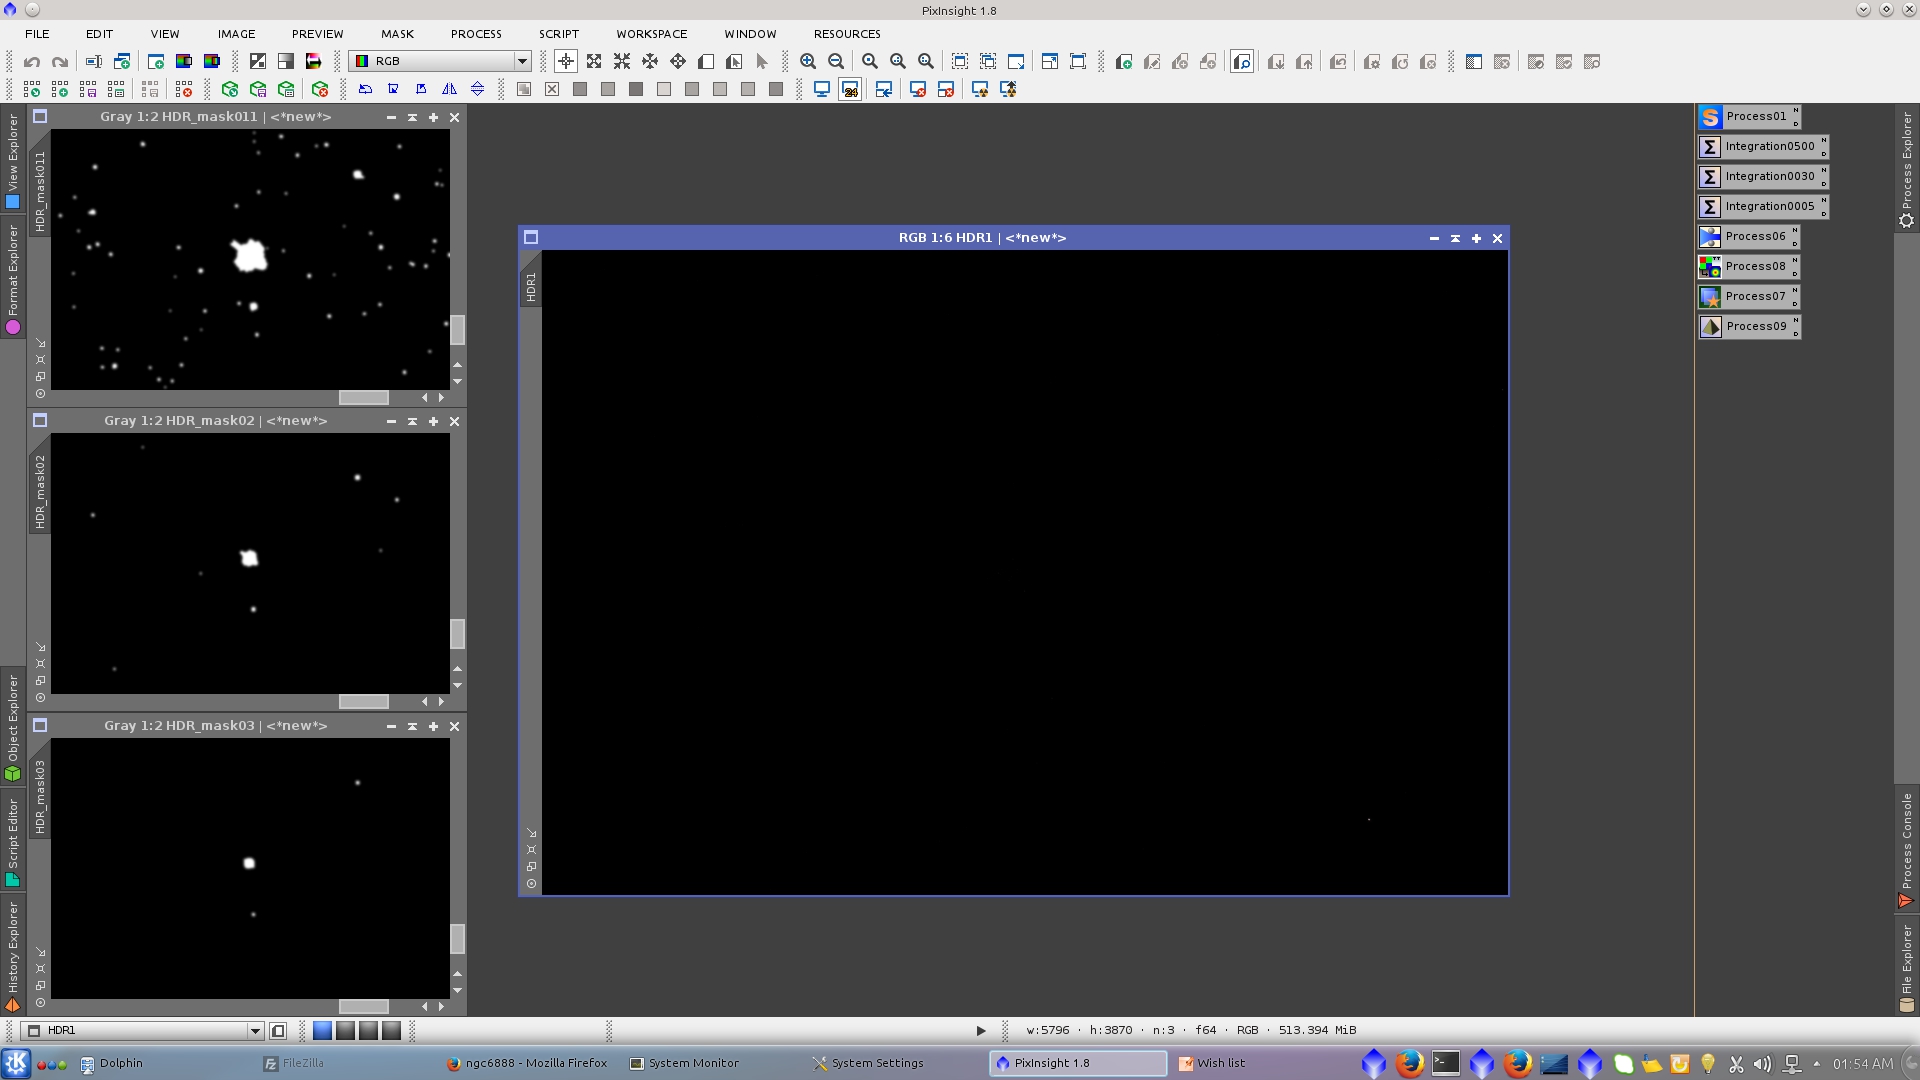
Some of the generated mask could be useful in further processing, in this case I will use the first one. So you may want preserve them.
The resulting HDR image is extremely dark, as expected. It is a linear image with a huge dynamic range stored in 64-bit floating point format. The generated 64-bit image in general will look posterized. Visualize it correctly with 24 bit option in STF tool bar.
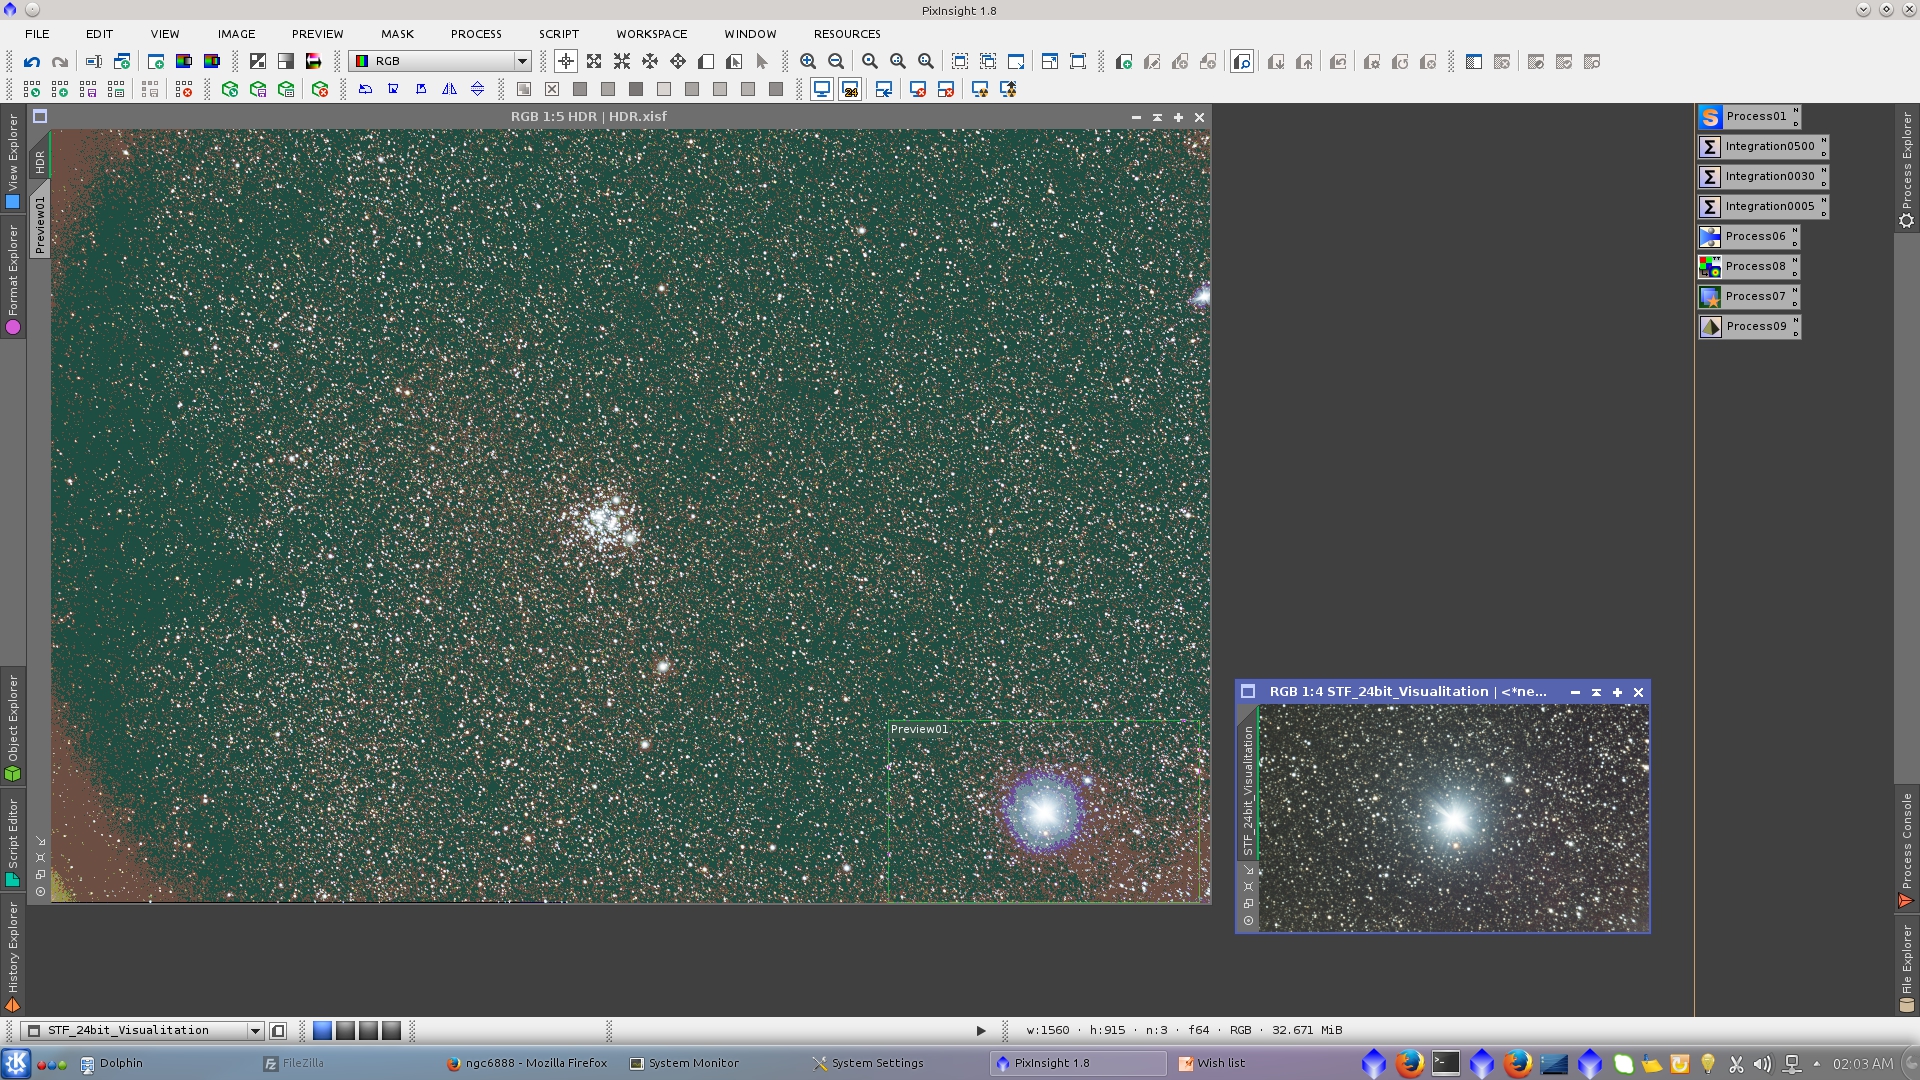
The HDR image is now ready to start the linear postprocesing. First use DynamicBackgrounExtaction to correct gradients.

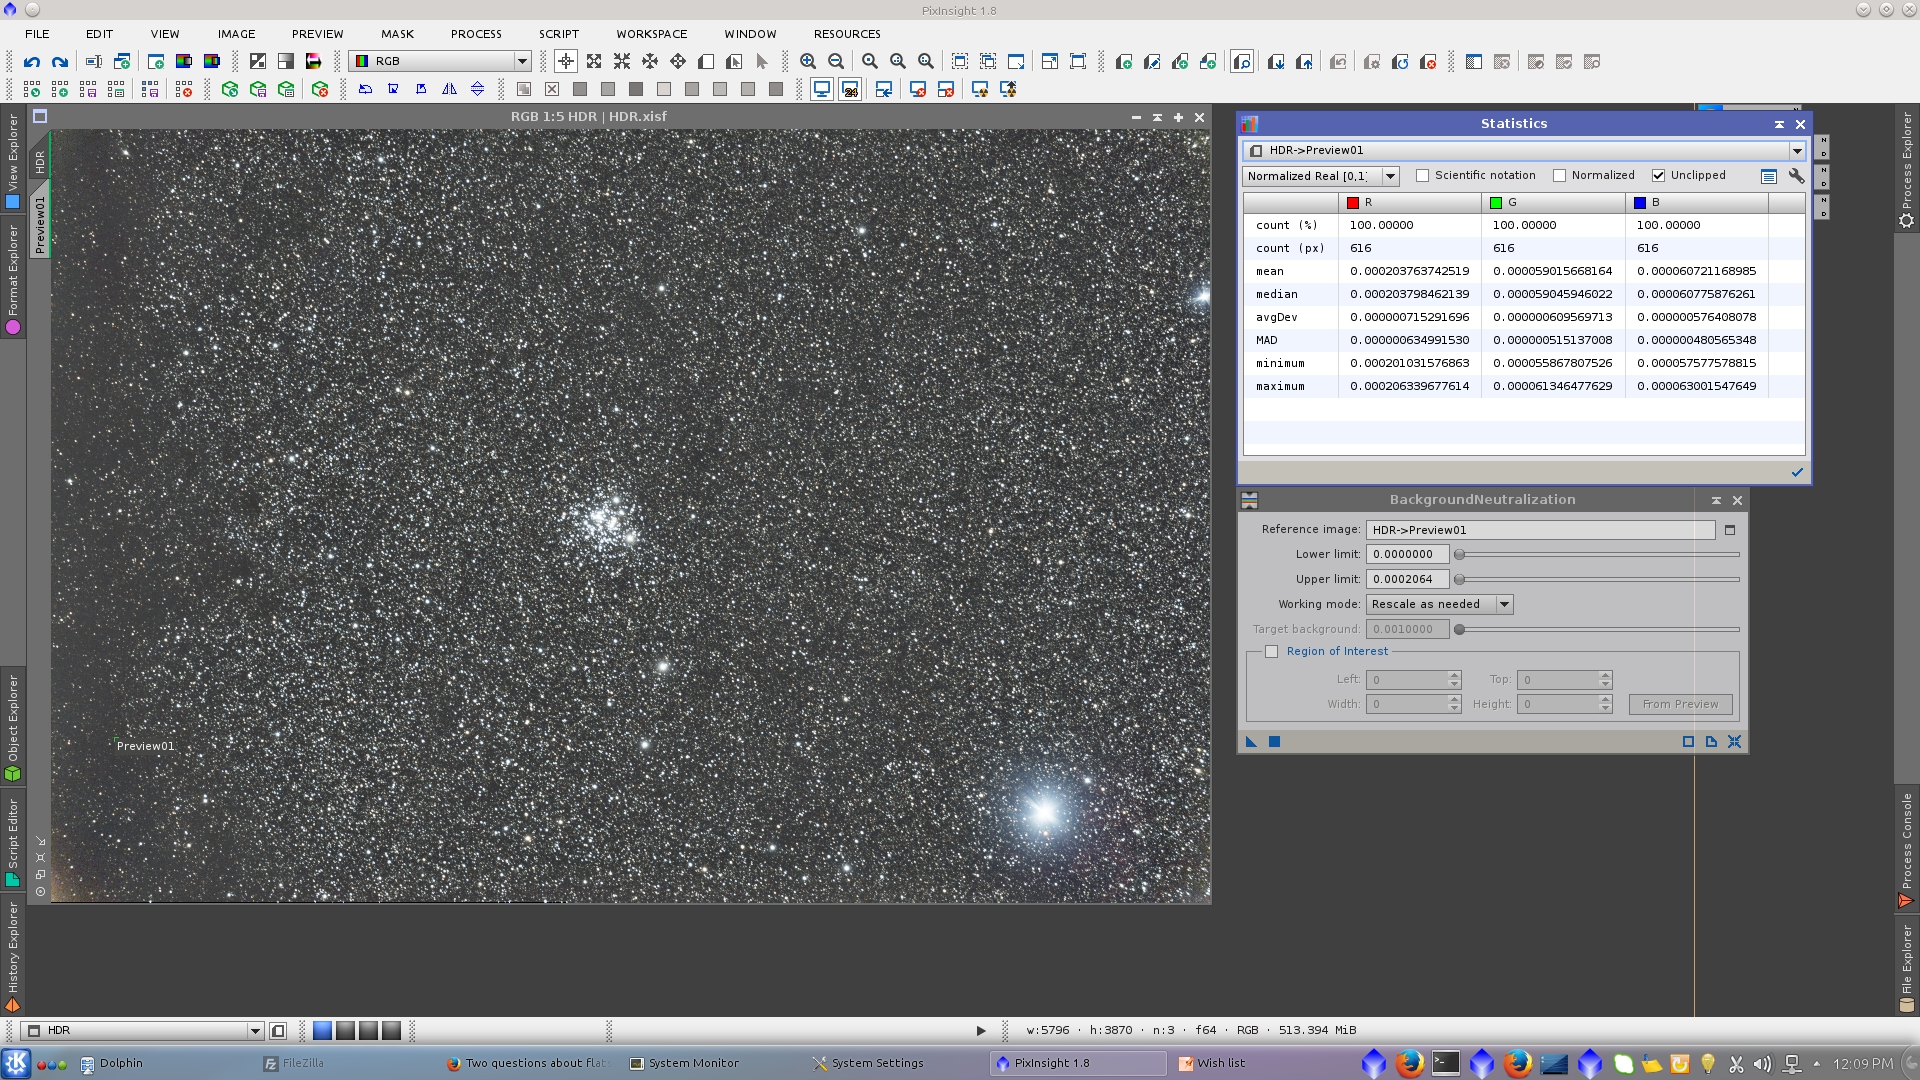
Define a preview that better represent the background of the image and see the upper limit to use in BackgroundNeutralization tool.
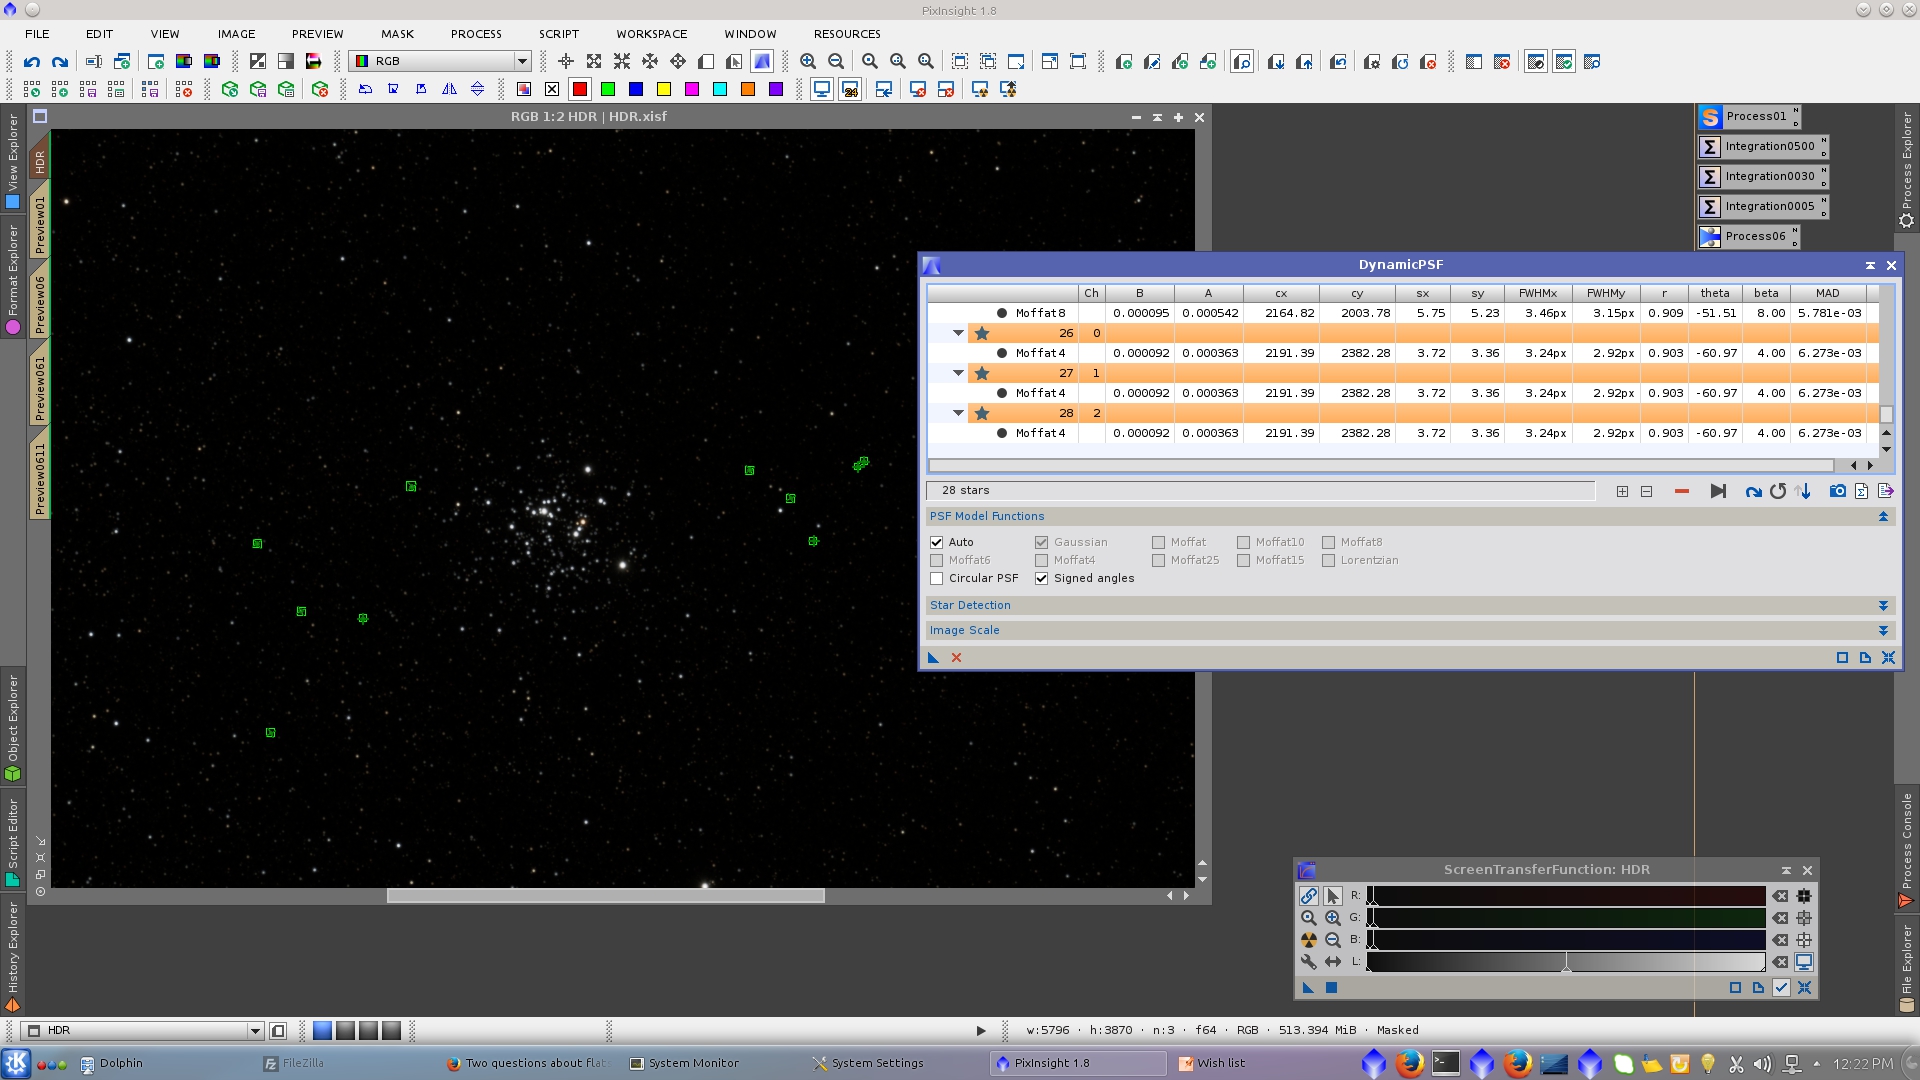
Open DynamicPSF tool to generate the star to be use as external PSF in Deconvolution tool
The main target for Deconvolution tool will be the faintest stars of the image, so to protect the bigest and medium size stars generate a Structure Map mask and using MultiscaleLinearTransformation smooth it a little by deleting layers of 1 and 2 pixels.

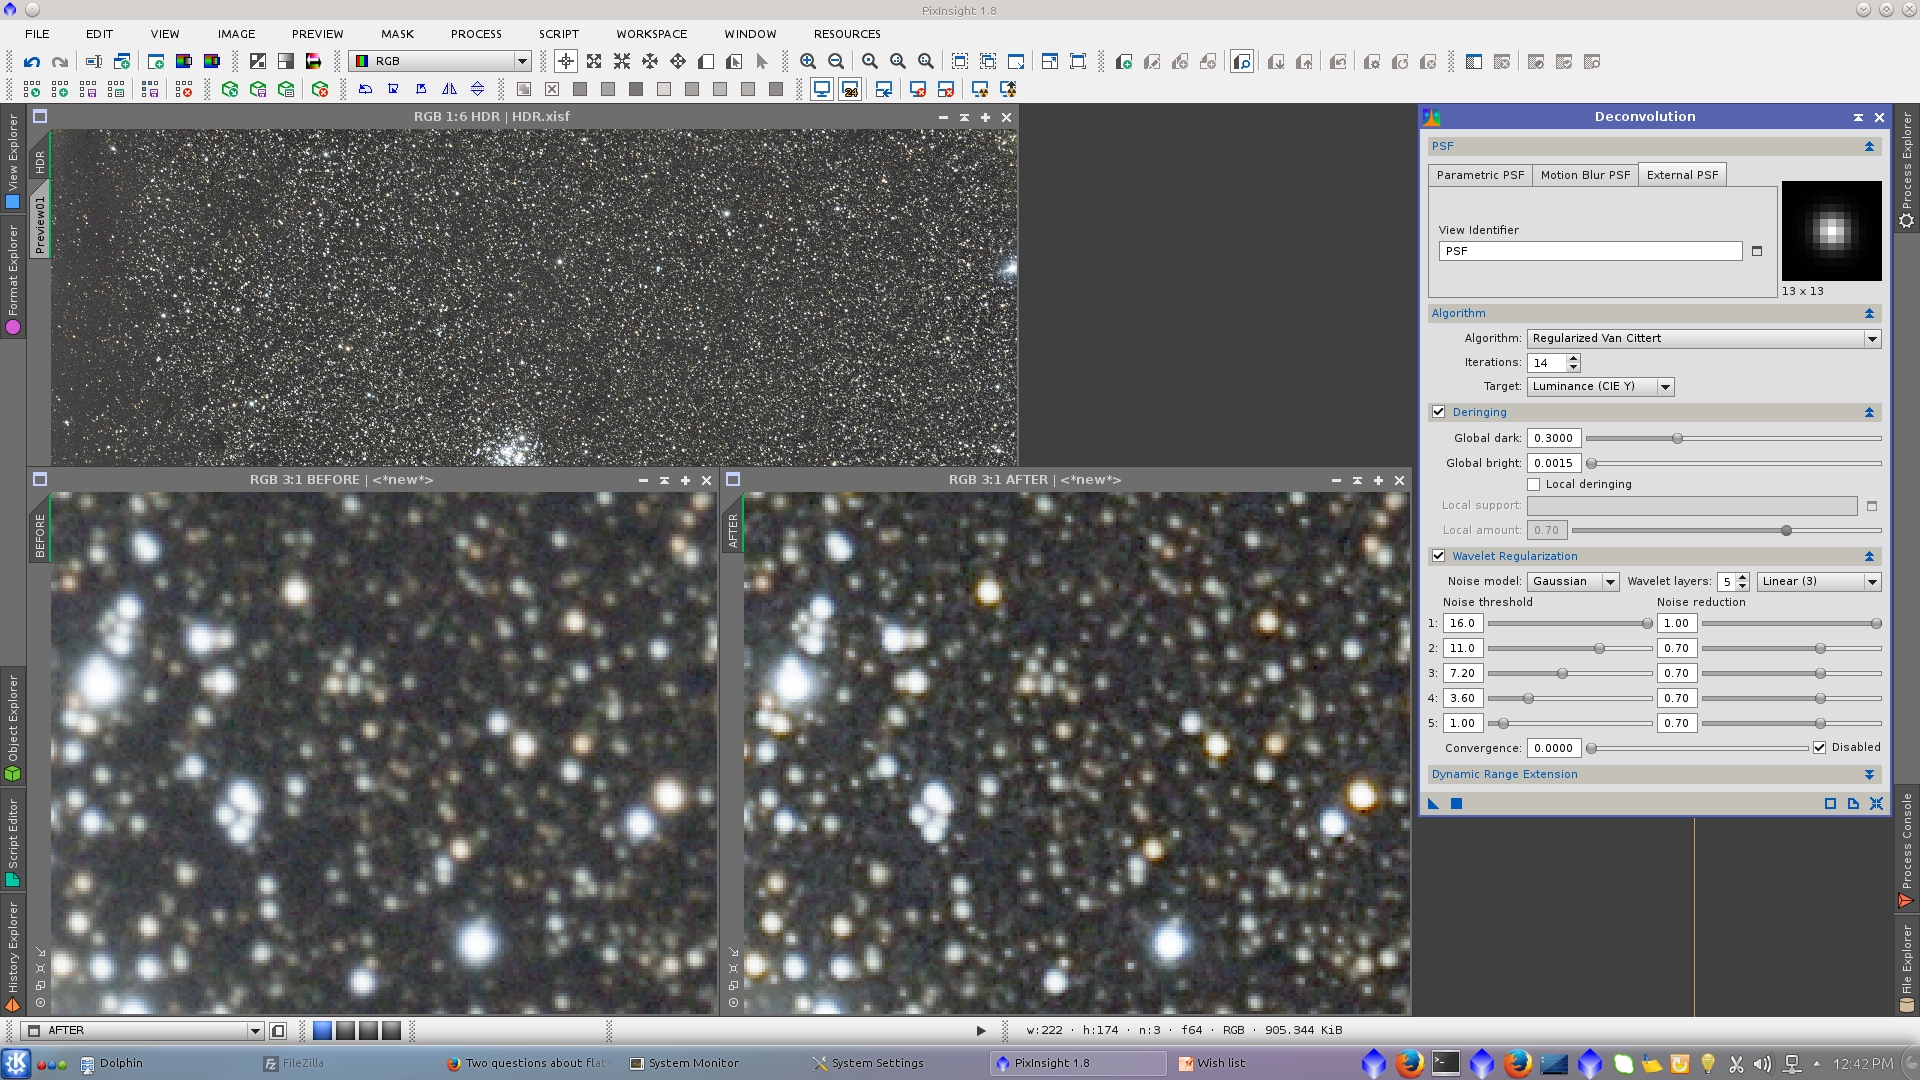
Protecting the image with StructureMap mask apply Deconvolution tool. Set the adecuated values of Deringing and Wavelet Regularization to avoid rings on stars and strange patterns in the background.
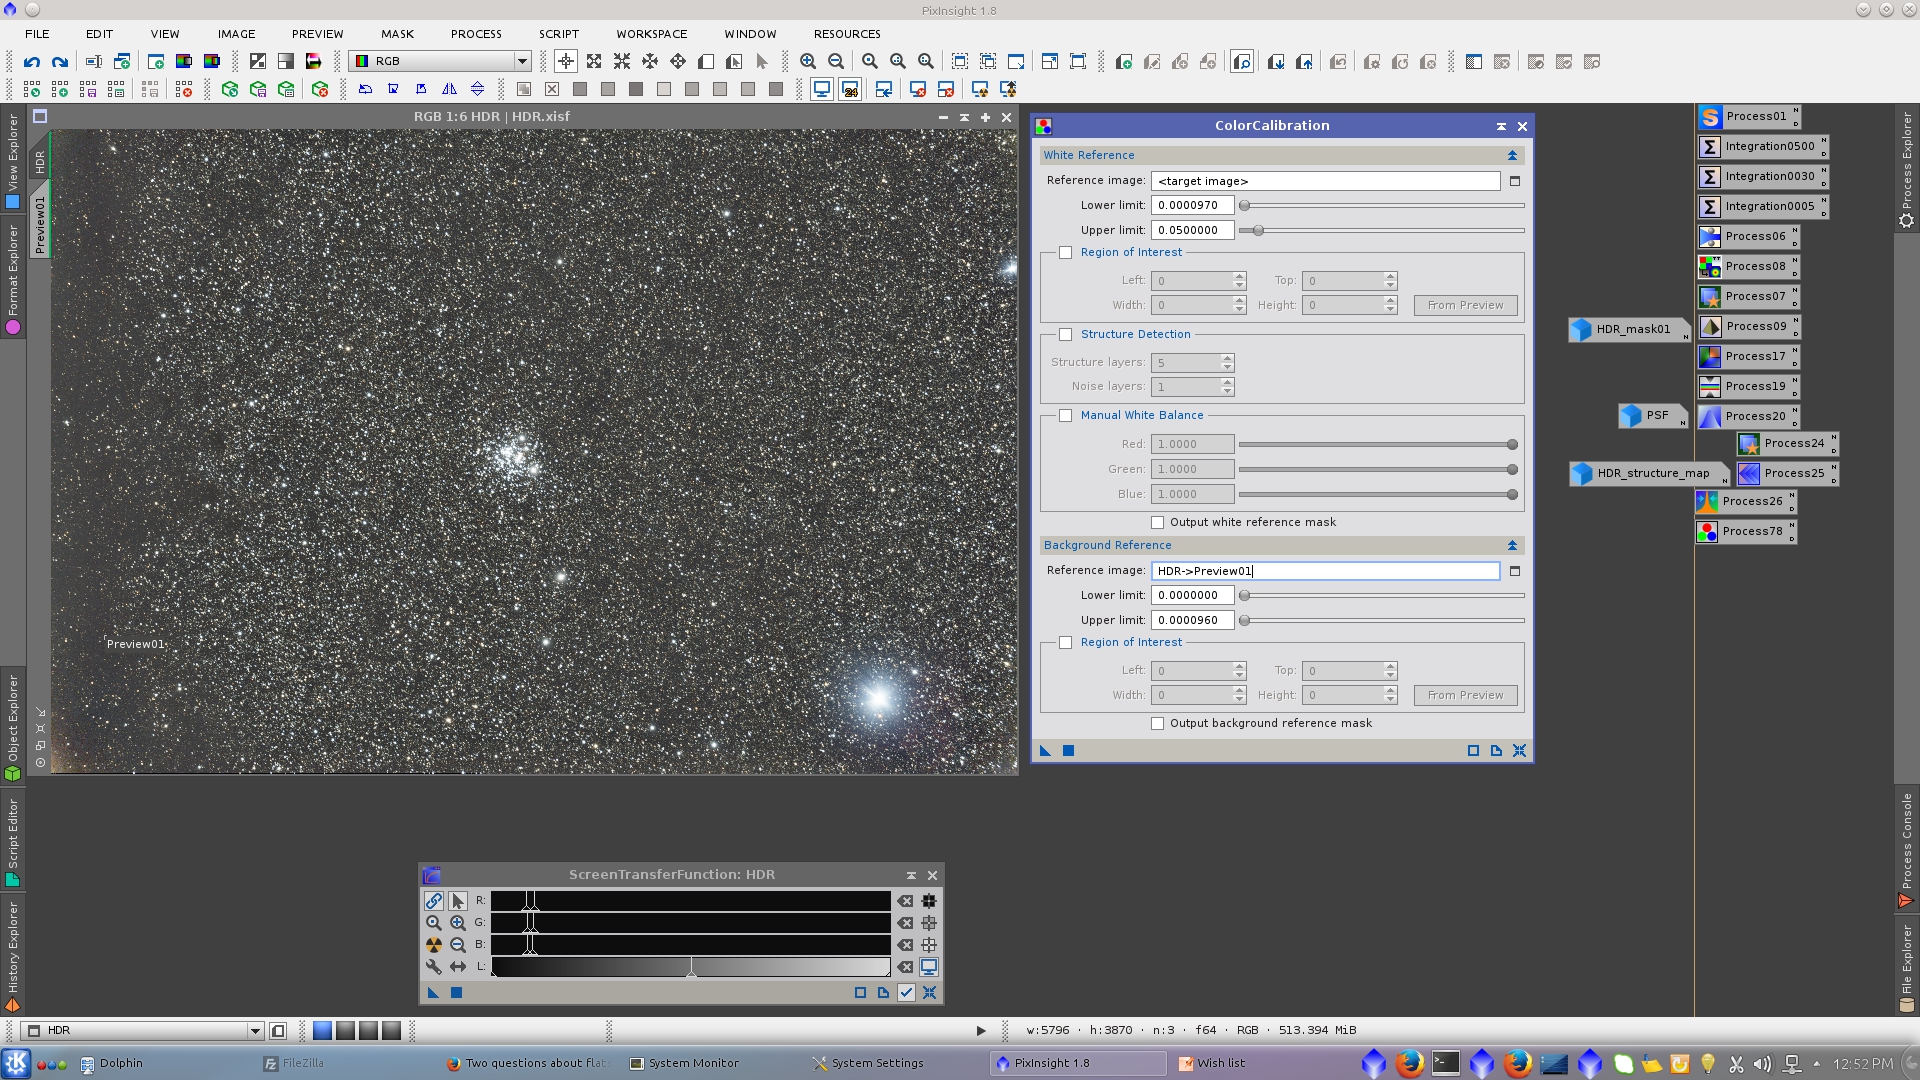
ColorCalibration using a preview as Reference image for Background Reference and the target image as Reference image for White Reference. (Structure Detection unchecked)
The HDR image is now ready to start the non linear postprocessing. Use MaskedStretch tool, where must be set the correct values of Upper limit of the Background reference and the clipping fraccion.
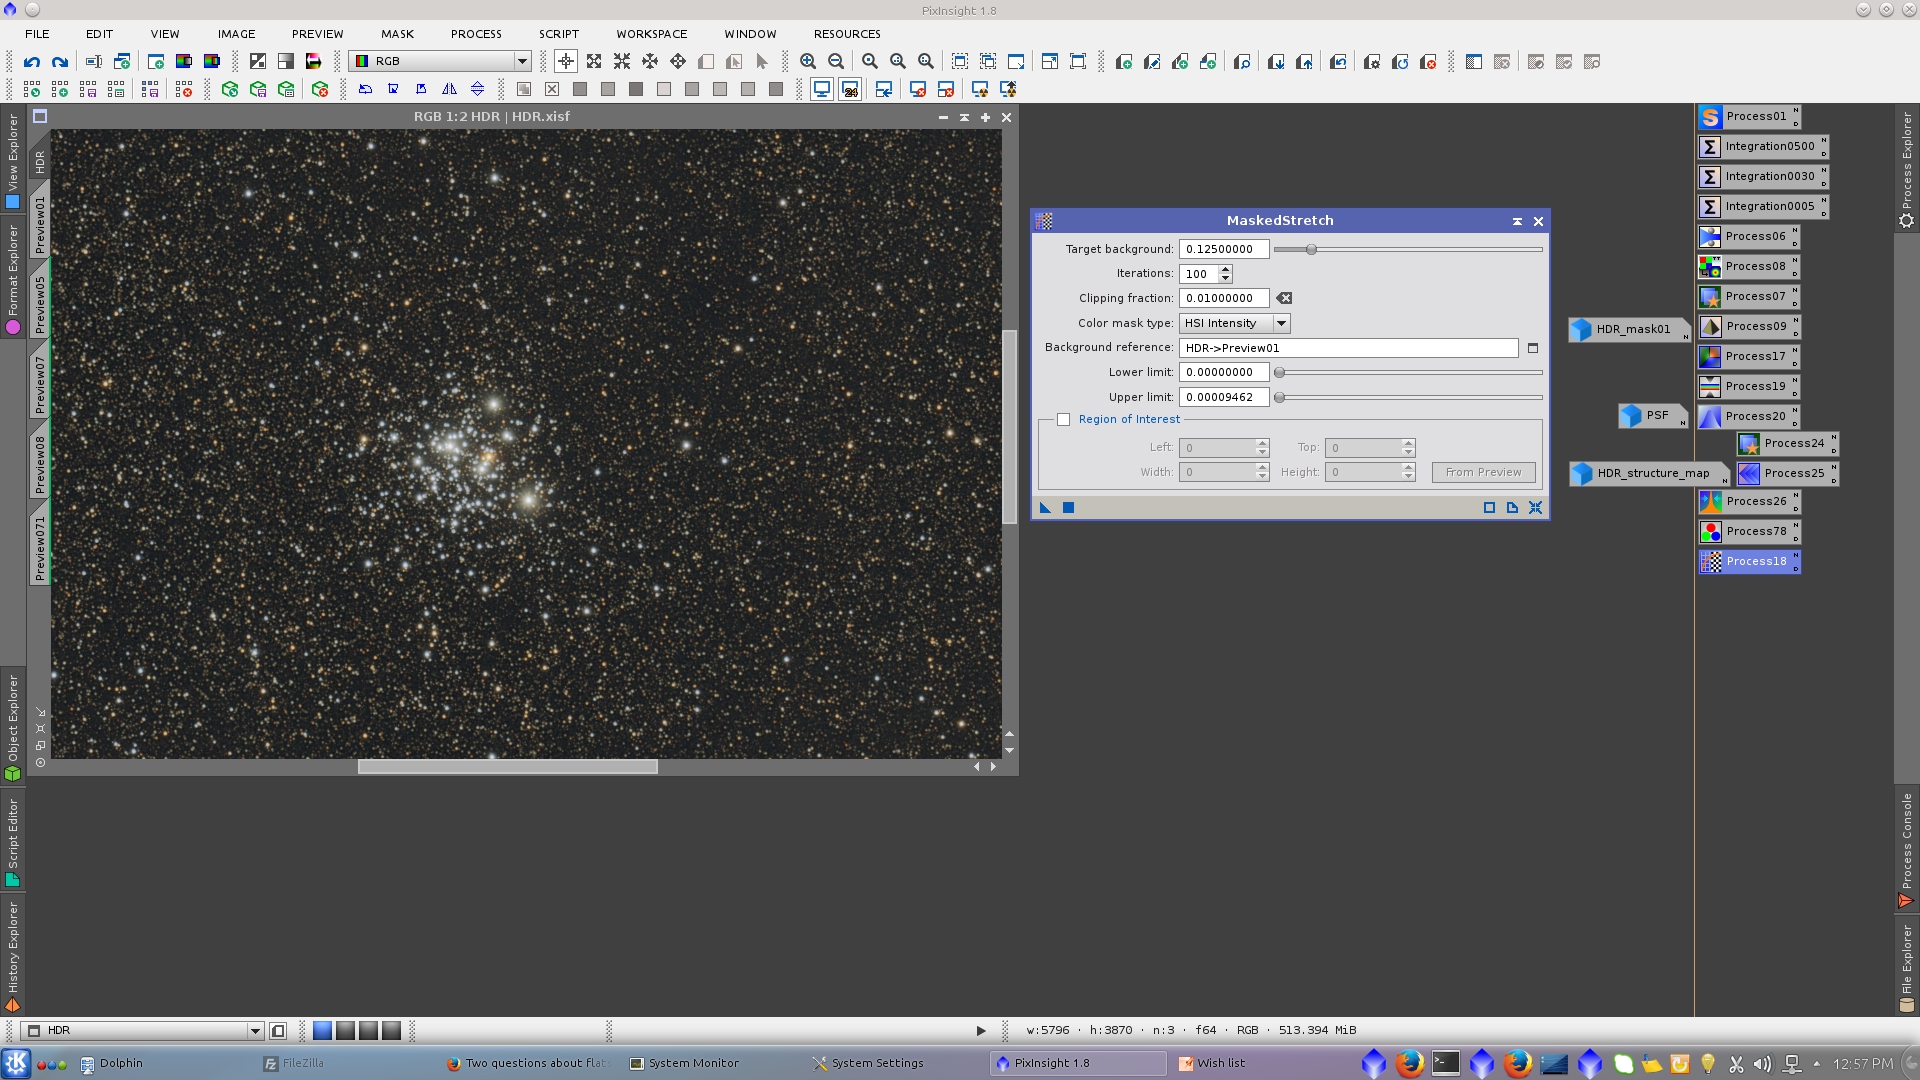
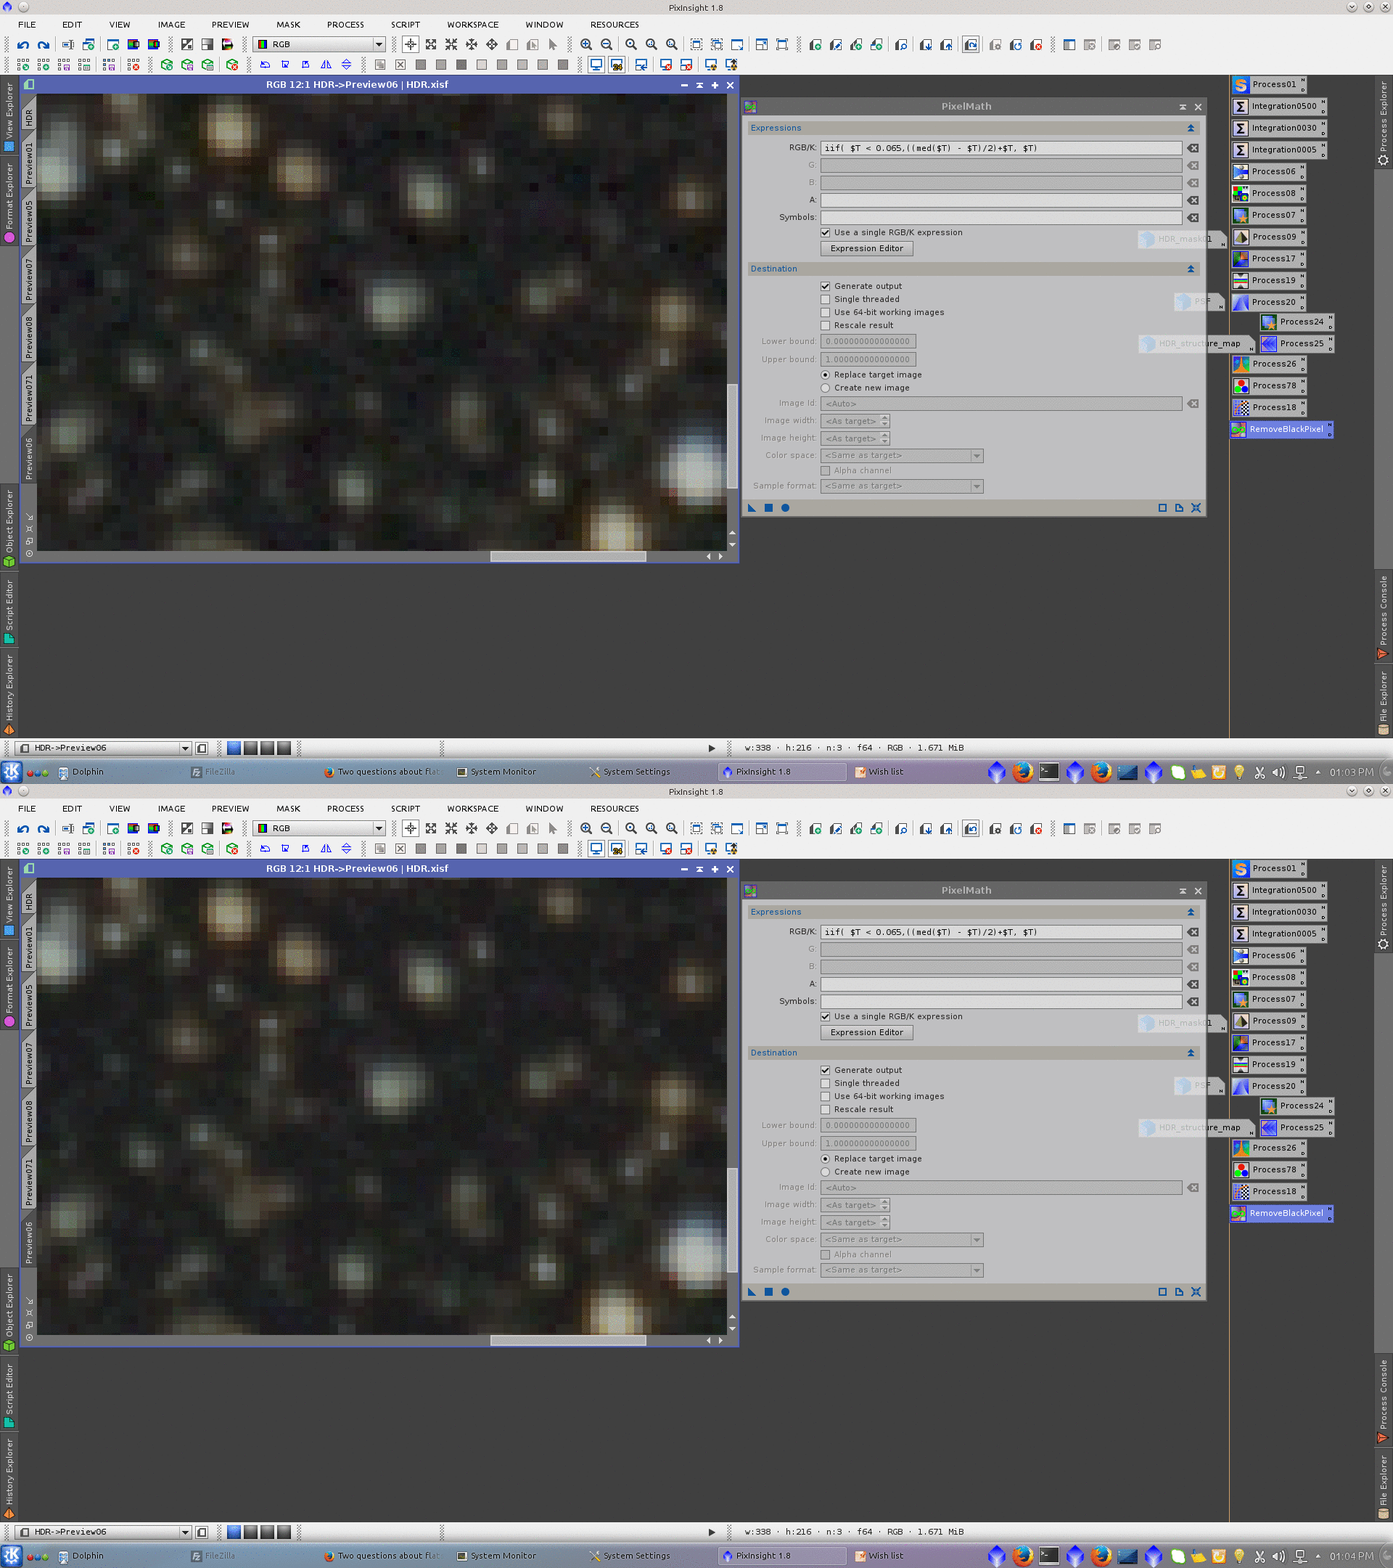
There are a few pixeles too dark that can be replaced by the median of the images using PixelMath
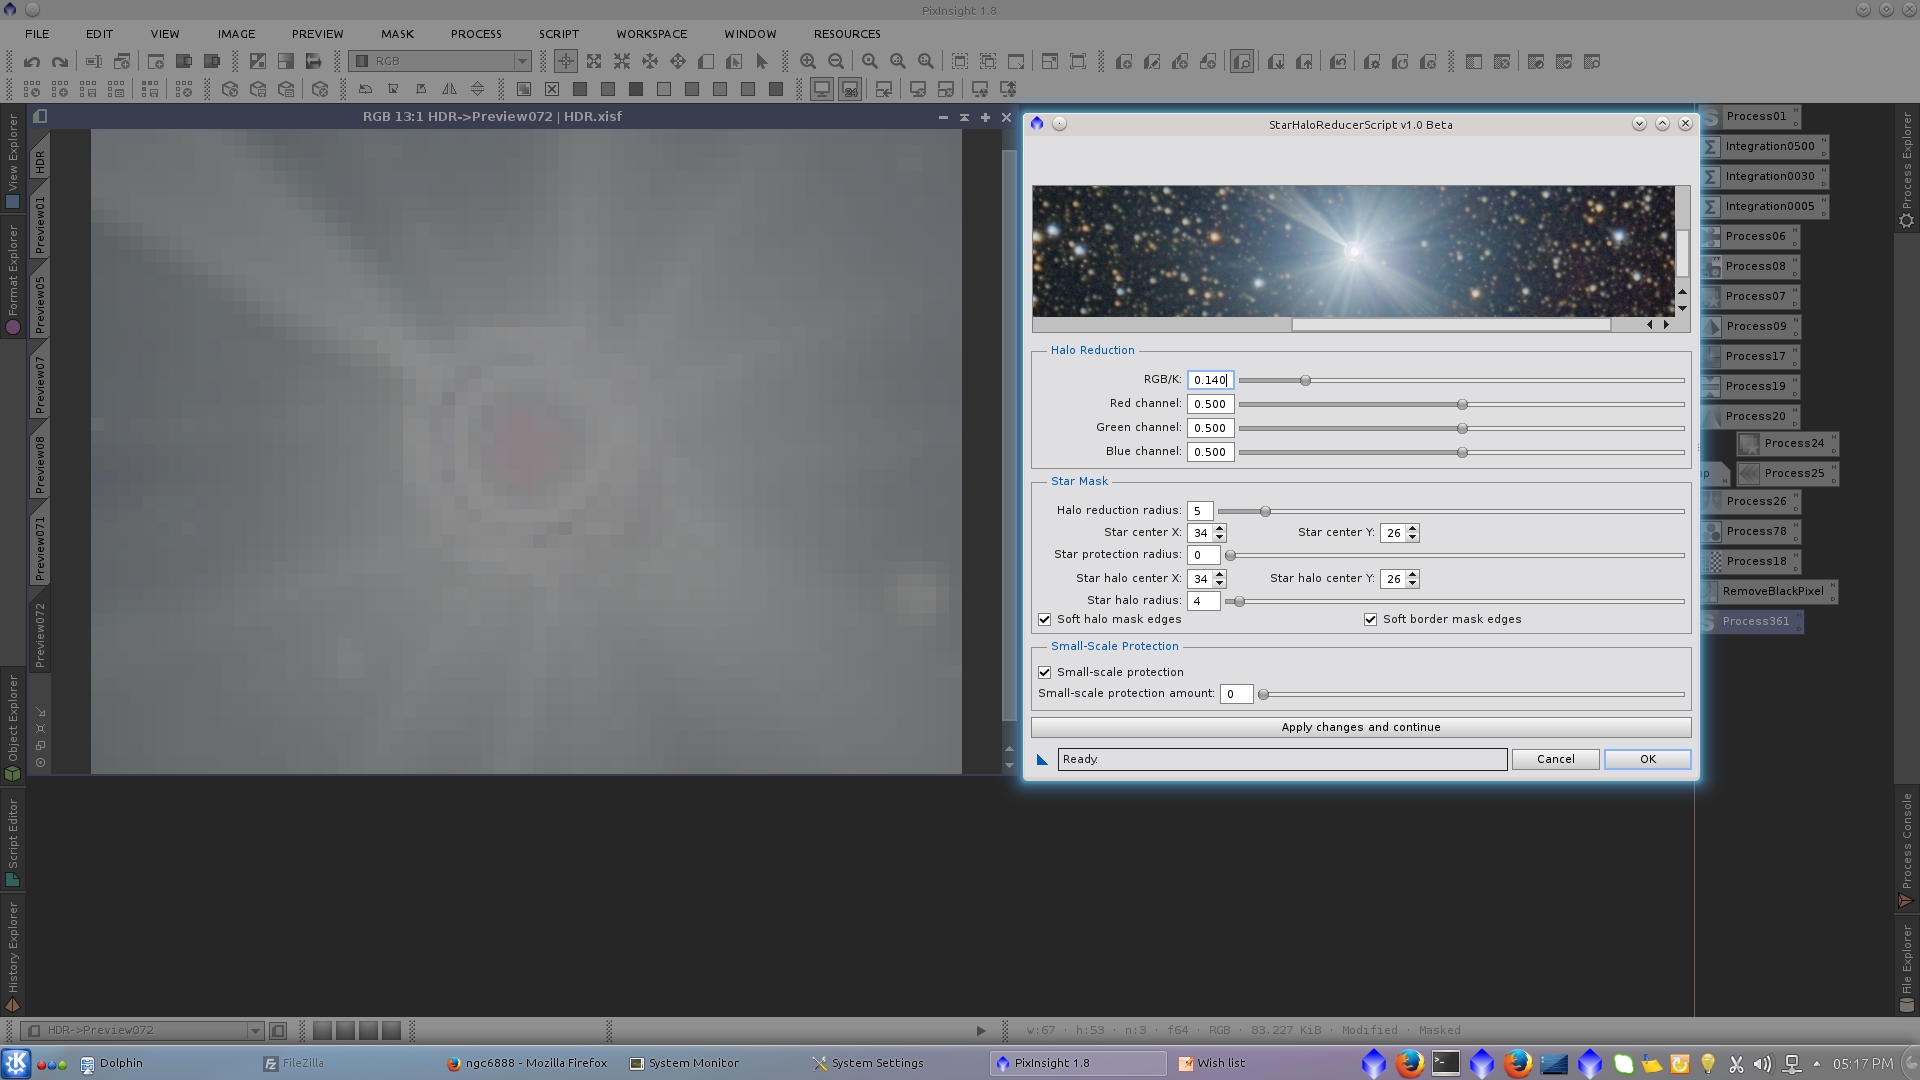
The center of the brigest star is saturated. This is due to the less exposure image (0.3 seconds) that I used in HDRComposition tool was already saturated.
There is also a transition between the information of the 5 minute image and e 30 second image. I believe that there would have been needed a one or two minutes exposure image to avoid that.
So I will fix it, first using StarHaloReducerScript to increase lightnes in the core of the star.
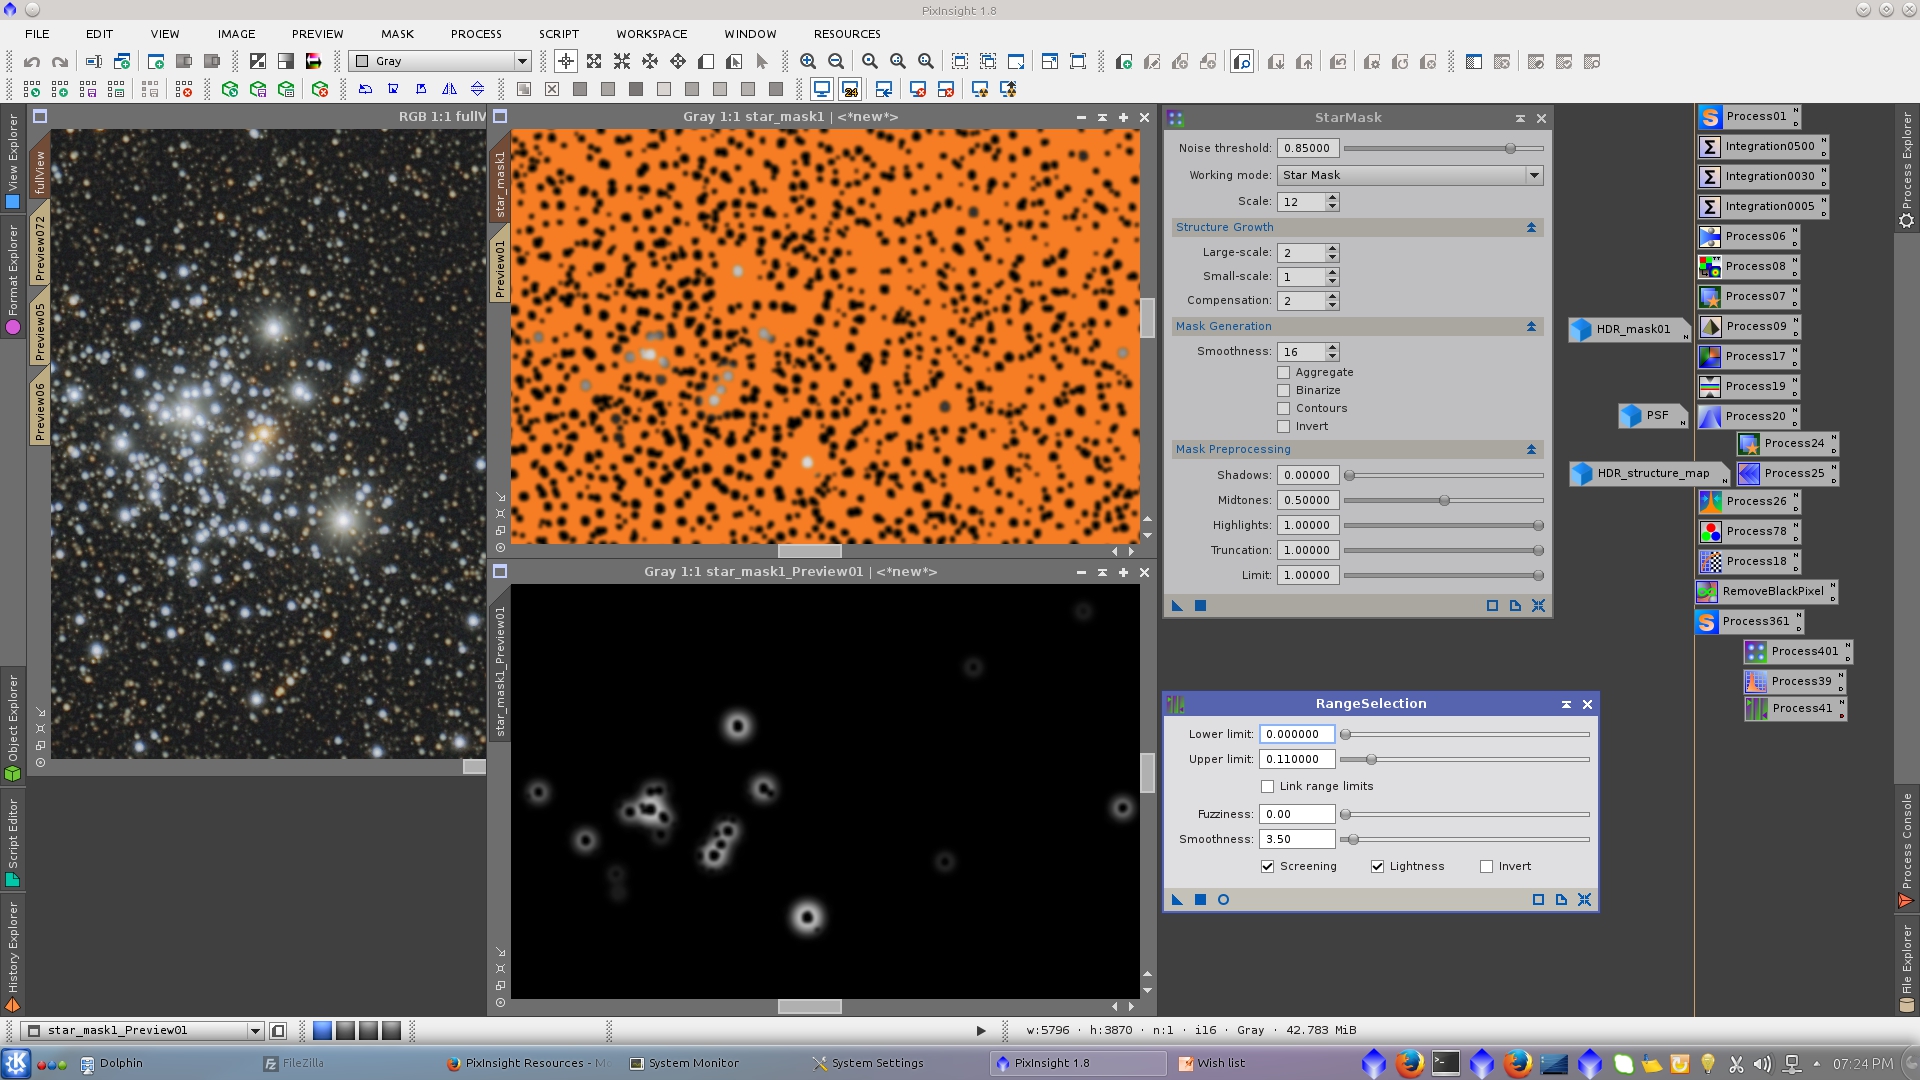
Now, I will generate a convenient mask to reduce and correct the big stars of the Jewel Box.
1) Generate a starmask that contain mainly the focus big stars using StarMask tool.
2) Protect background of the starmask with the previosly created Structure map that do not contain big stars
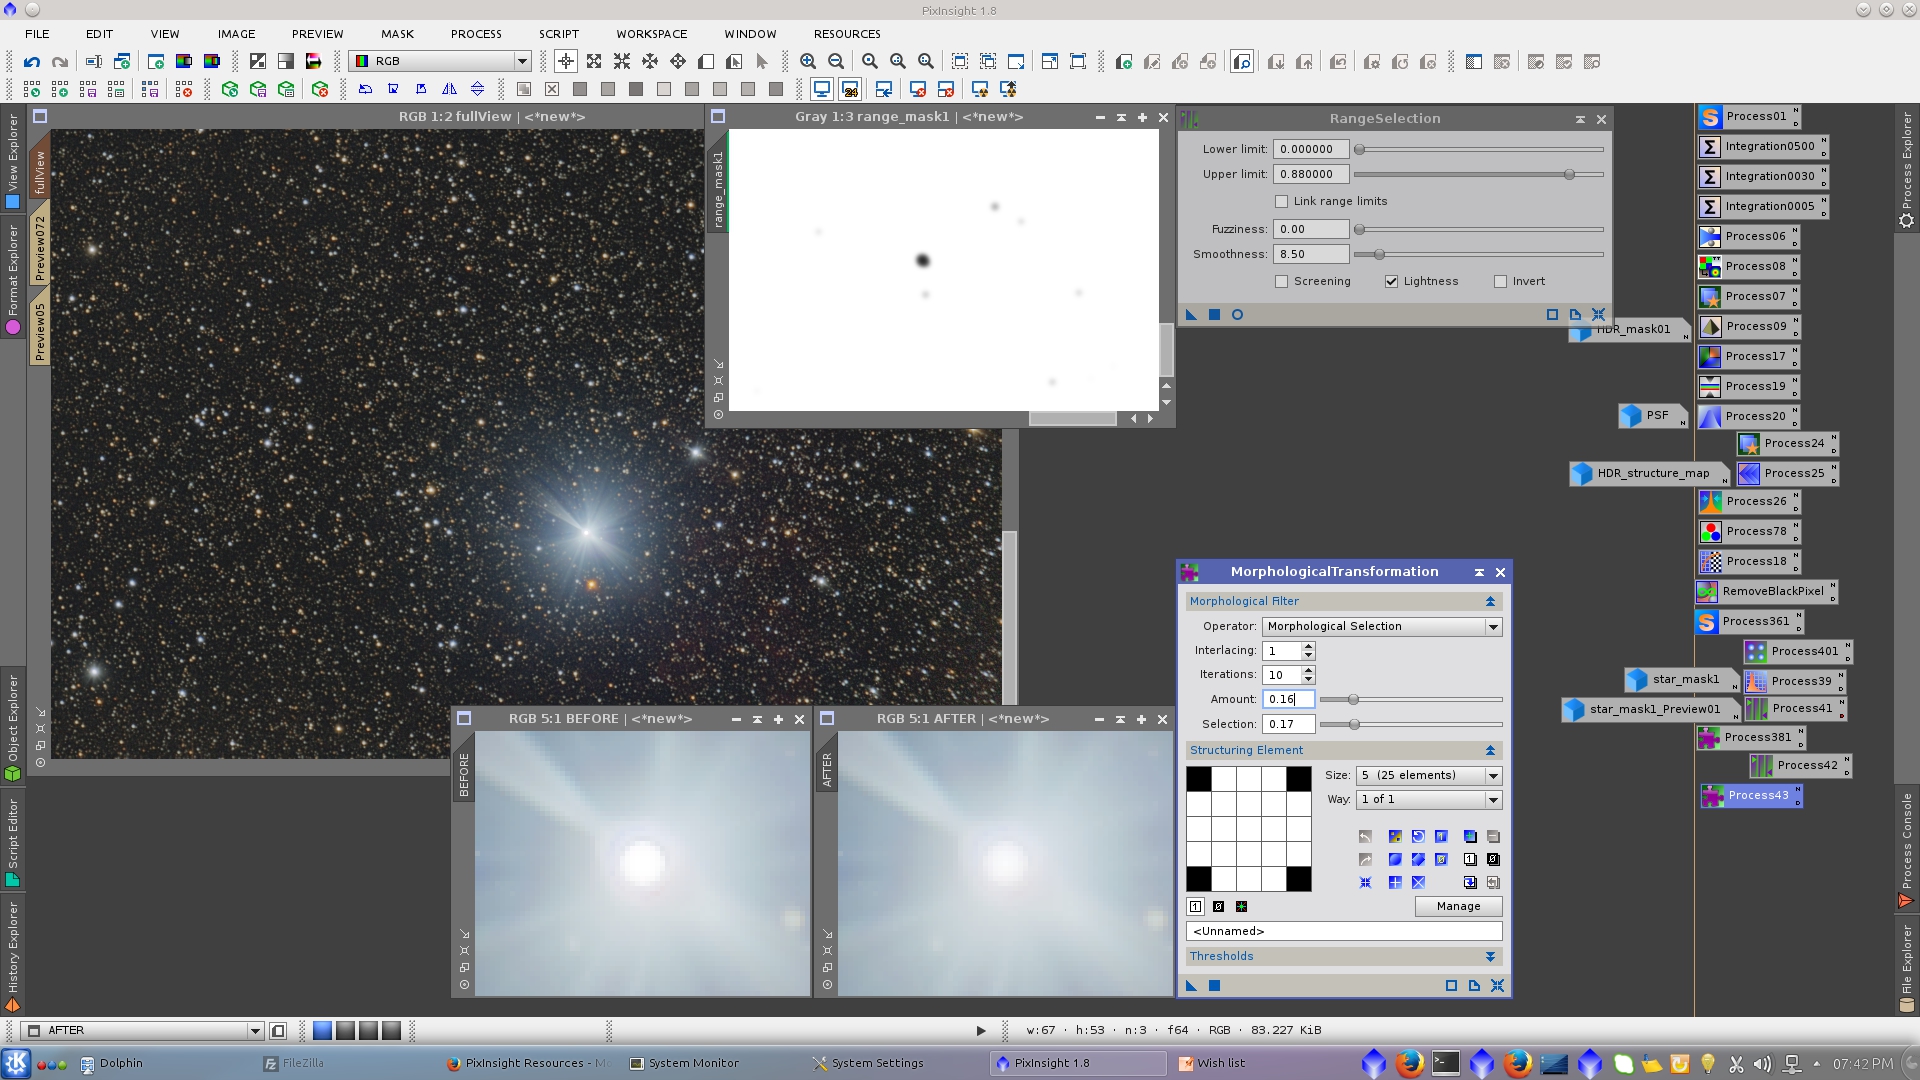
3) Use RangeSelection tool to isolate the stars halos. I applied the process in a preview and once I got the desired mask extracted the preview as a new image.
First application of MorphologicalSelection protecting the background and small stars with the previous mask.
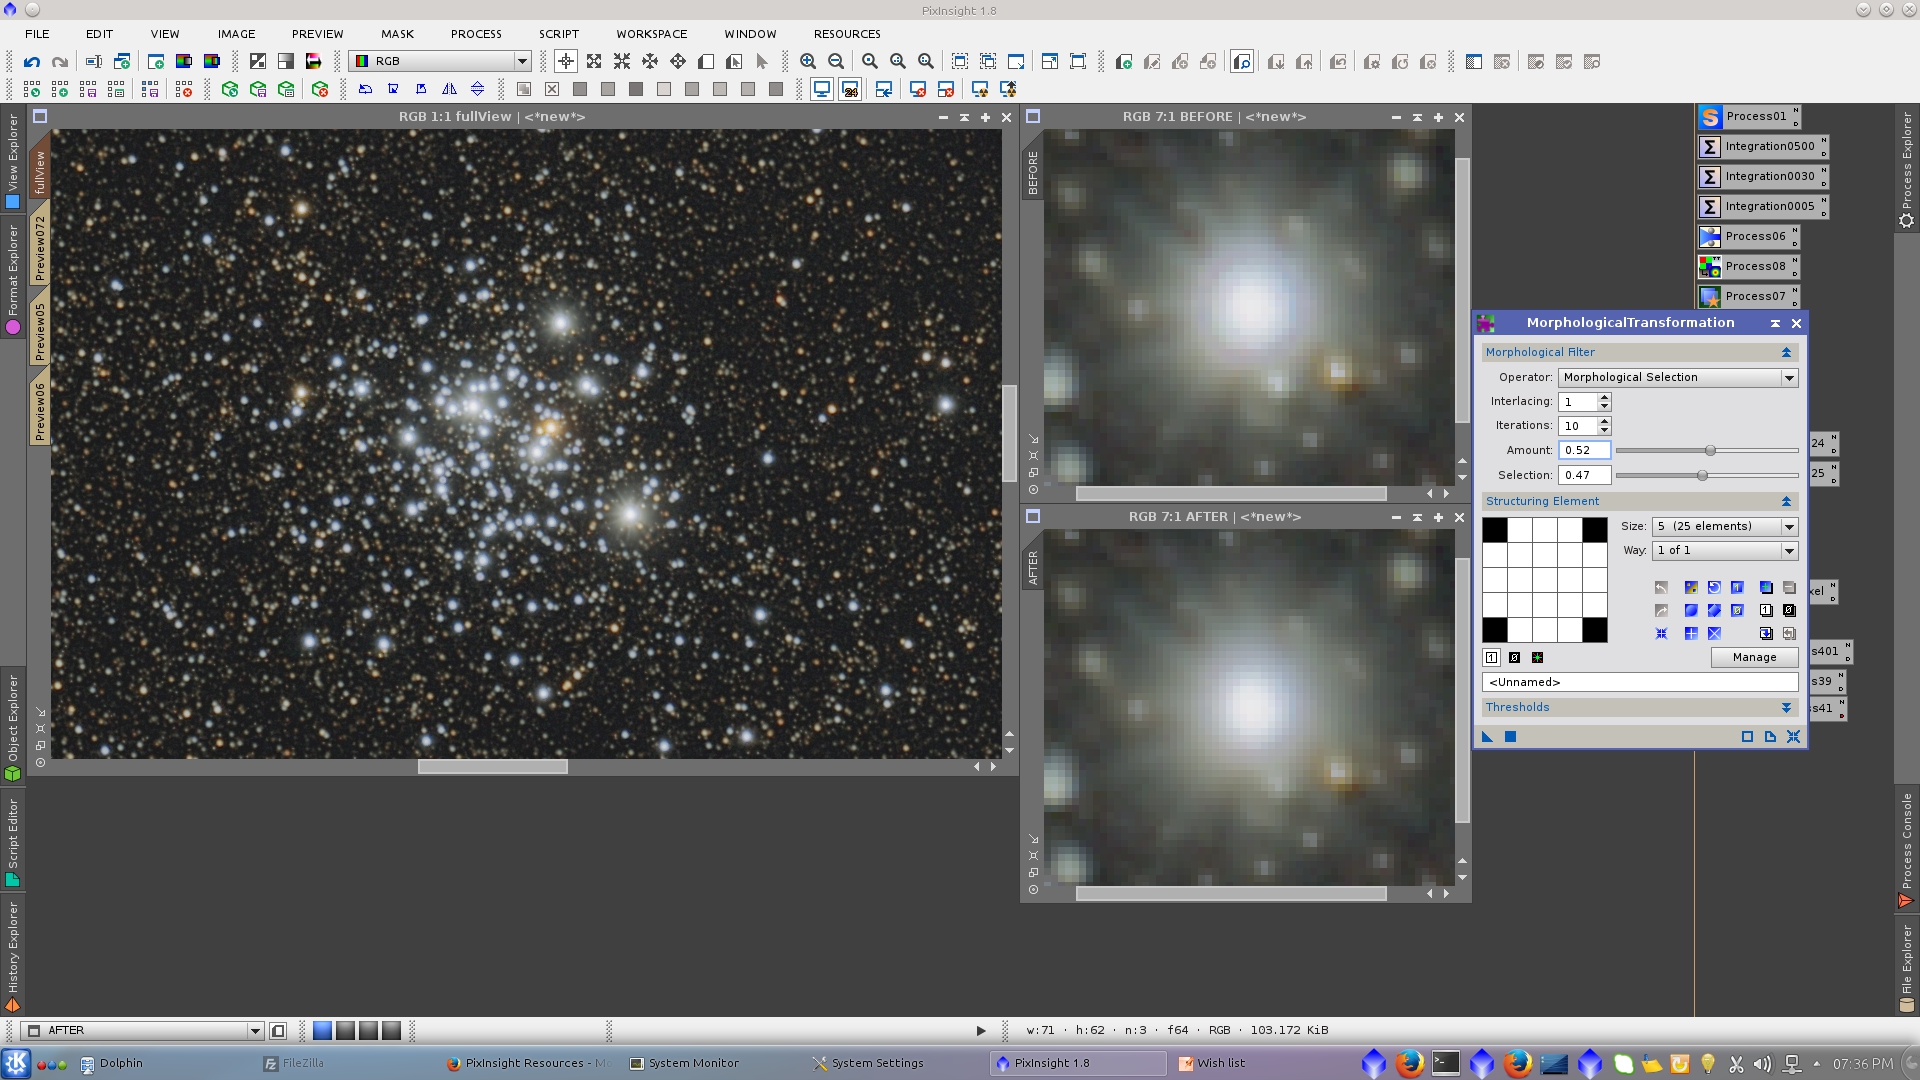
Generate a mask using RangeSelection tool that contain mainly the big star and protecting the background use MorphologicalTransformation tool to smooth the center of the star.
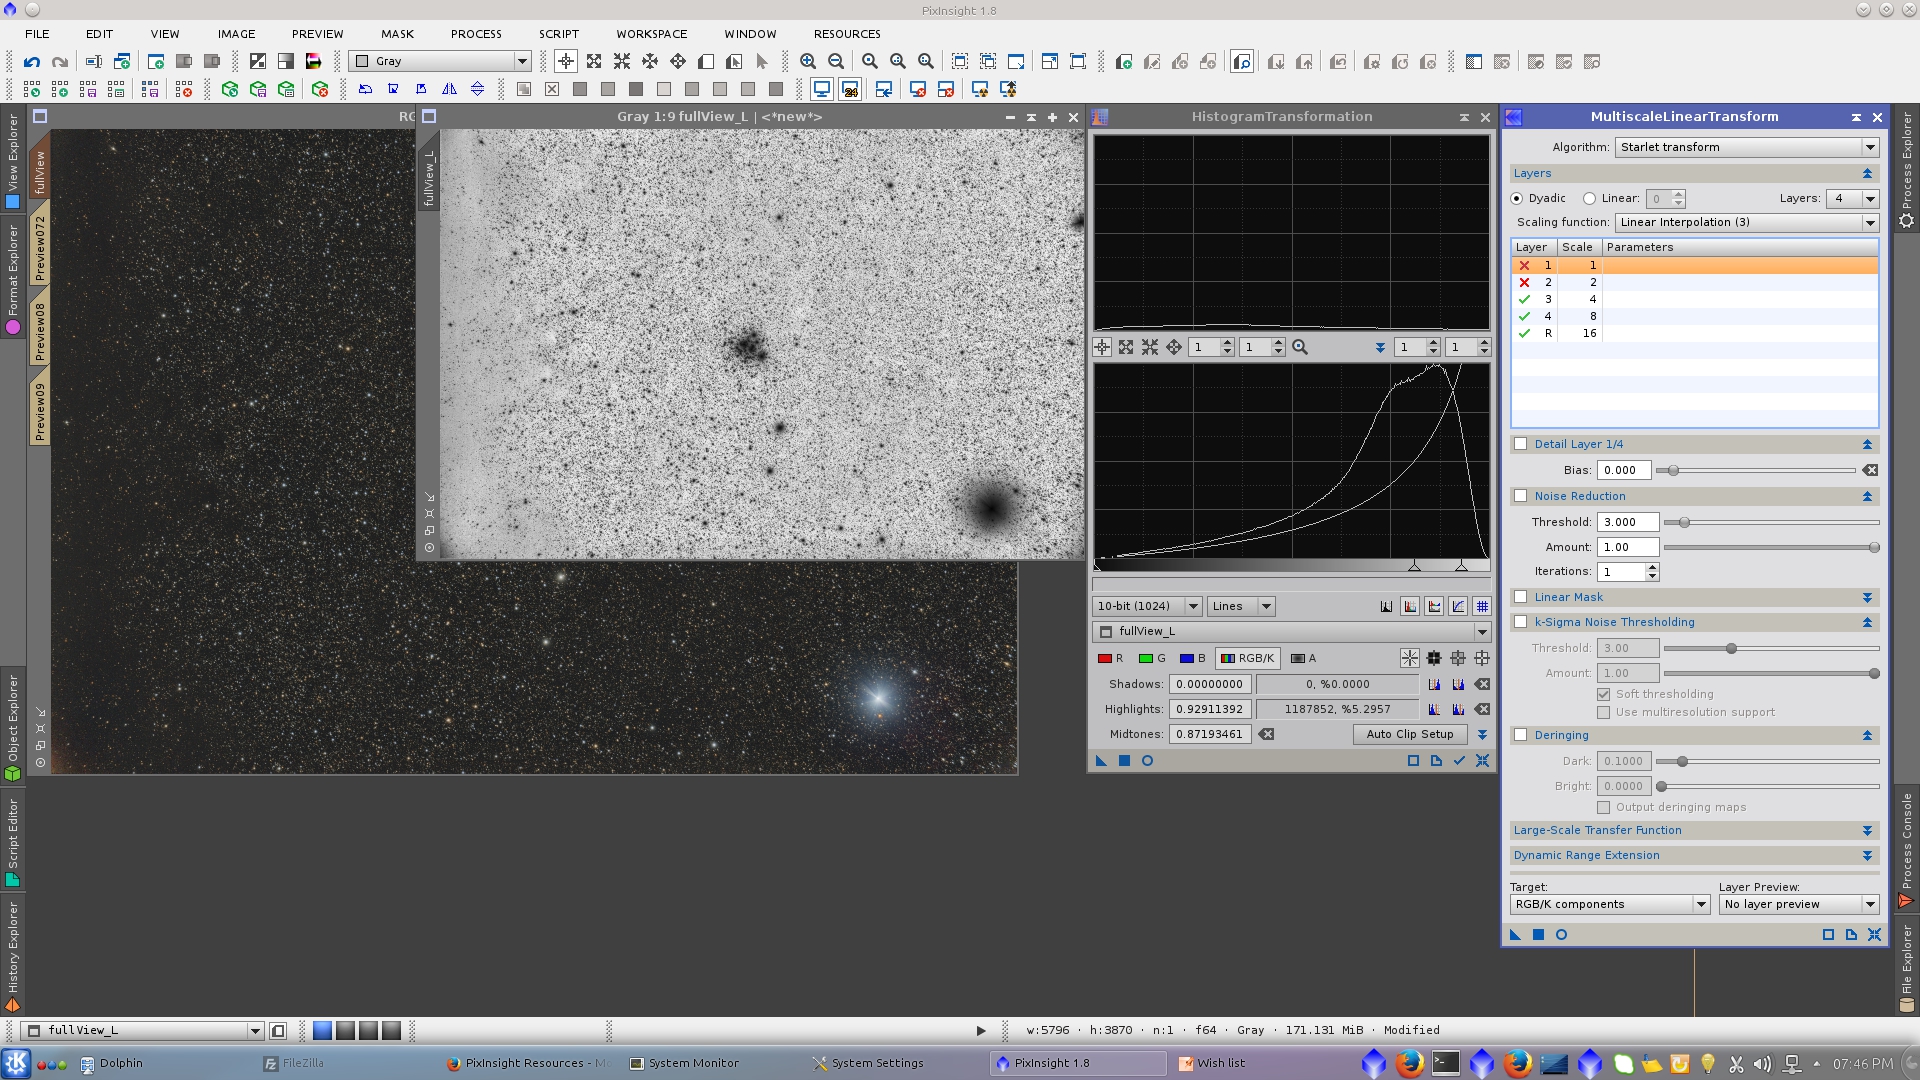
Extract L, invert it and apply HistogramTranformation and MultiscaleLinearTransform to stretch and smooth the new mask.
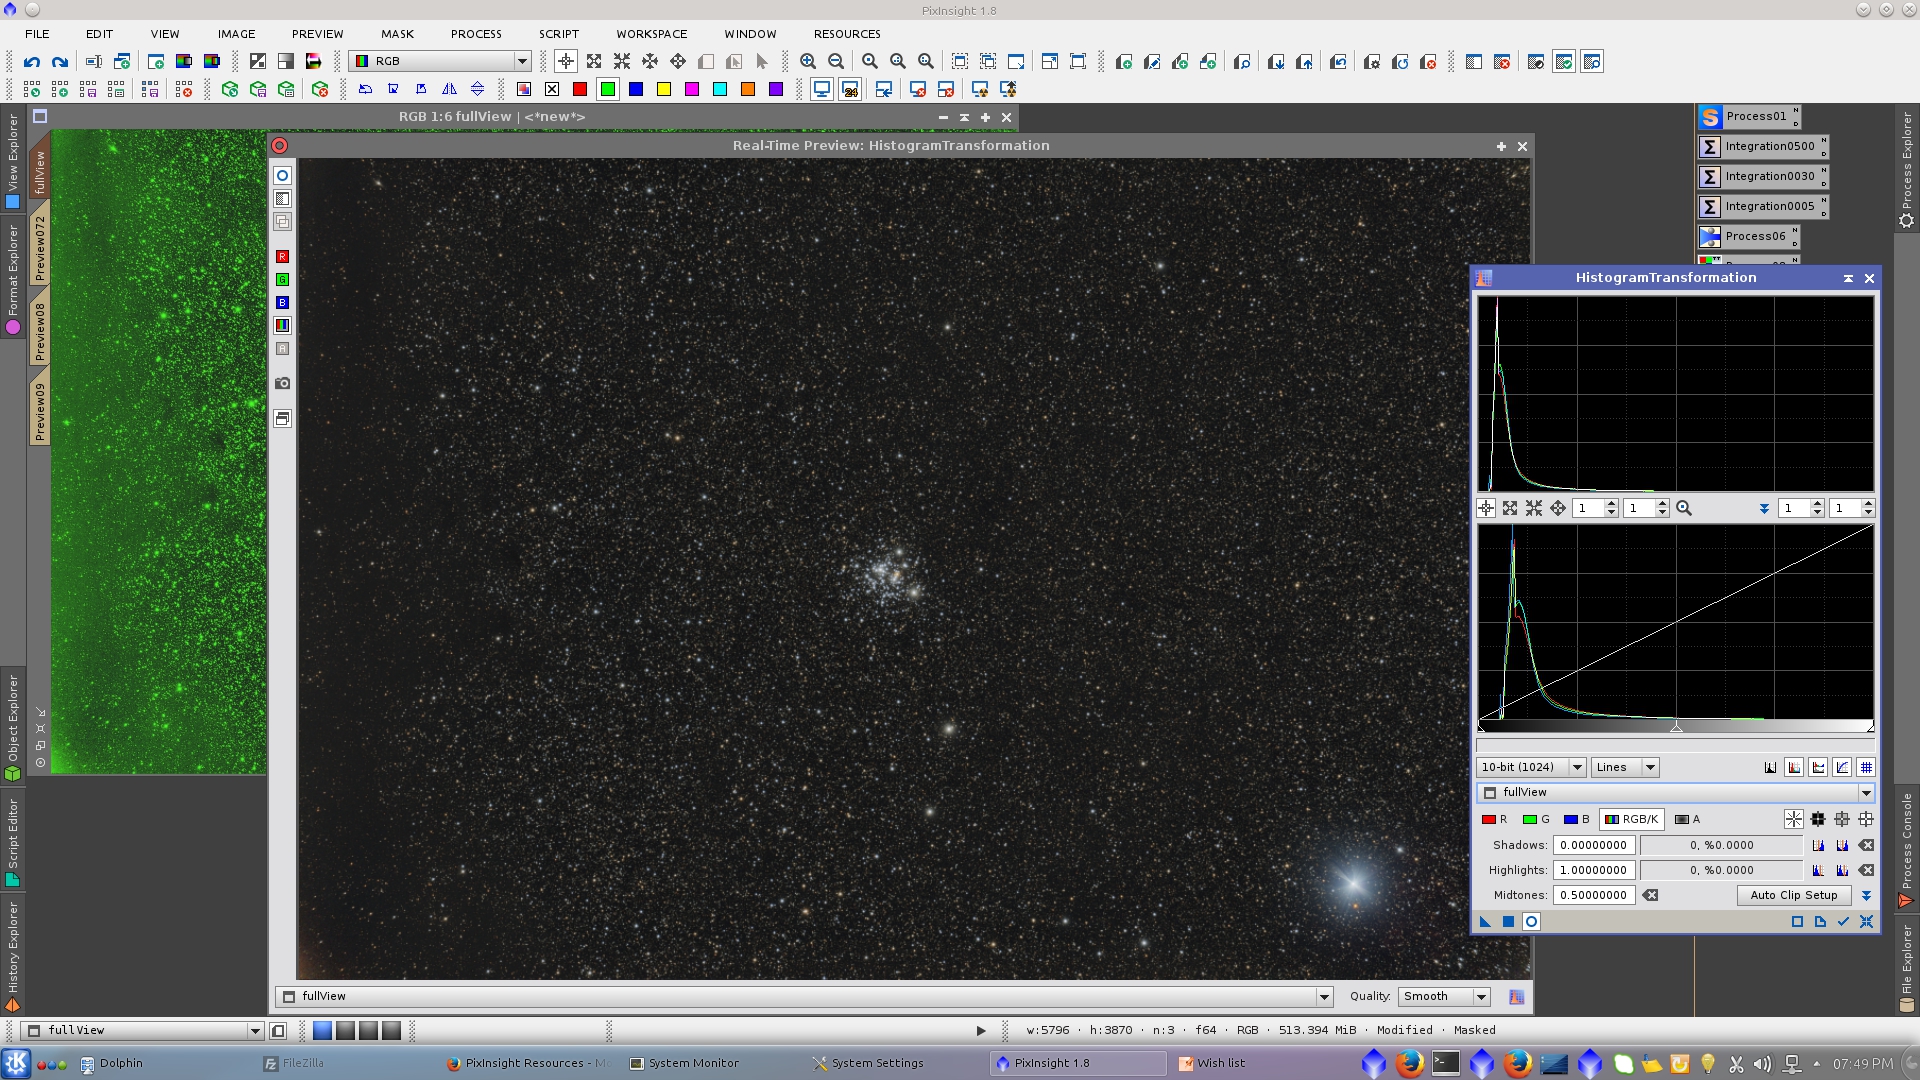
Protecting the stars with Lmask, adjust the value of the shadows in HistogramTransformation tool
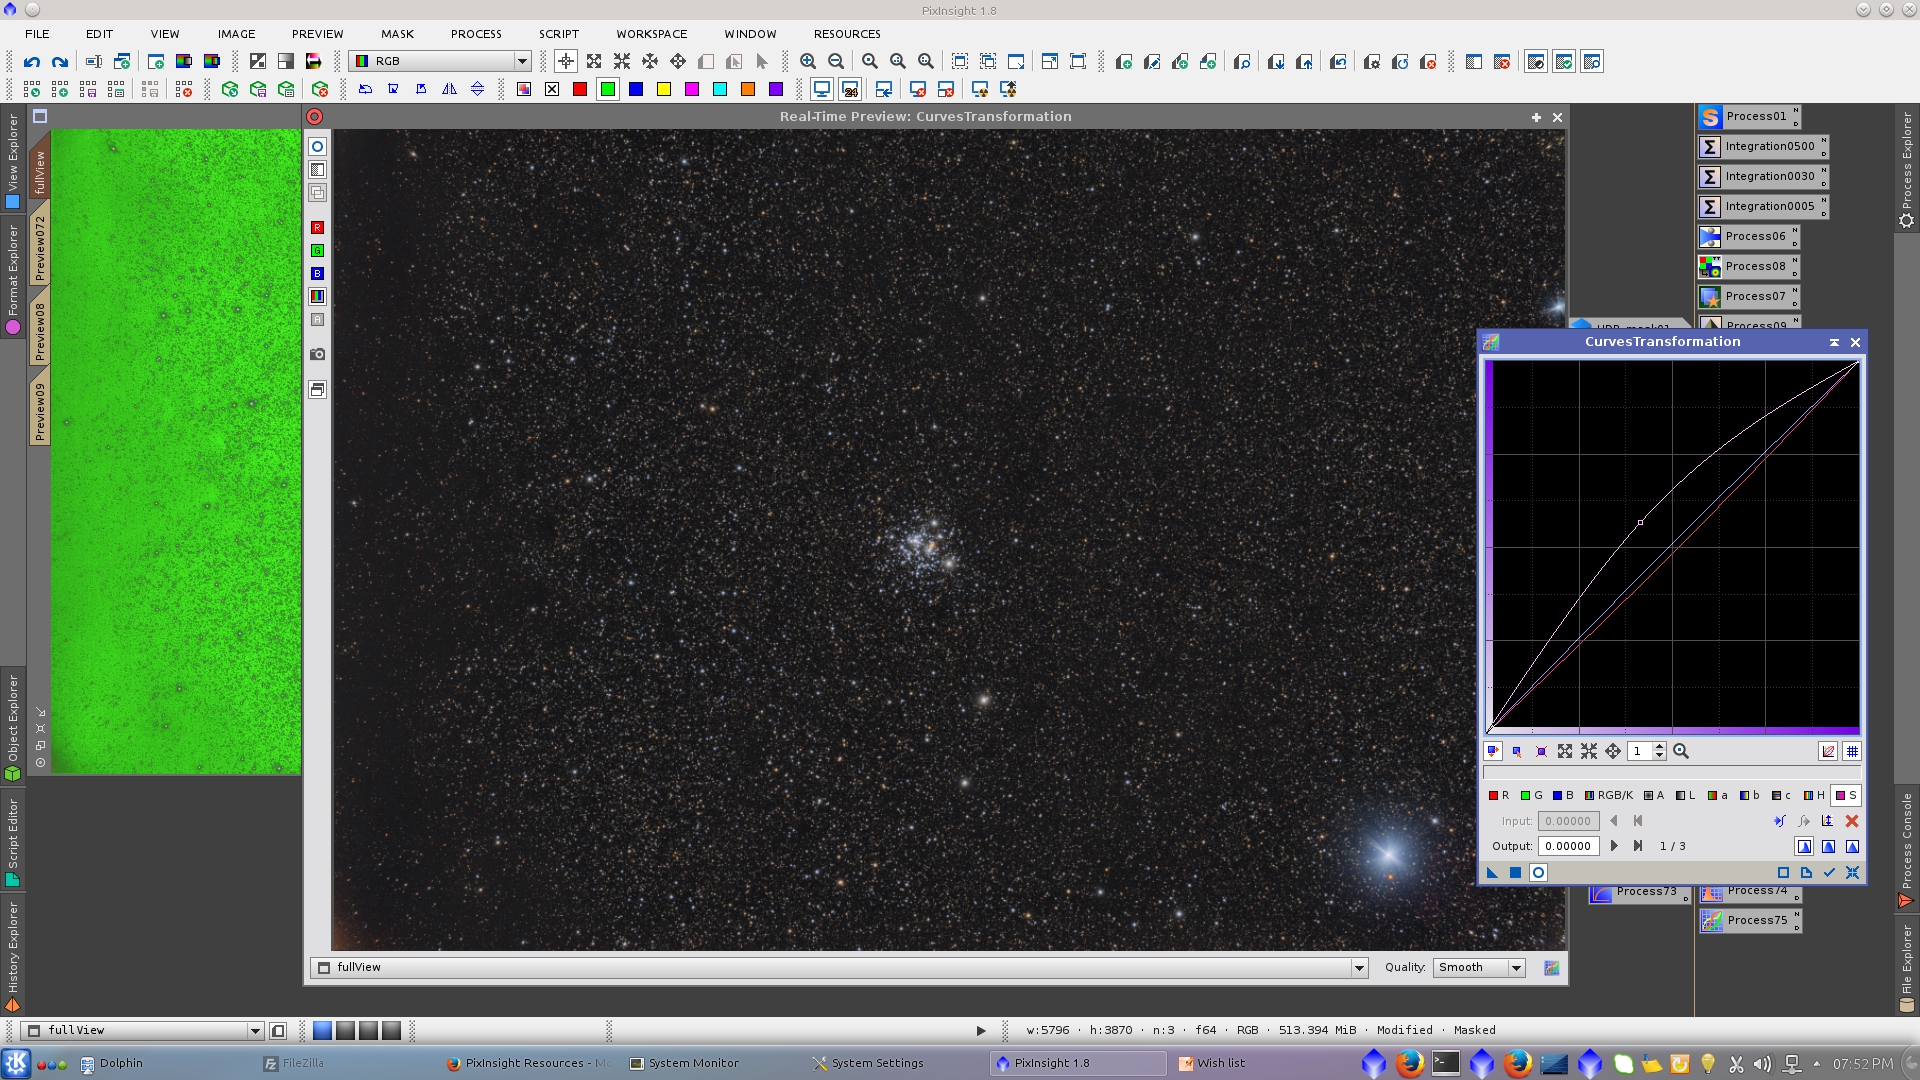
Finaly invert the mask to protect the background and saturate the image using CurvesTransformation tool
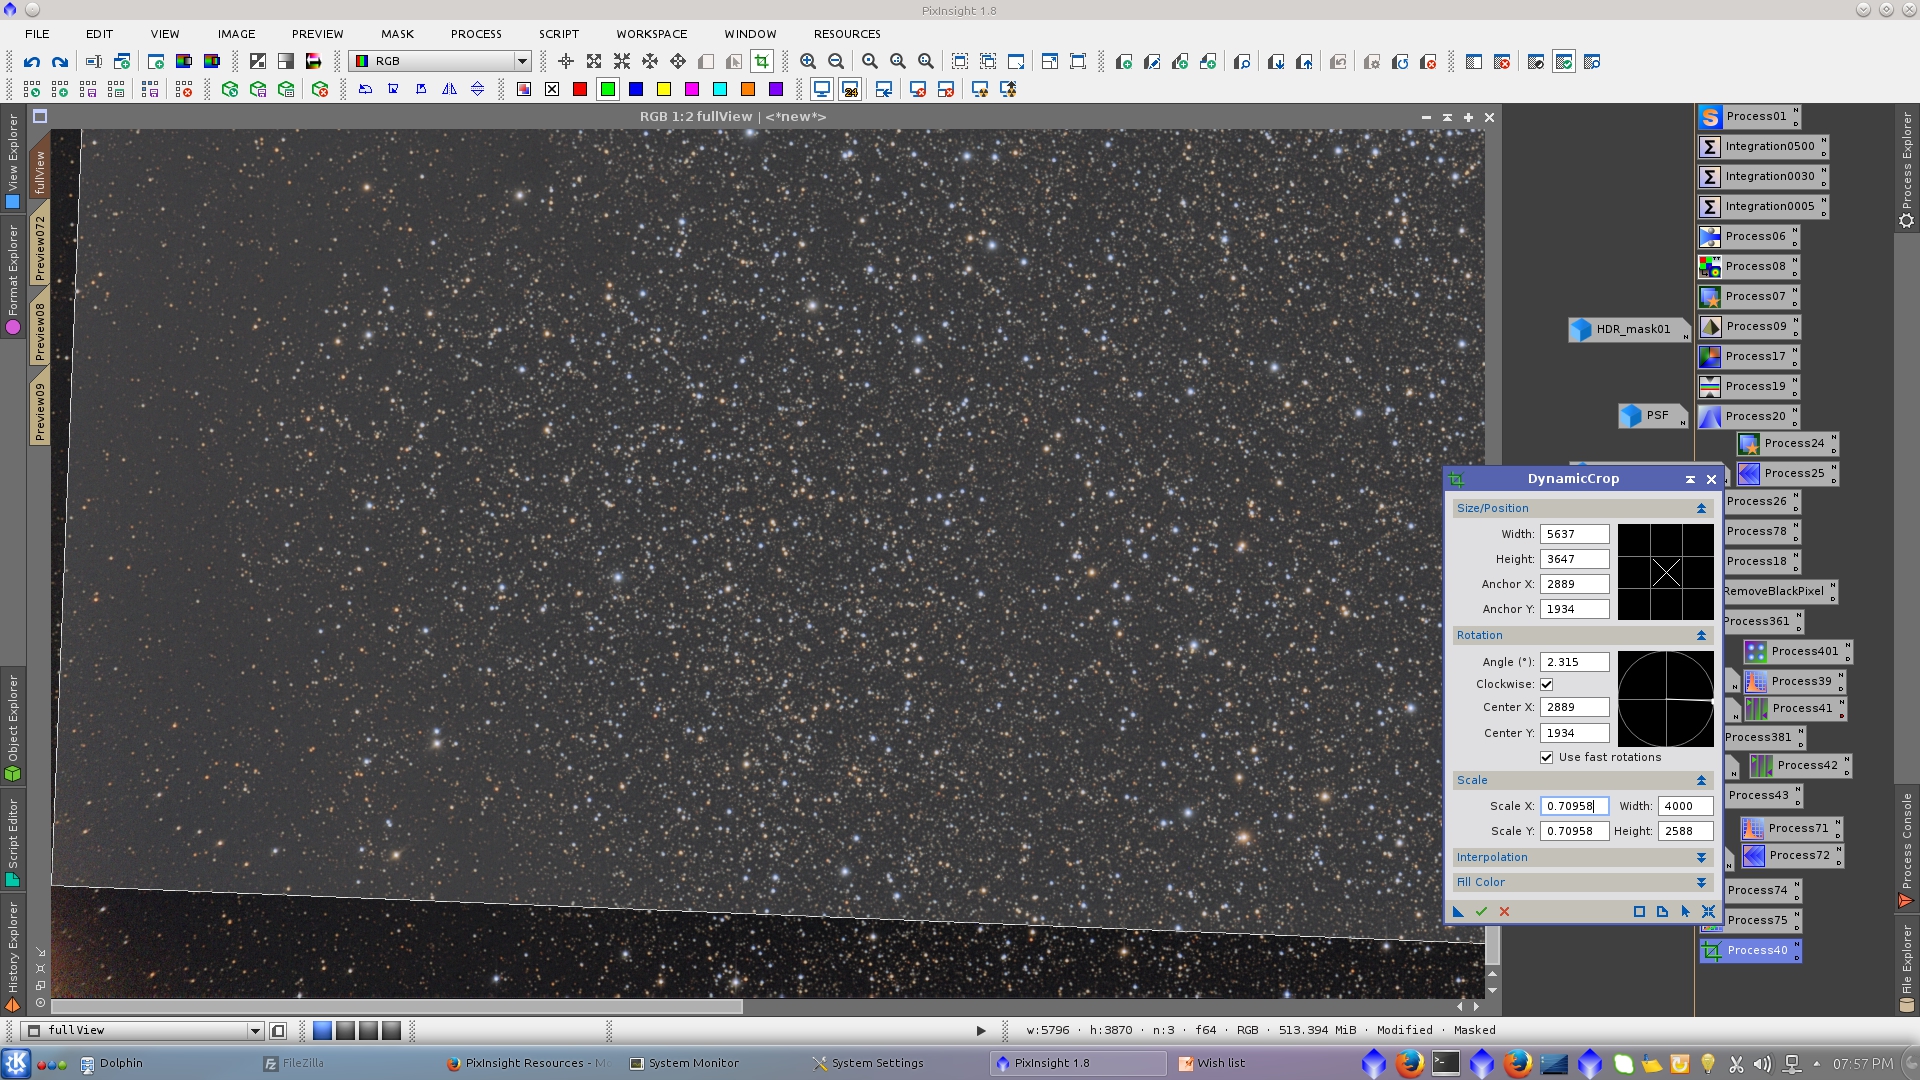
Little crop and rotation to eliminate the corner that remain with a brigh gradient using DynamicCrop tool.
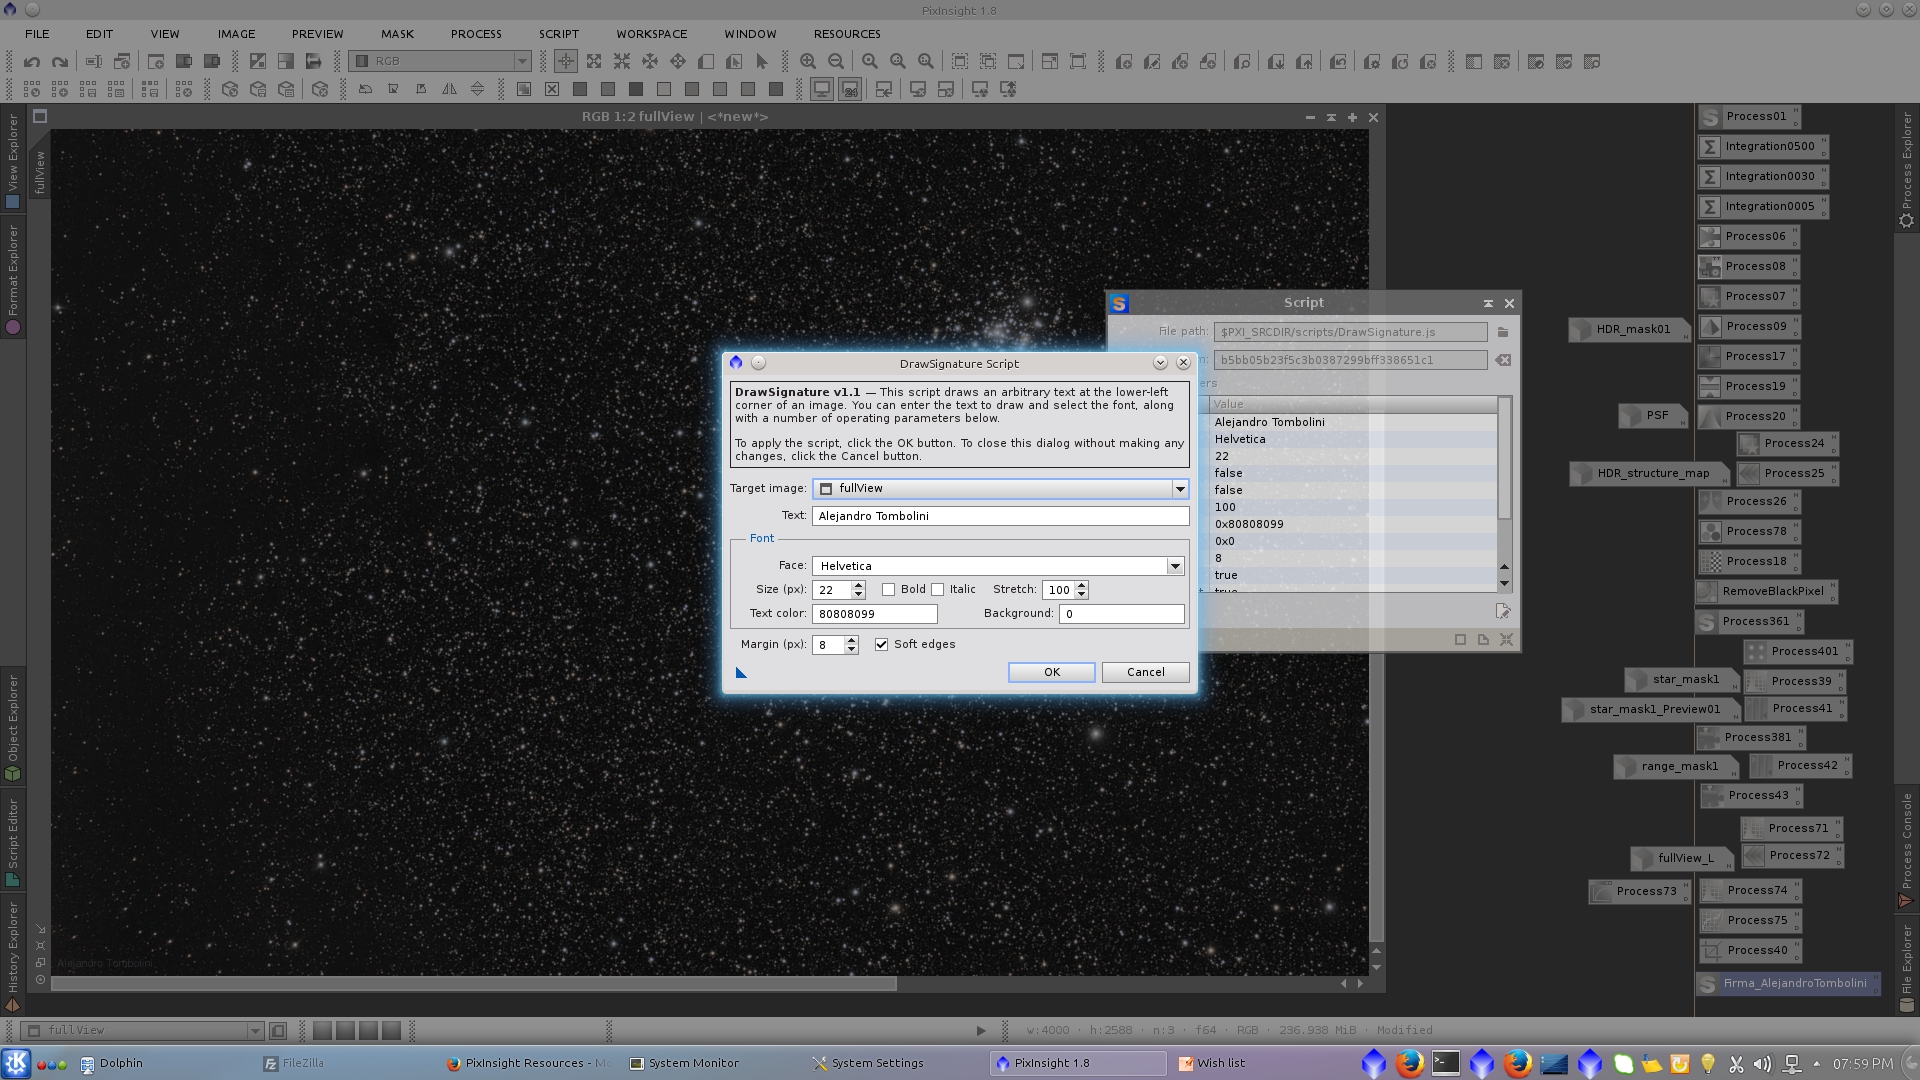
Add Signature with DrawSignature Script
Final Image
