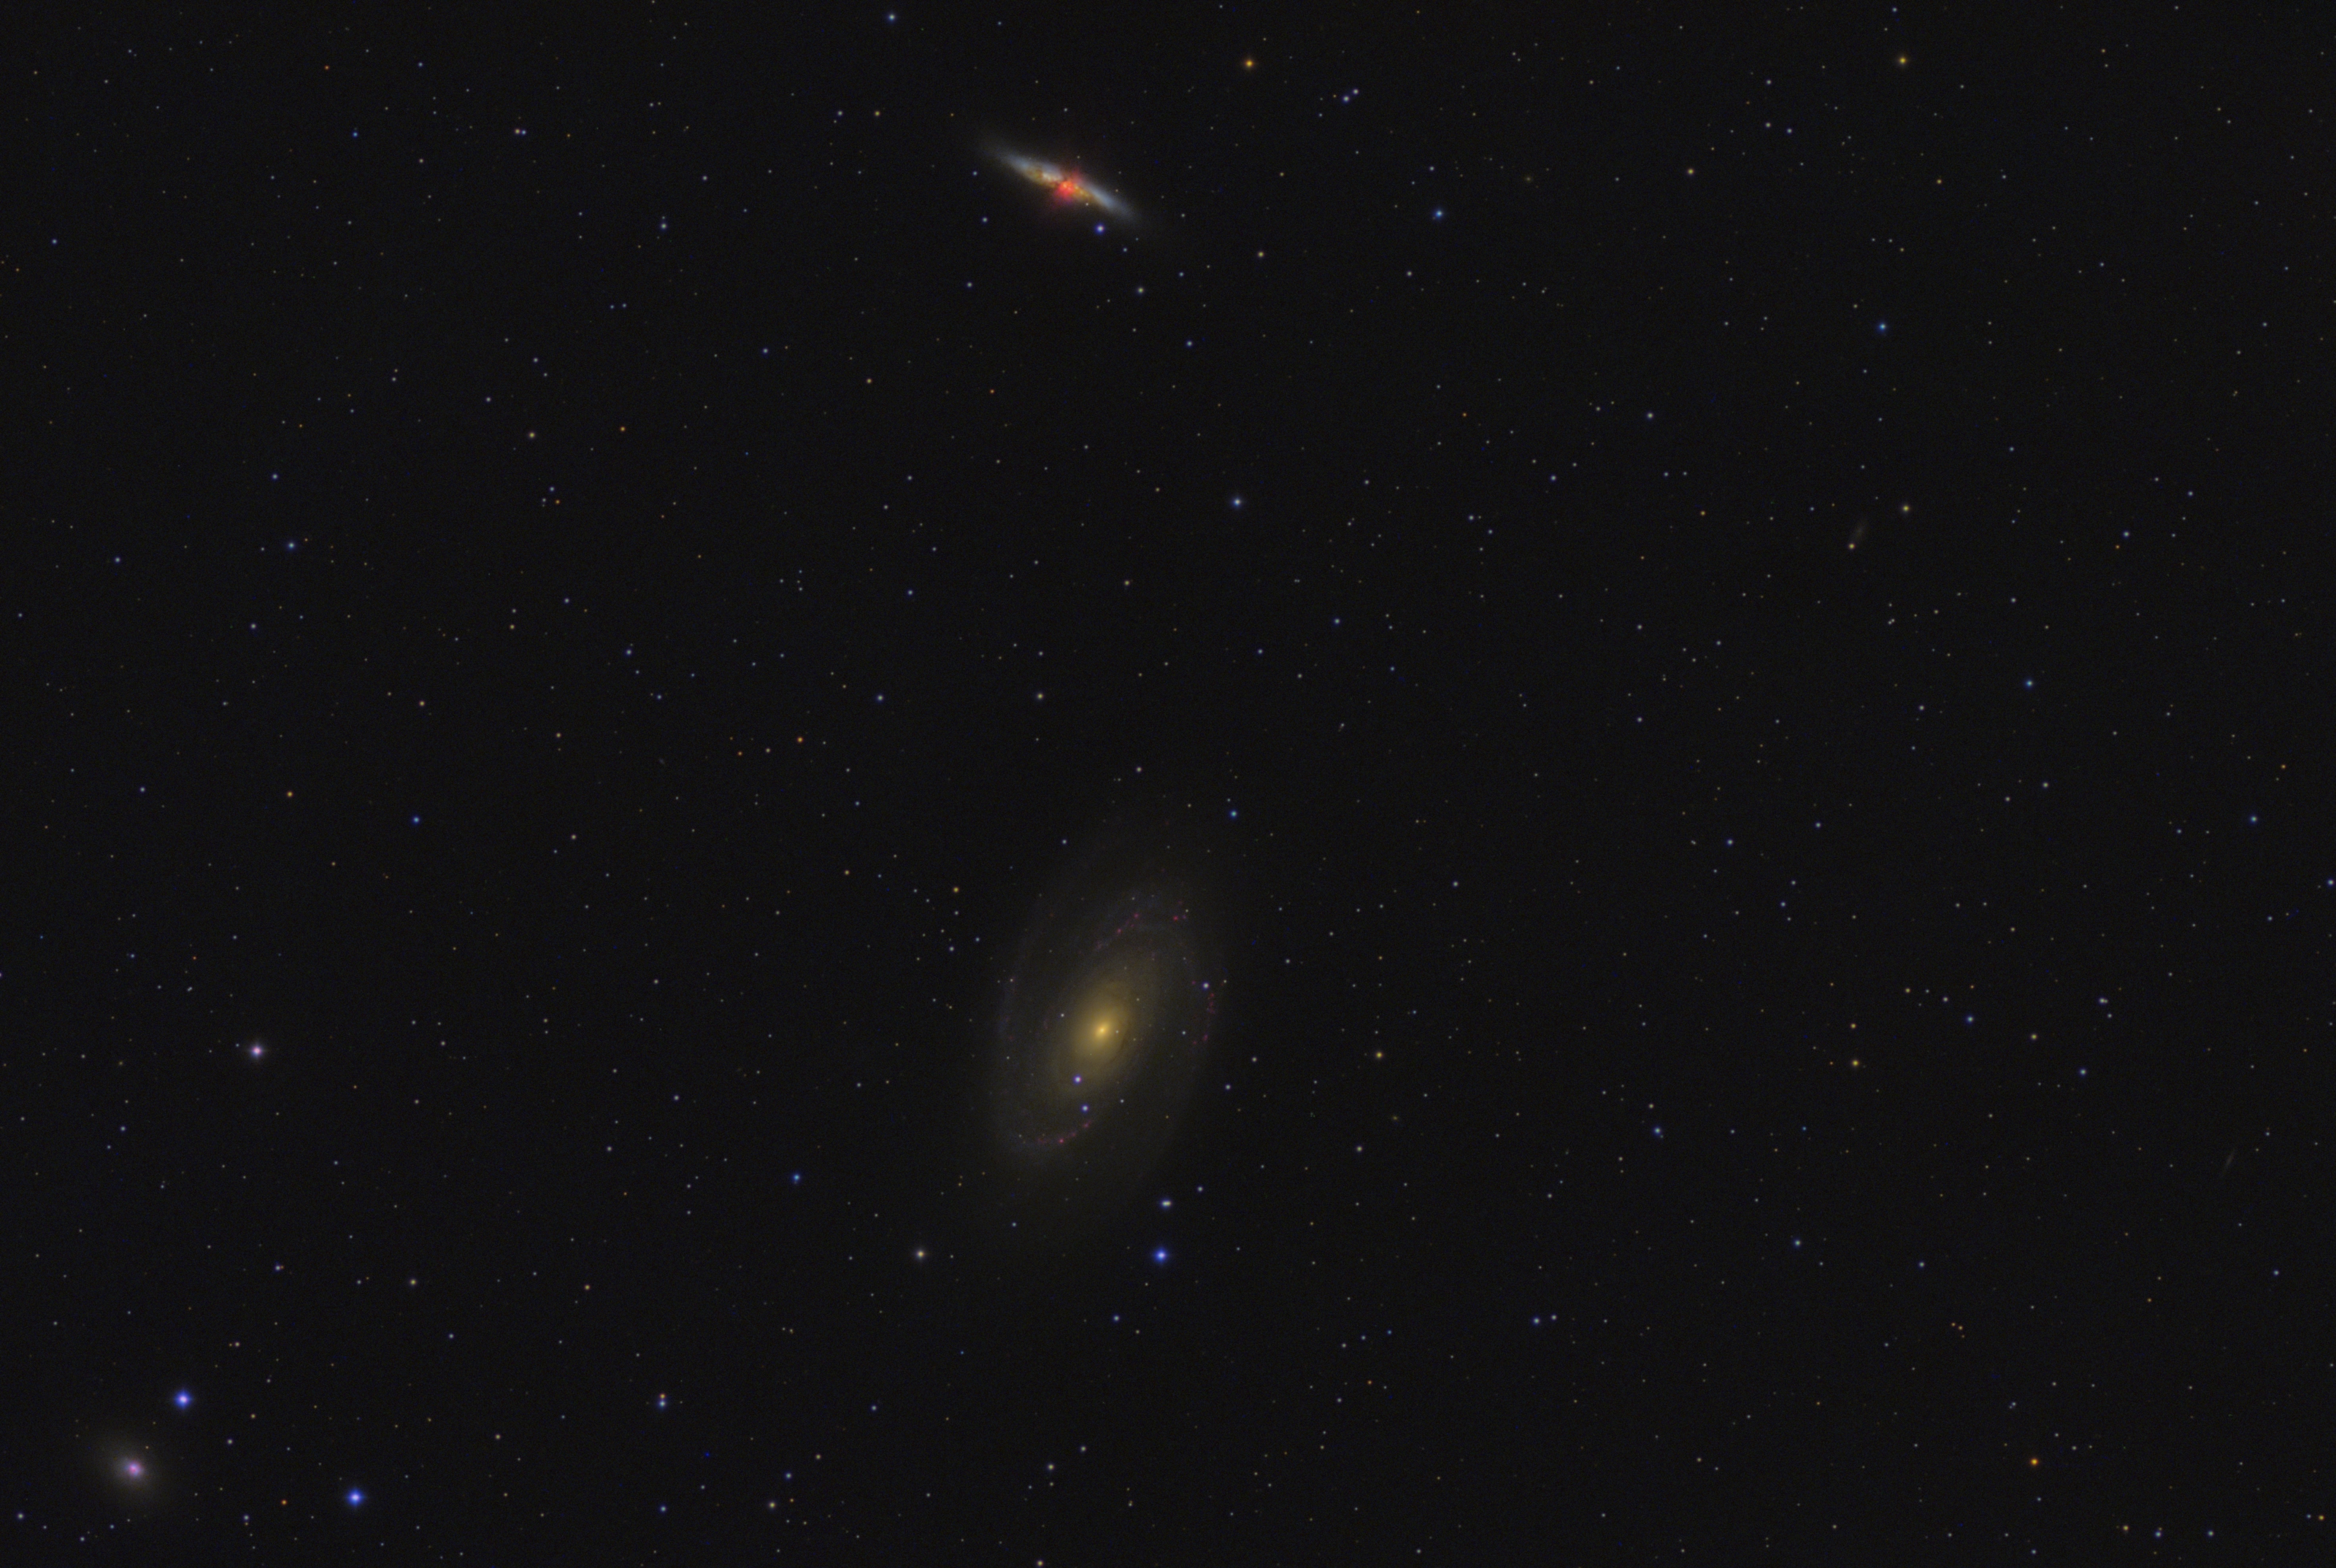
M81 & M82
by Alejandro Tombolini
Introduction
This image is from Manoj Koushik published in Image Processing Challenges - Linear and nonlinear postprocessing of an image taken with Moon with gradients - Main notes: CanonBandingReduction for vertical banding, DBE to remove gradients, Morphological Transformation to reduce stars. Date: June 2016.
Processing
For this project I used four previously integrated images provided by Manoj; Red_Driz_Master, Green_Driz_Master, Blue_Driz_Master and Syn_Lum_Master. The filters used for the images are:
Astrodon 31mm Ha 20nm FWHM: 12x900" -20C bin 1x1
Astrodon 31mm Stromgren V: 12x900" -20C bin 1x1
Astrodon 31mm Stromgren Y: 12x900" -20C bin 1x1
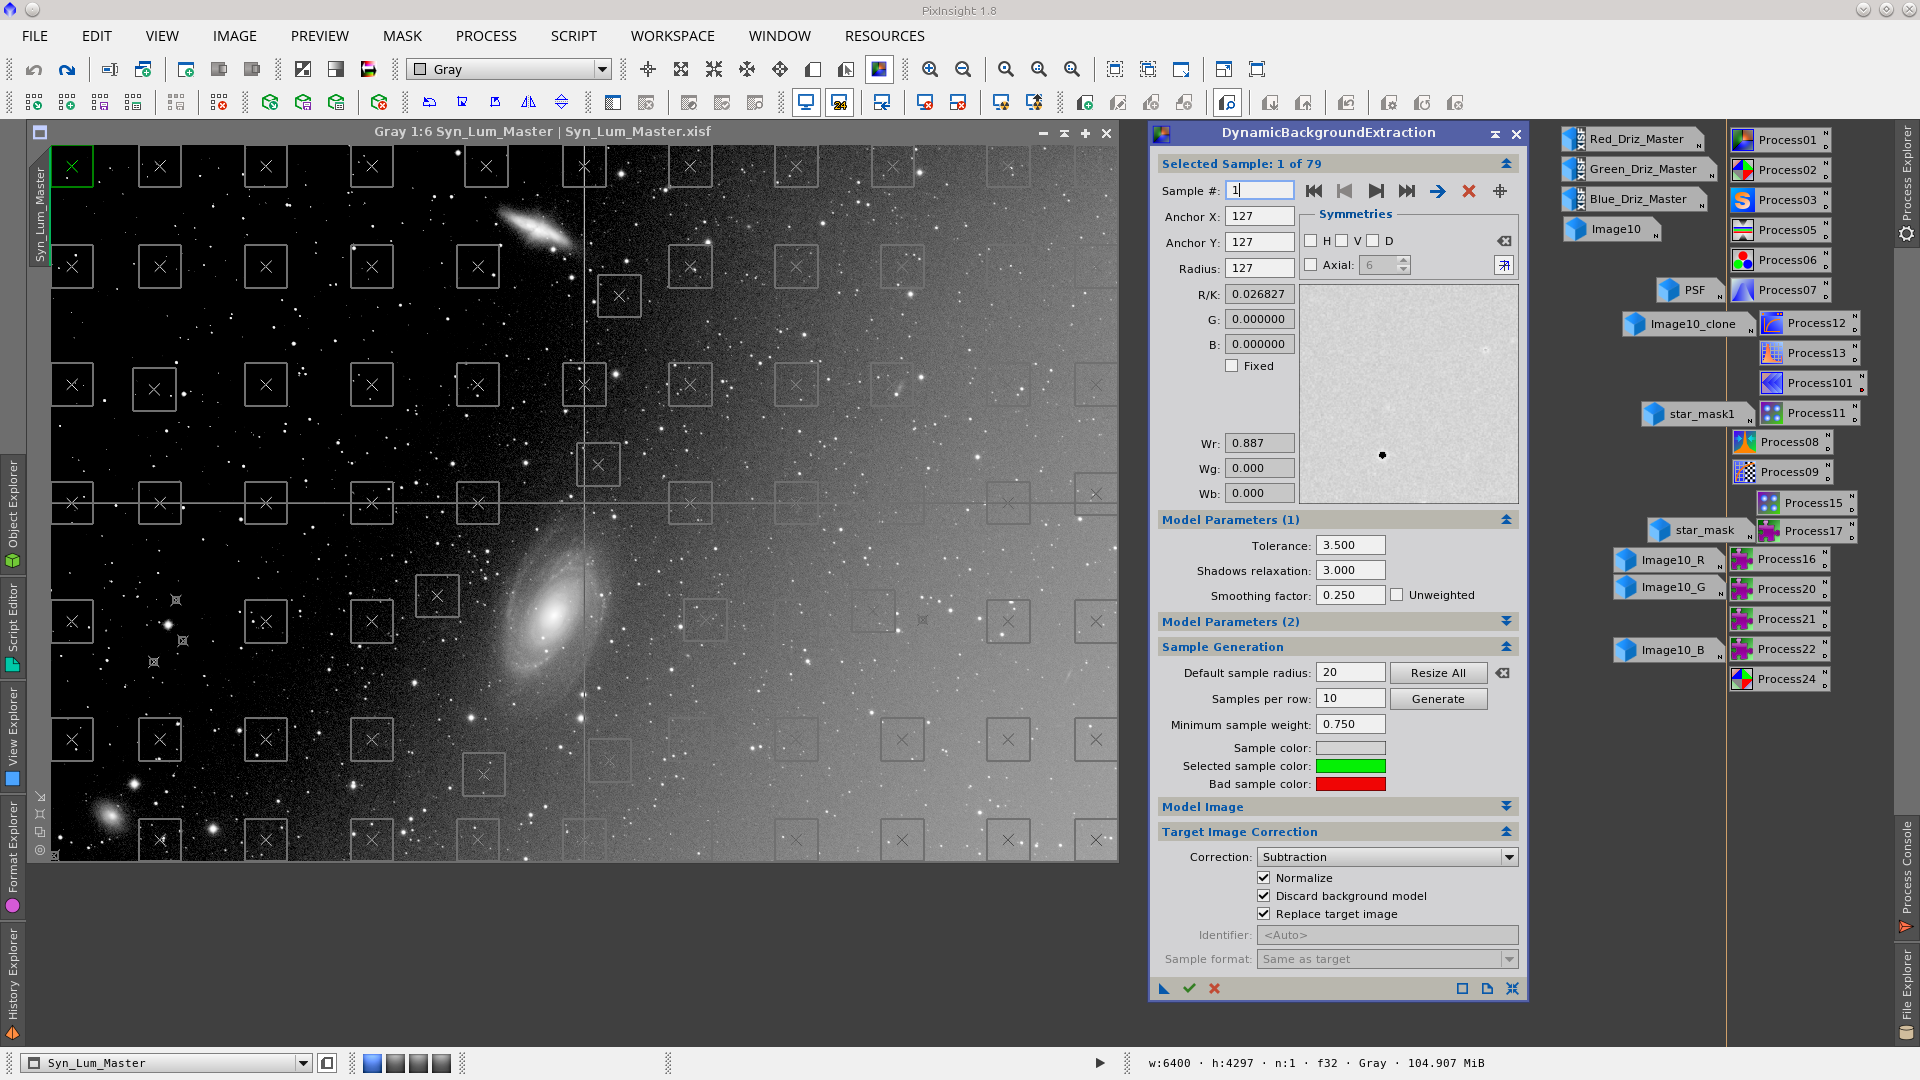
The gradient presents in the images can be removed using DynamicBackgroundExtraction with the settings detailed in the following screenshots. Although the gradients are different in each image, I have used the same DBE instance which worked perfectly well in all of them. I could also have applied DBE after combining the channels.
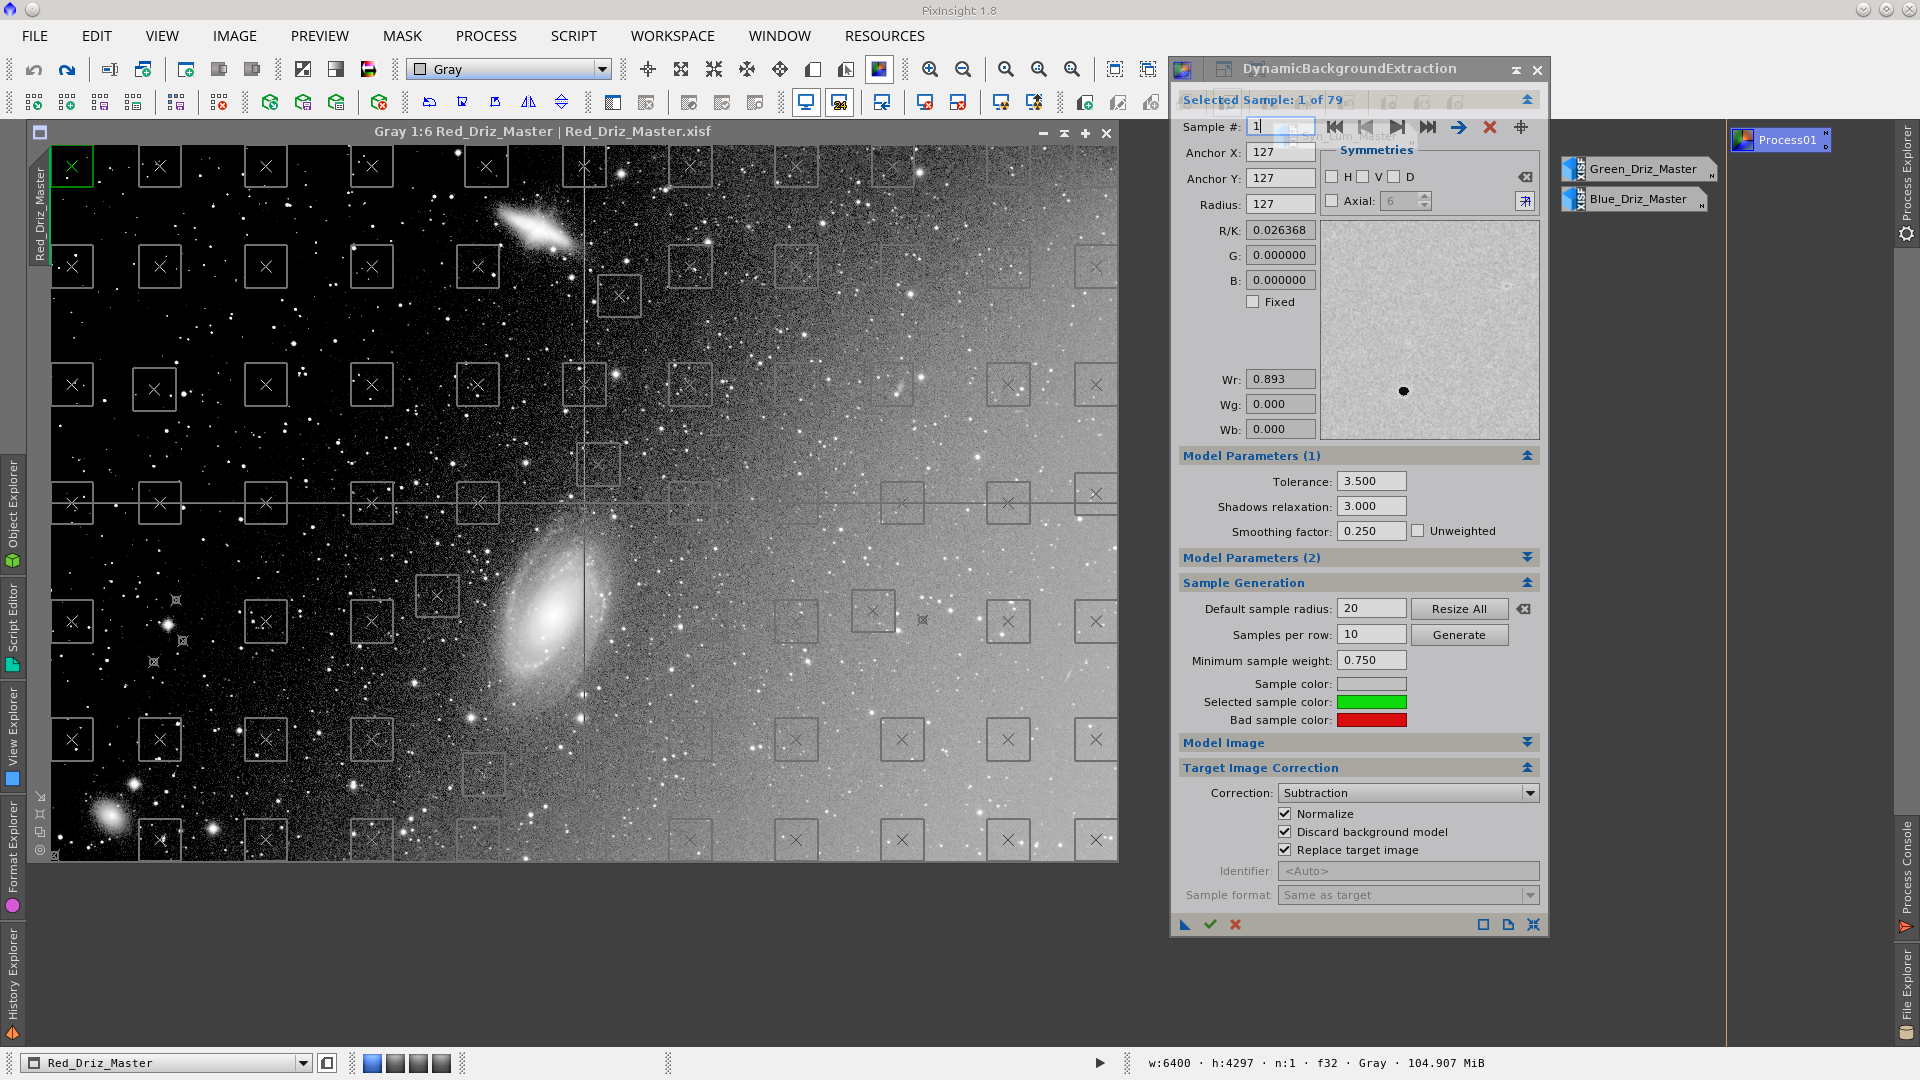
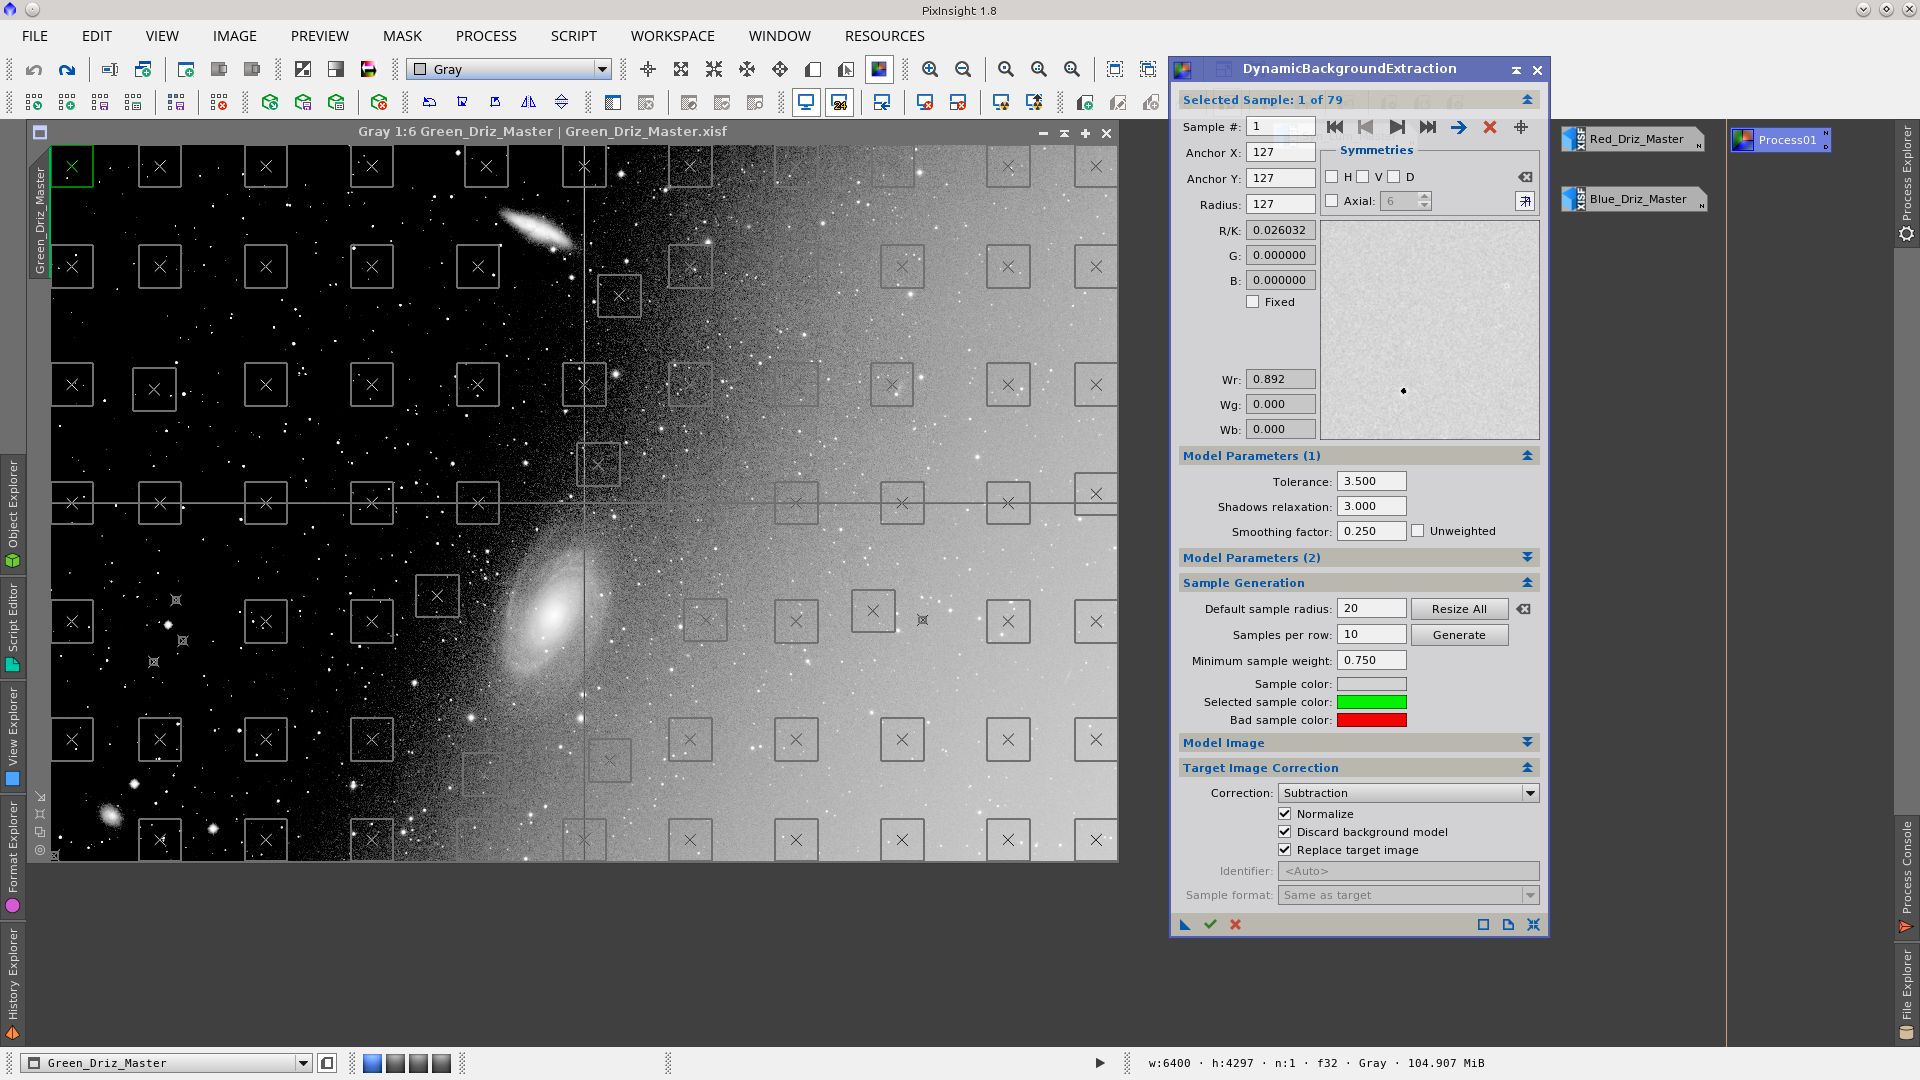
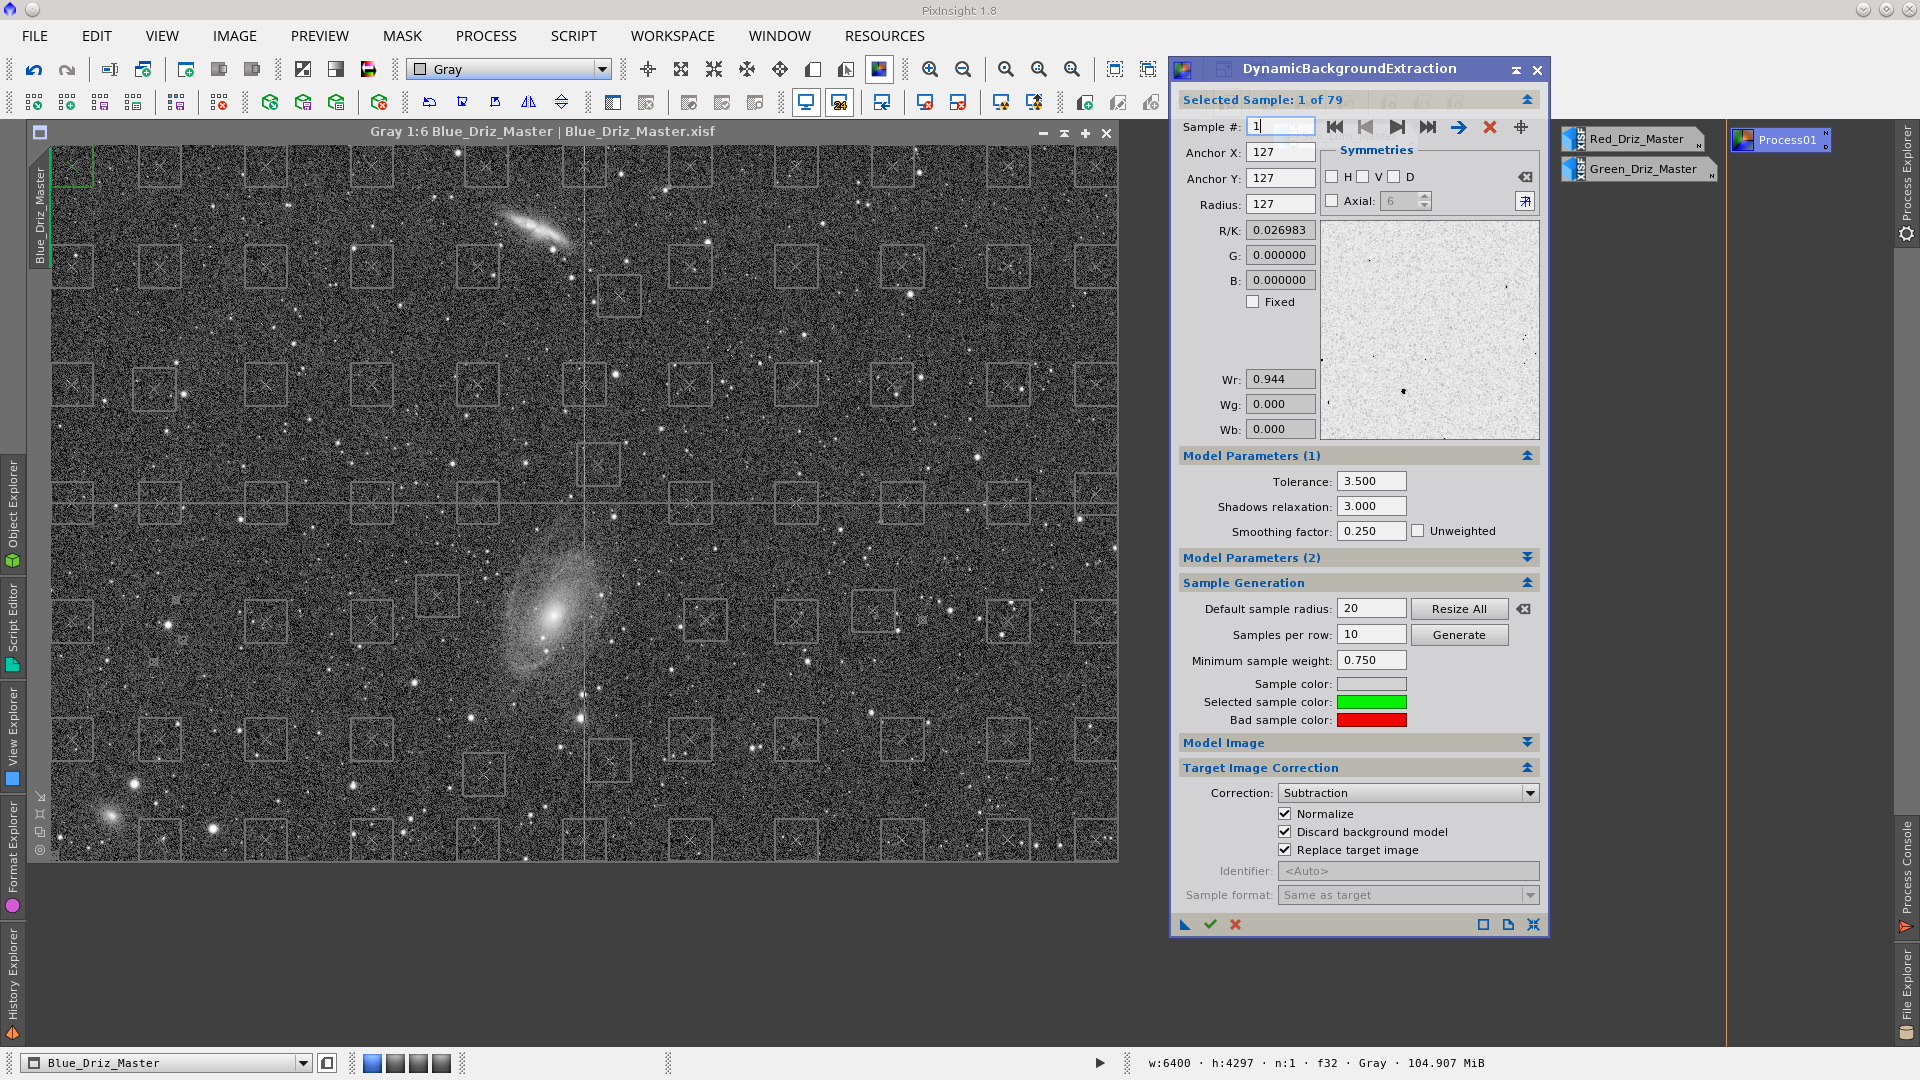
Using the ChannelCombination tool to generate an RGB image
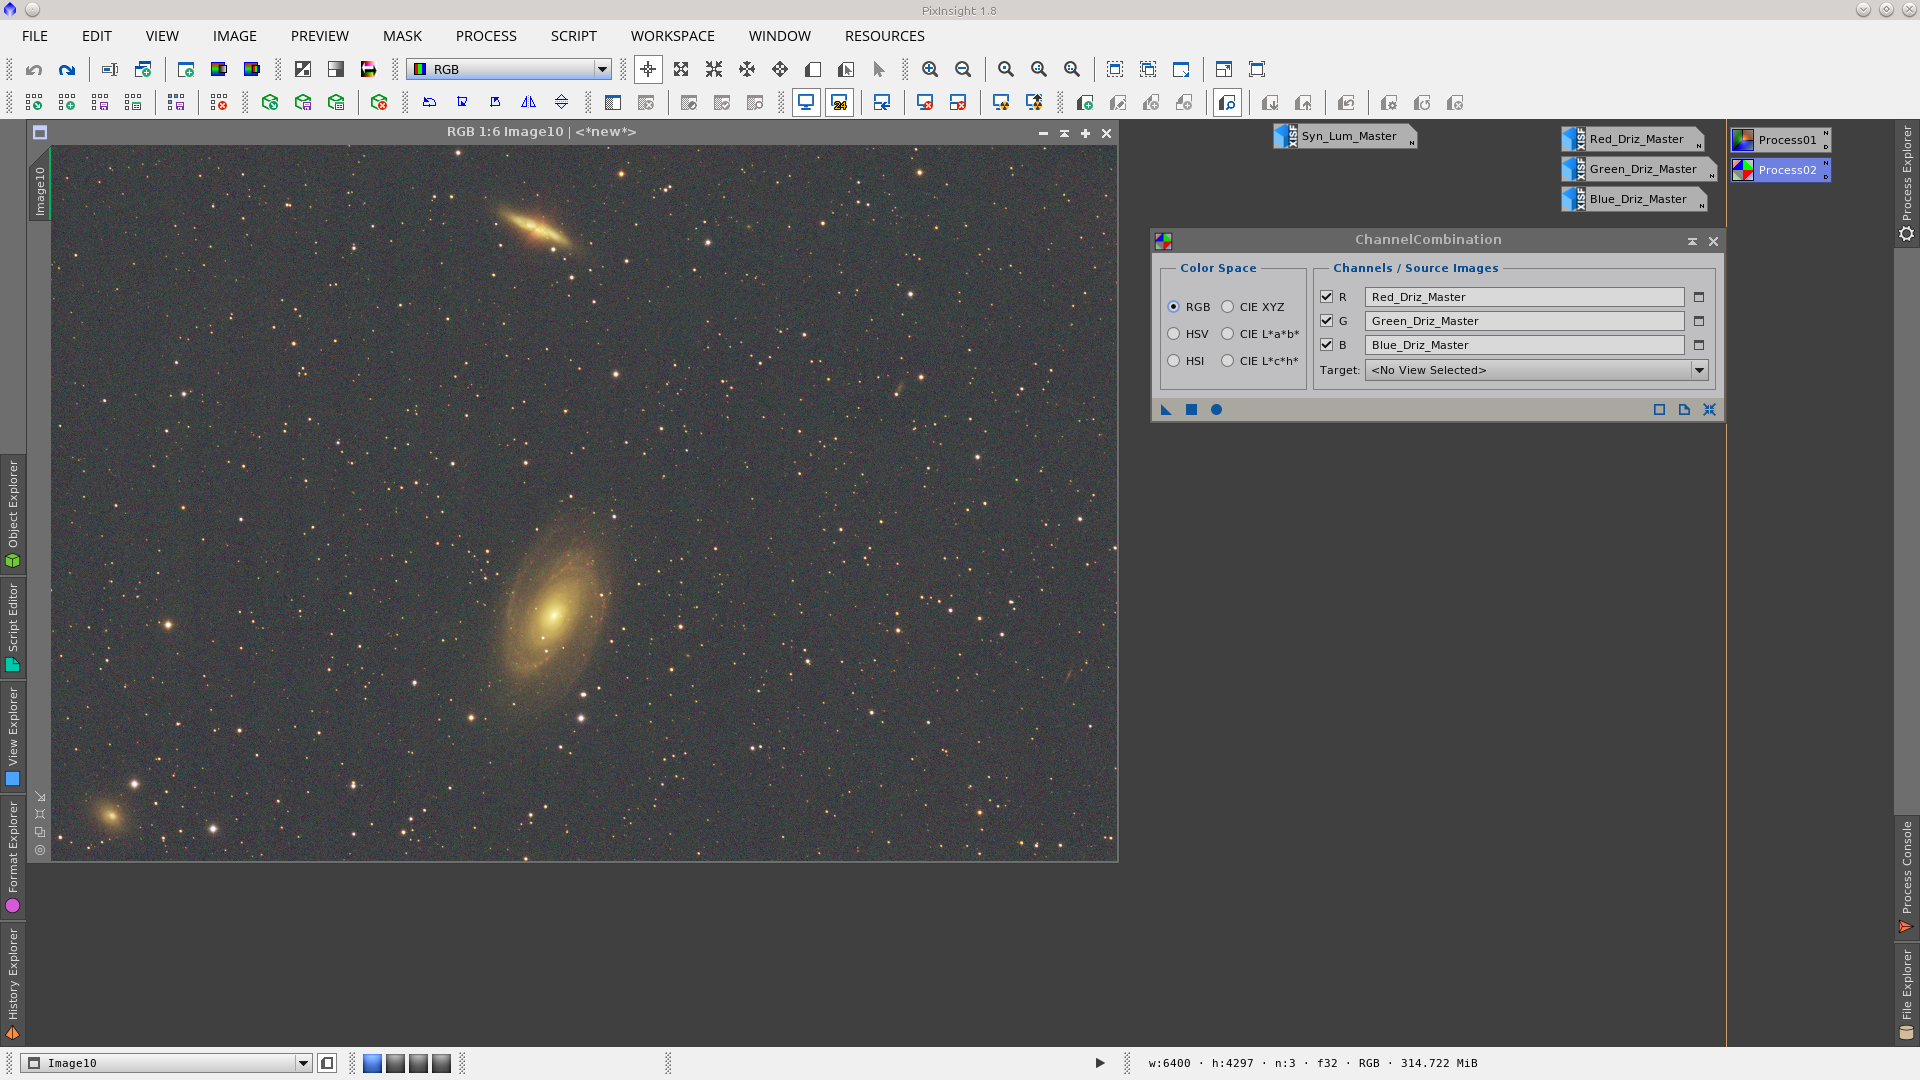
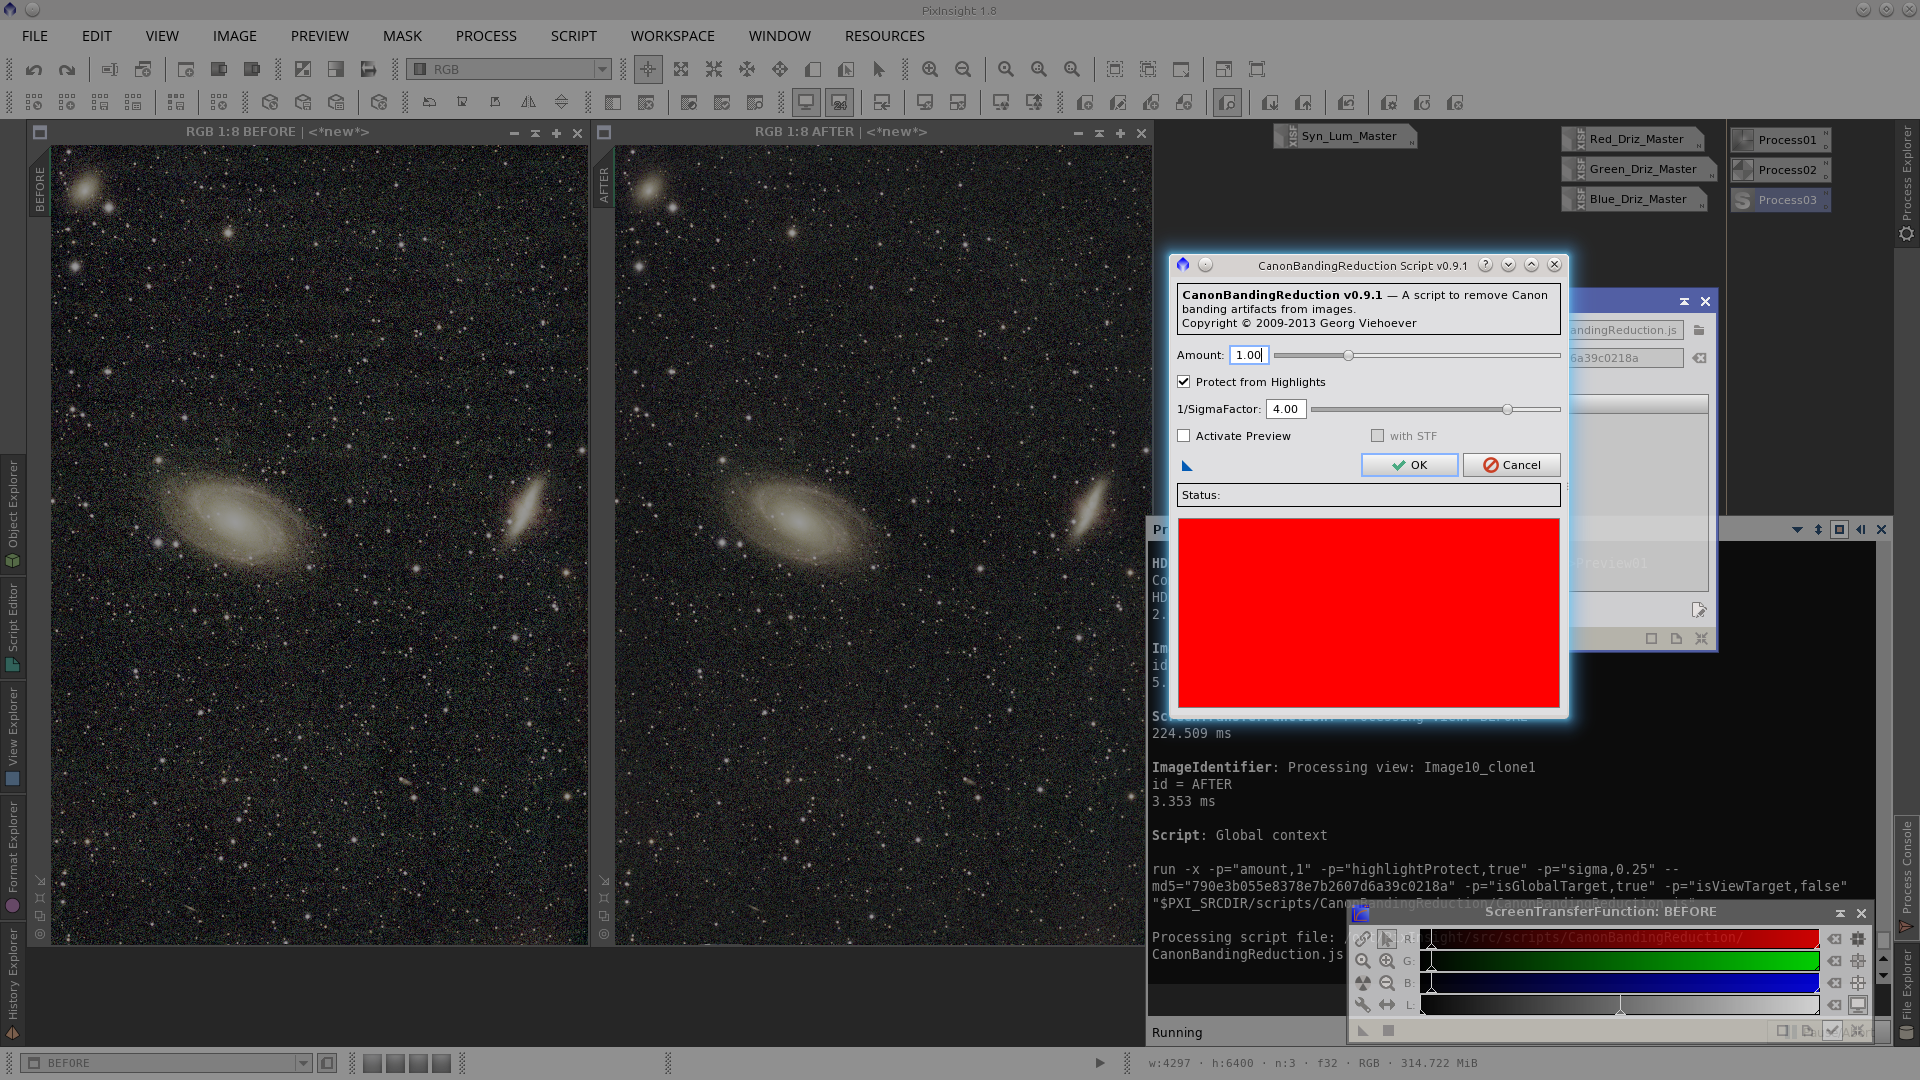
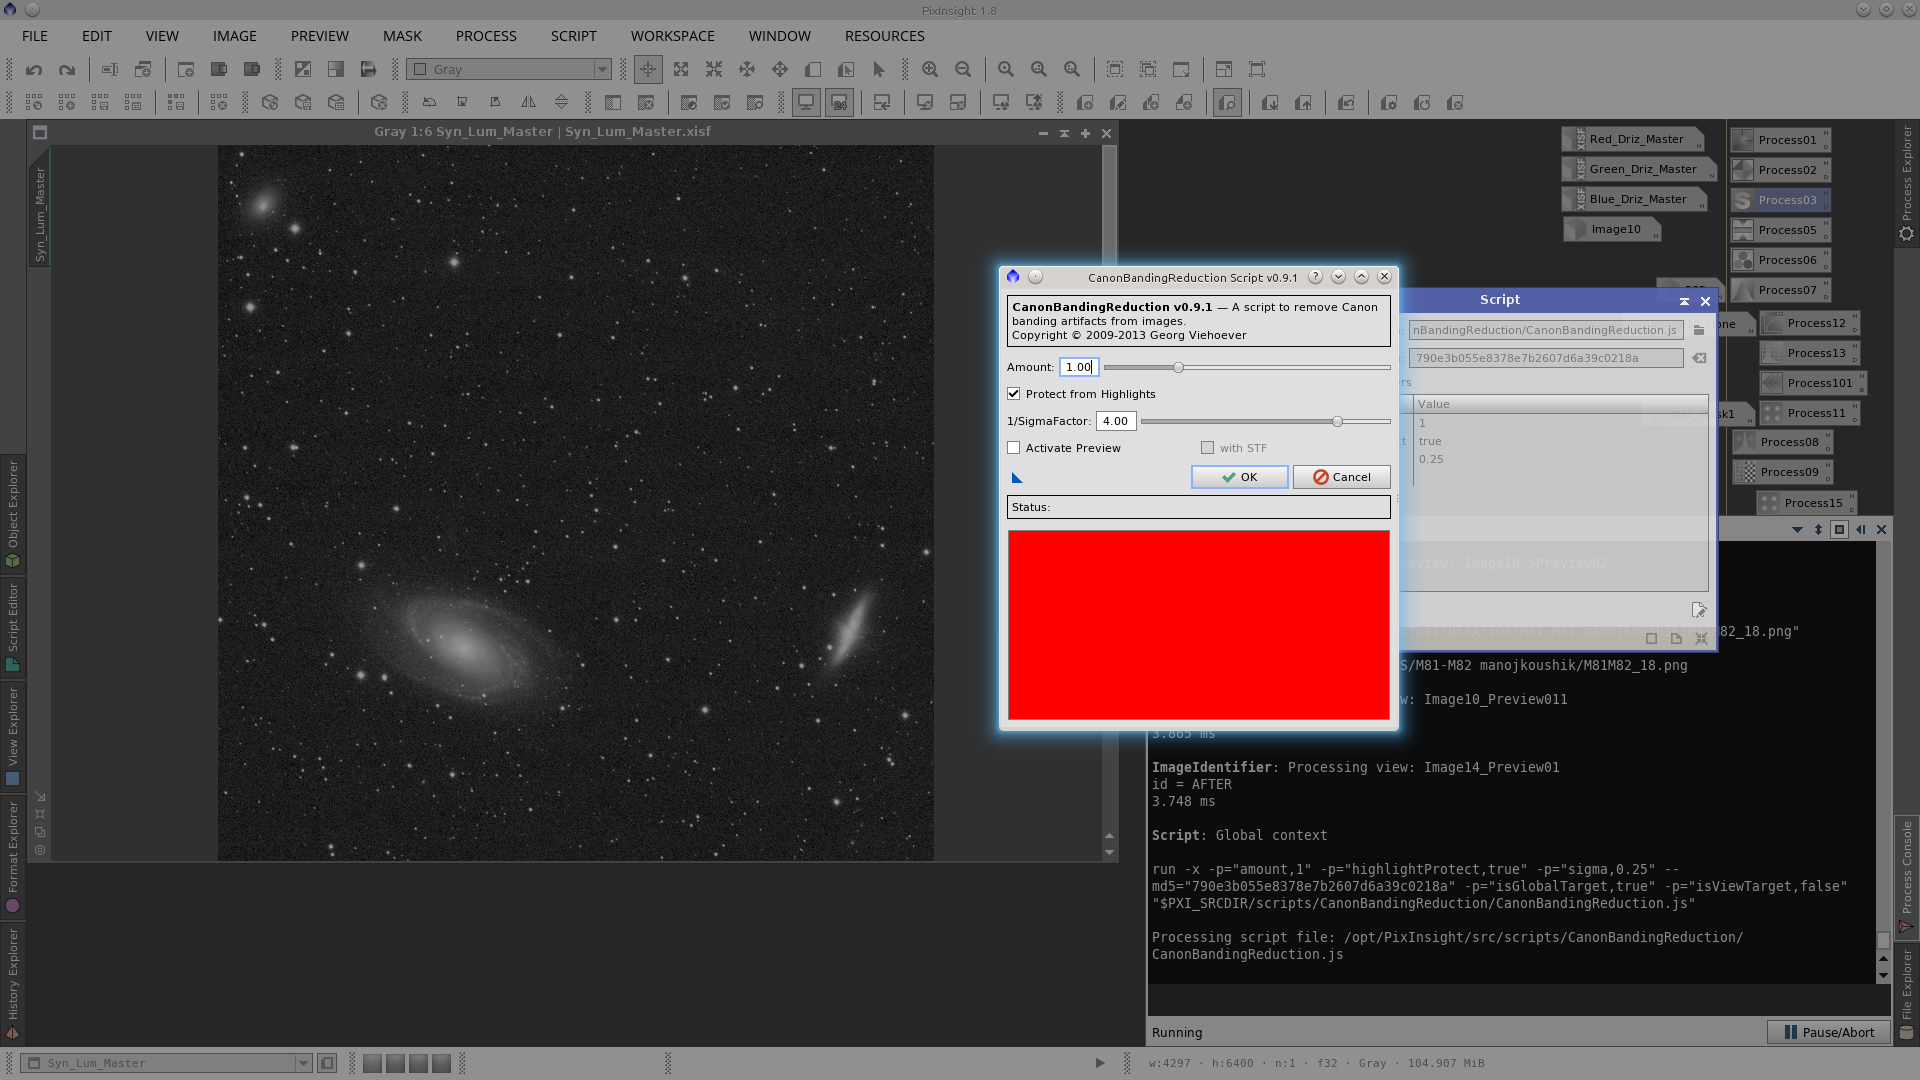
As can be seen in the following screenshot there is some vertical banding in the image. To remove the vertical banding use the CanonBandingReduction script, but rotate the image 90º before since the tool can only be applied for horizontal banding. After reducing the banding rotate the image back again.
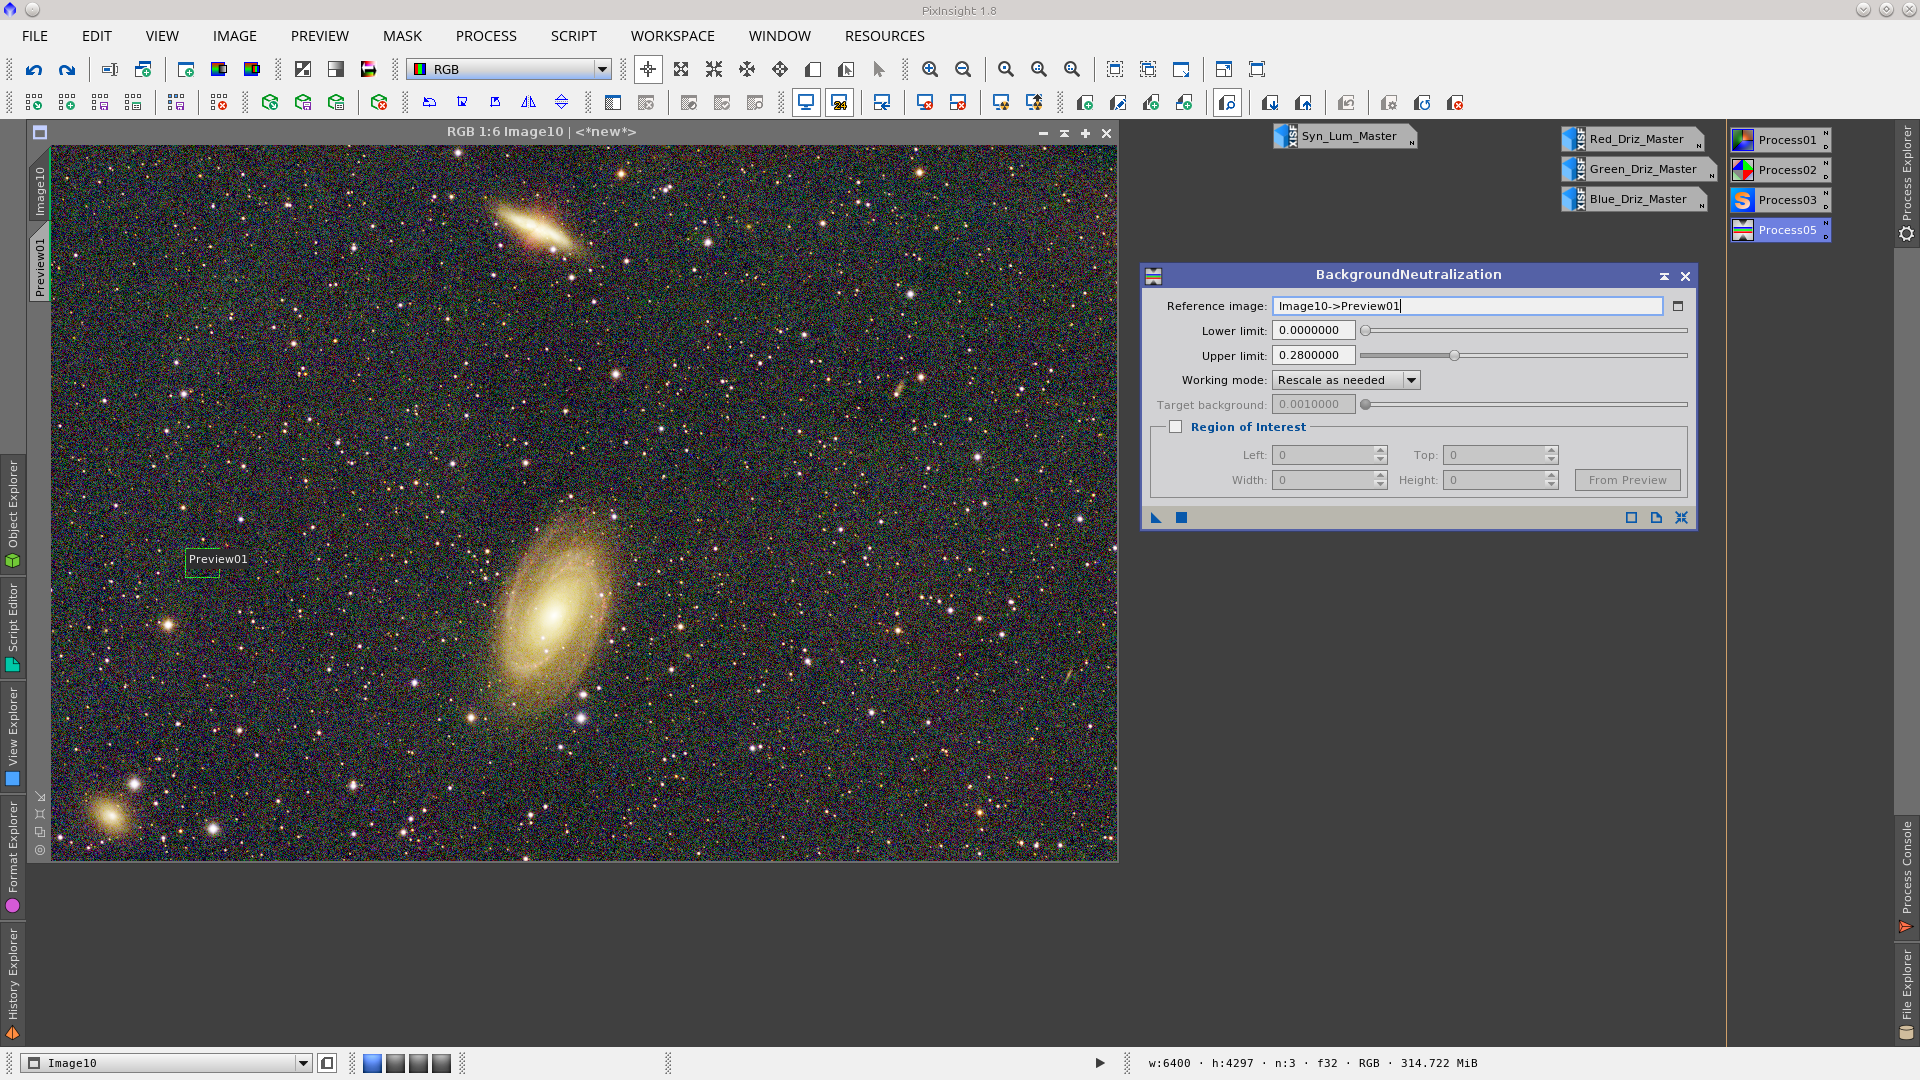
Apply the BackgroundNeutralization tool. Select a preview that represent the background of the image and read the maximum pixel values from Statistics.
Apply the ColorCalibration tool. Update the values of the background reference from the preview previously used and use the rest of the values as default.

Generate a PSF to be used in the Deconvolution process.

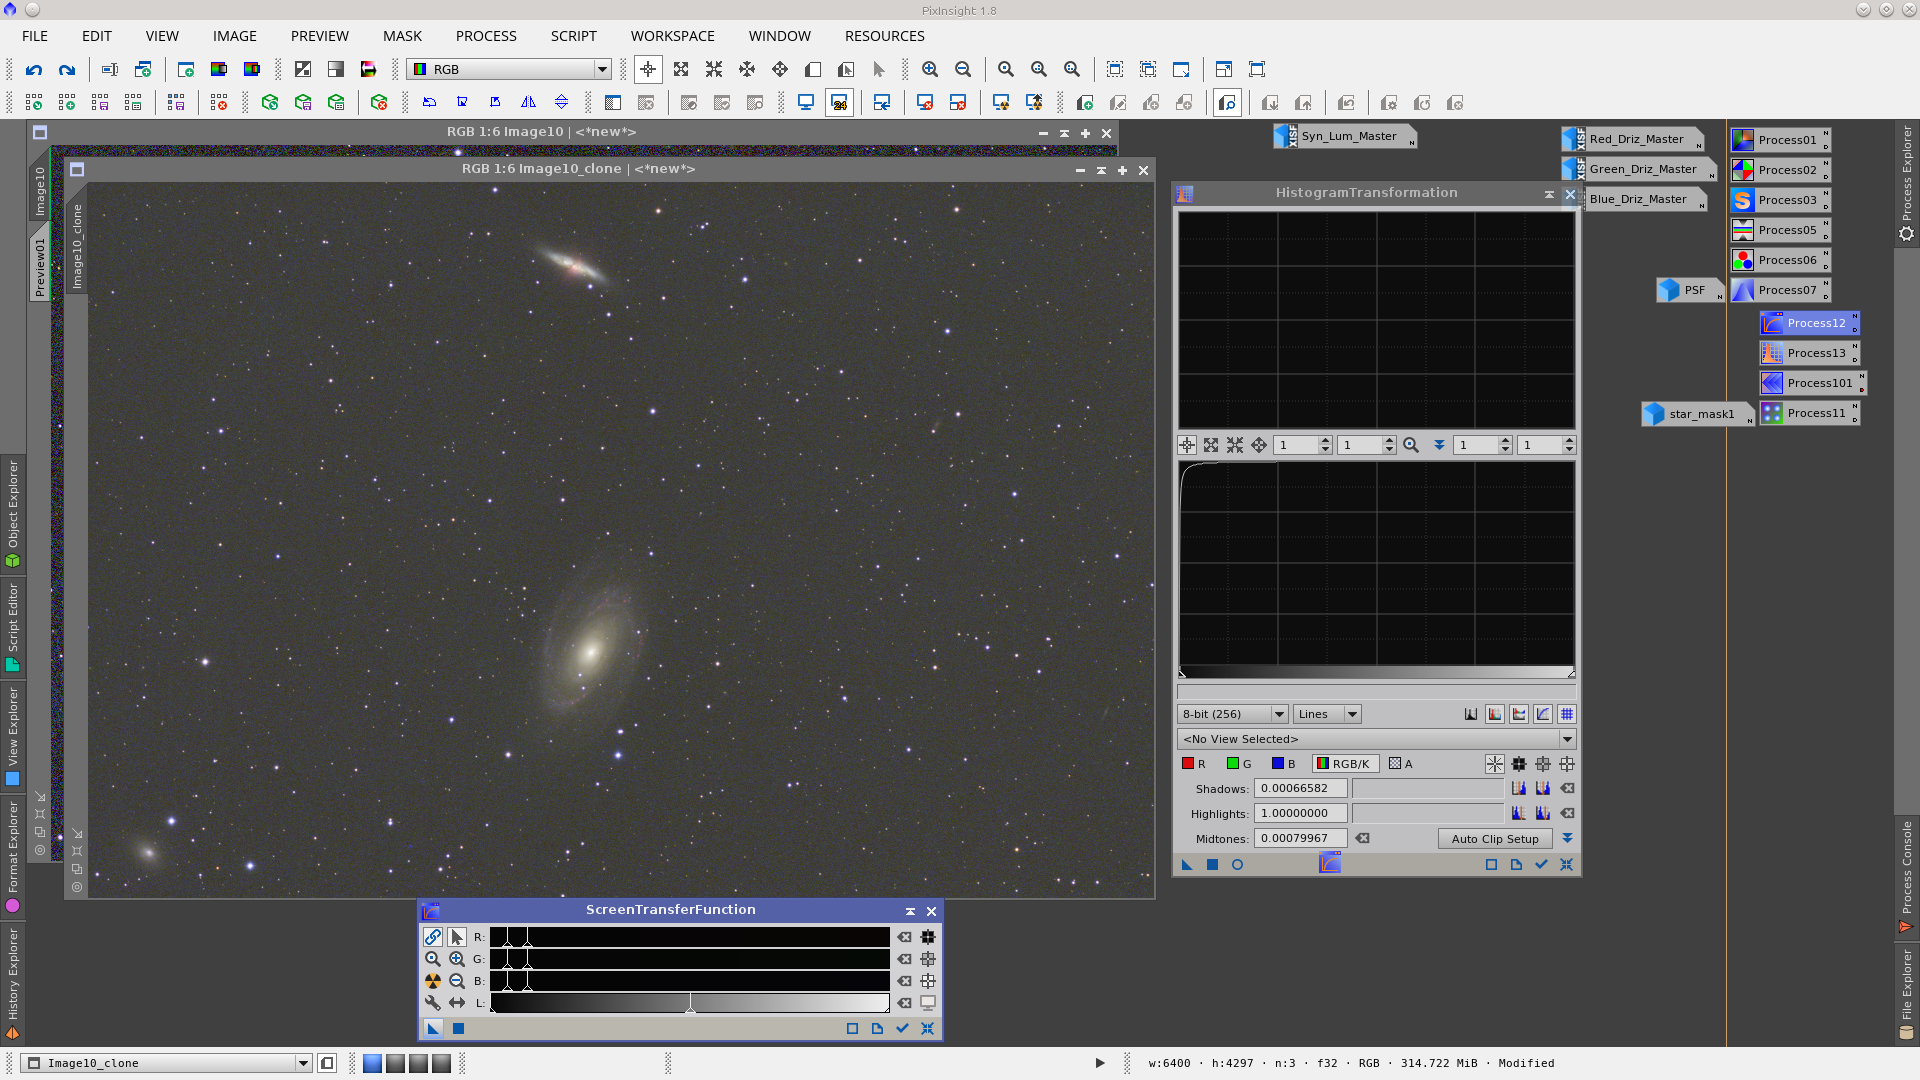
Generate a star mask using the Starmask tool to protect the cores of stars during deconvolution. To build this mask first clone the image, then copy the parameters of the STF to the HistogramTranformation tool by dragging the blue triangle to the bottom bar of the HT tool, then apply HT to the image.
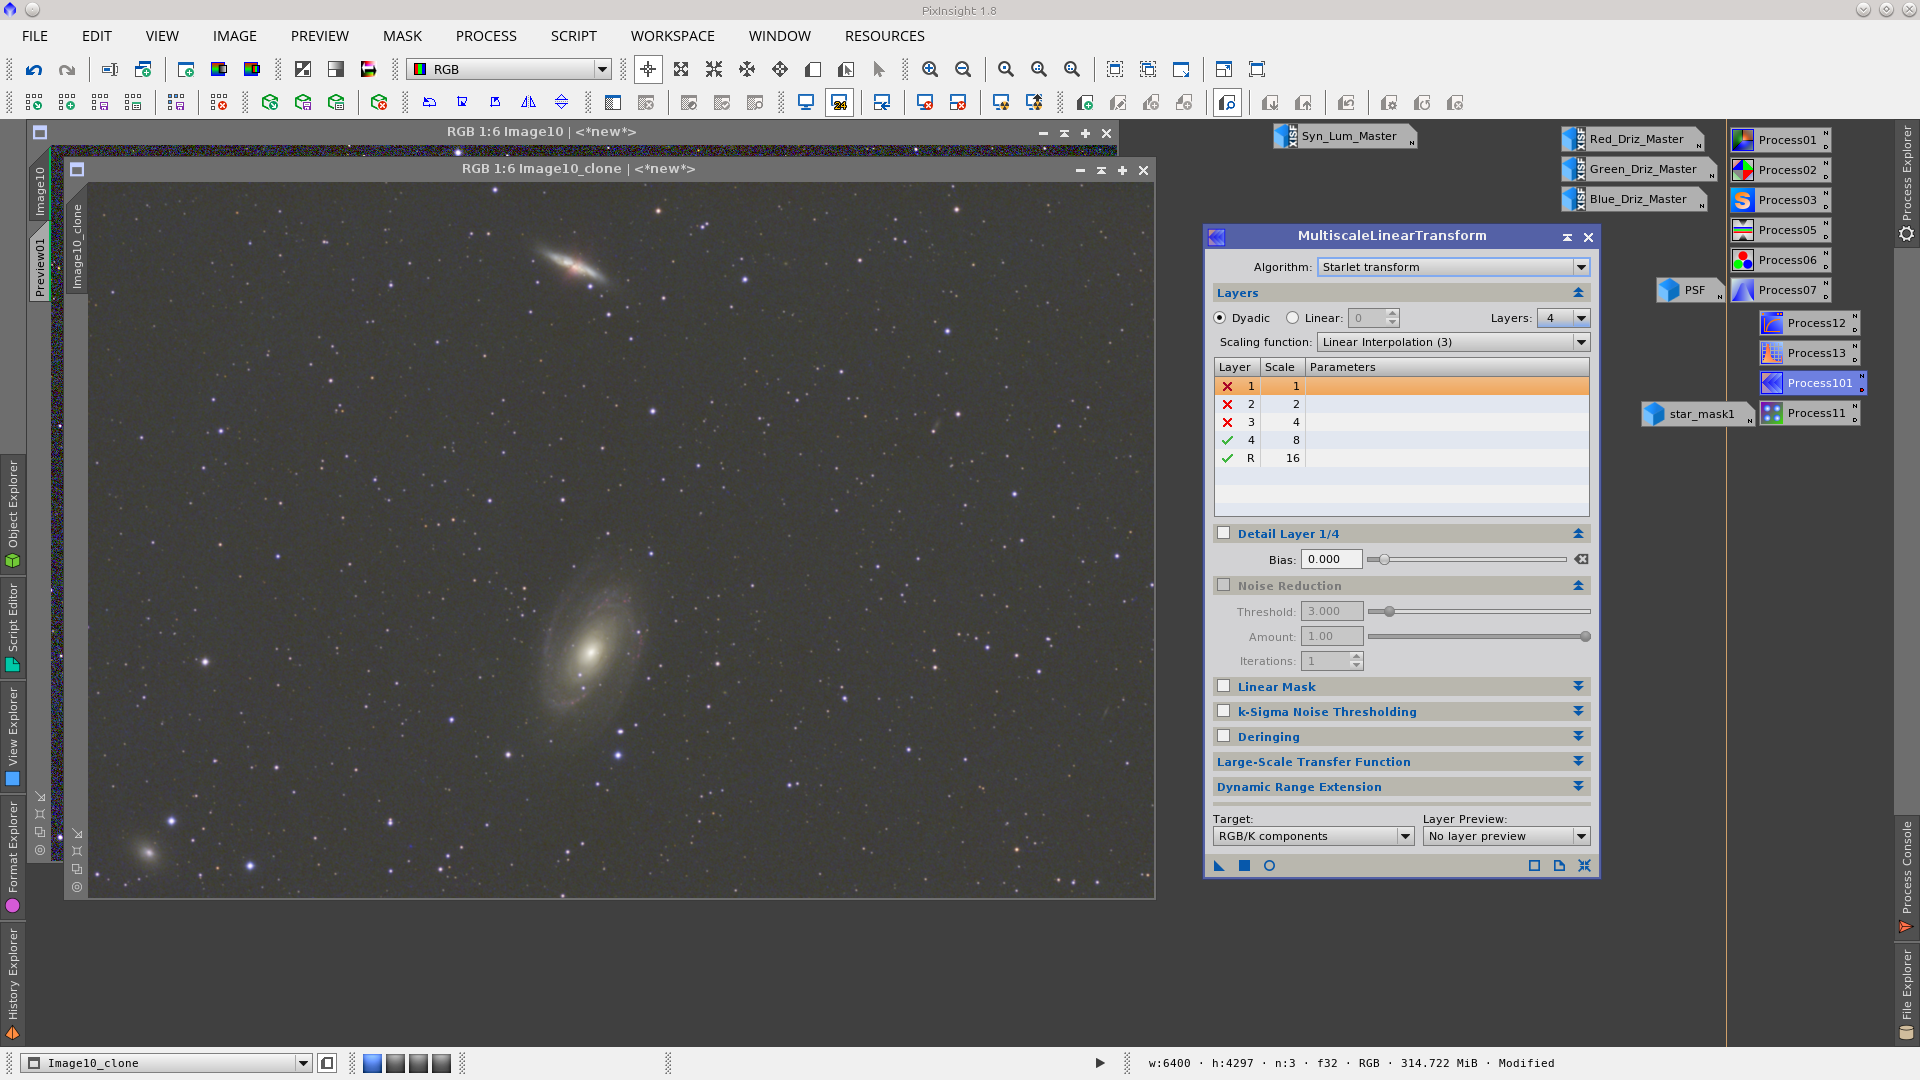
Once stretched, smooth the _clone image by removing three layers using the MultiscaleLinearTransform tool.
Now apply the StarMask process on the _clone to generate the star_mask using the following parameters:
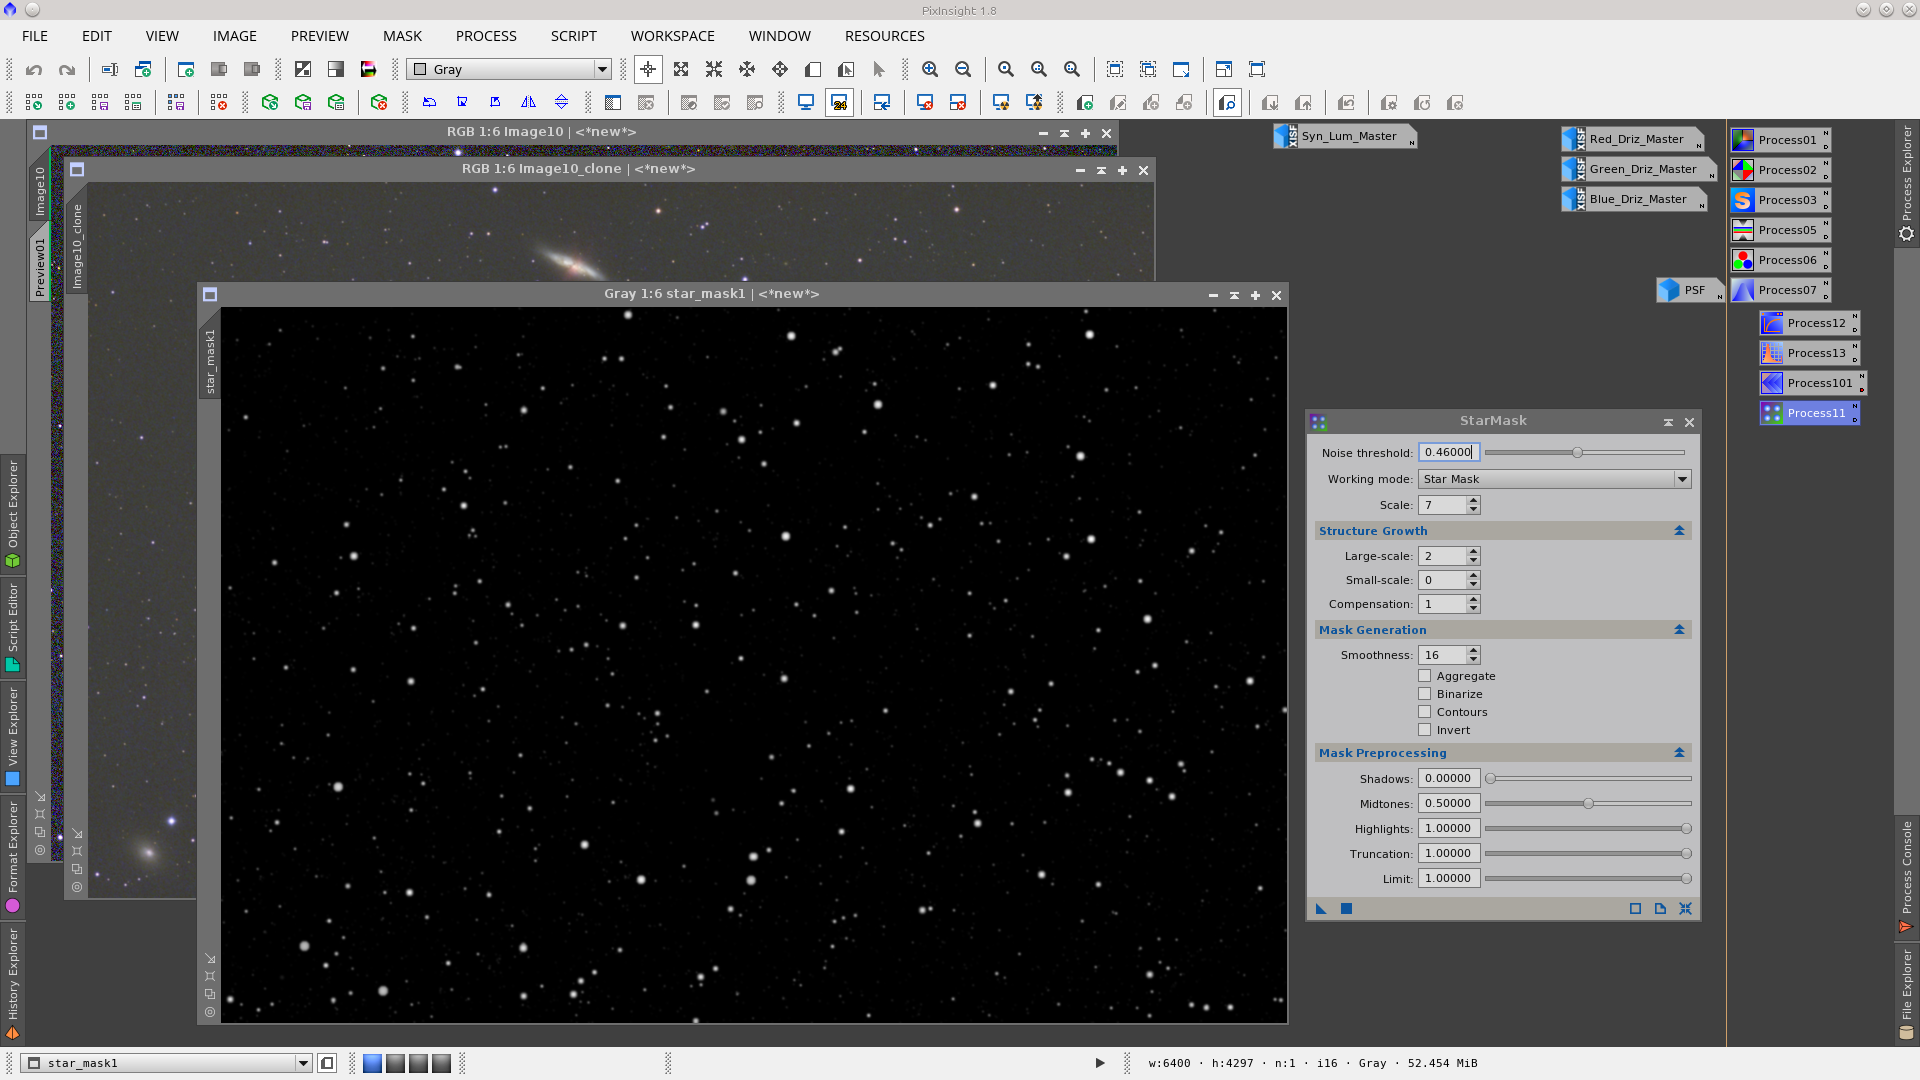
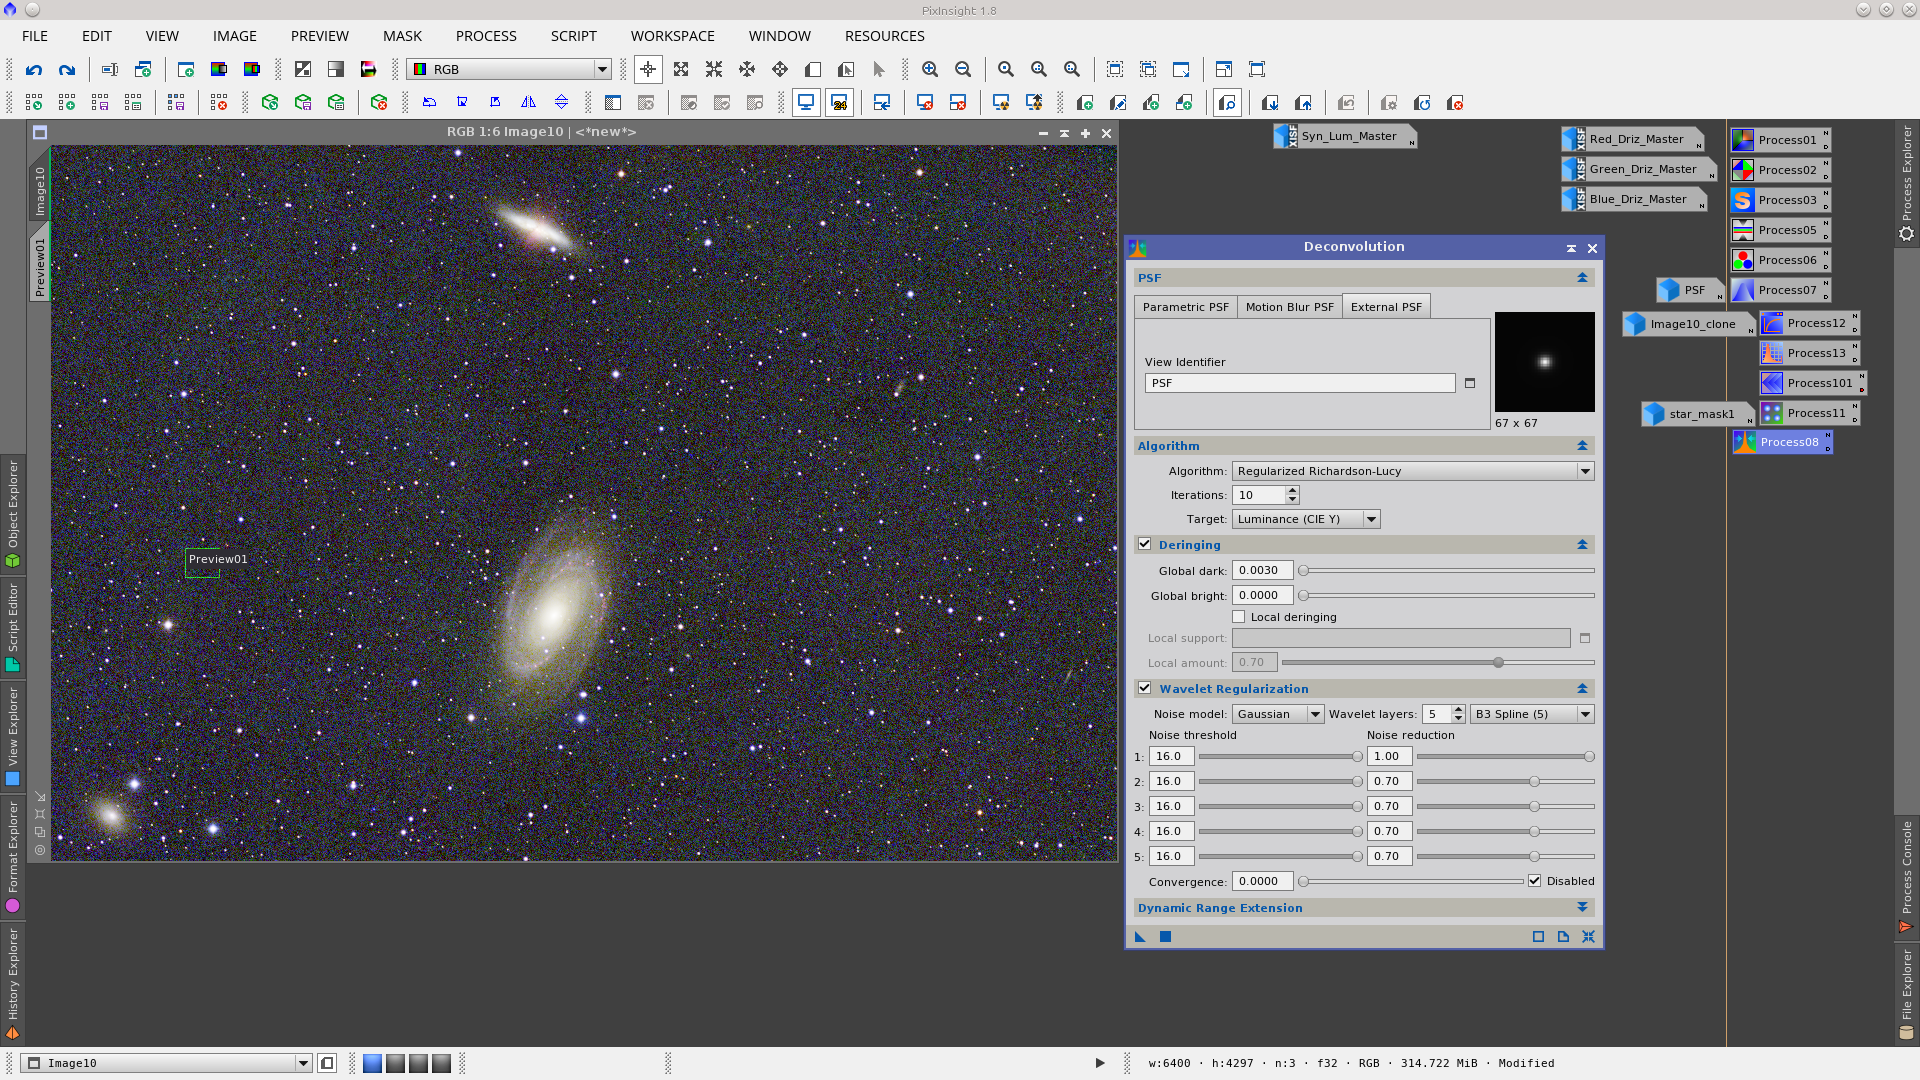
Protecting the stars with star_mask1 apply the Deconvolution tool to the image. This process will bring out little details in the galaxies and improve the medium and small stars profiles.
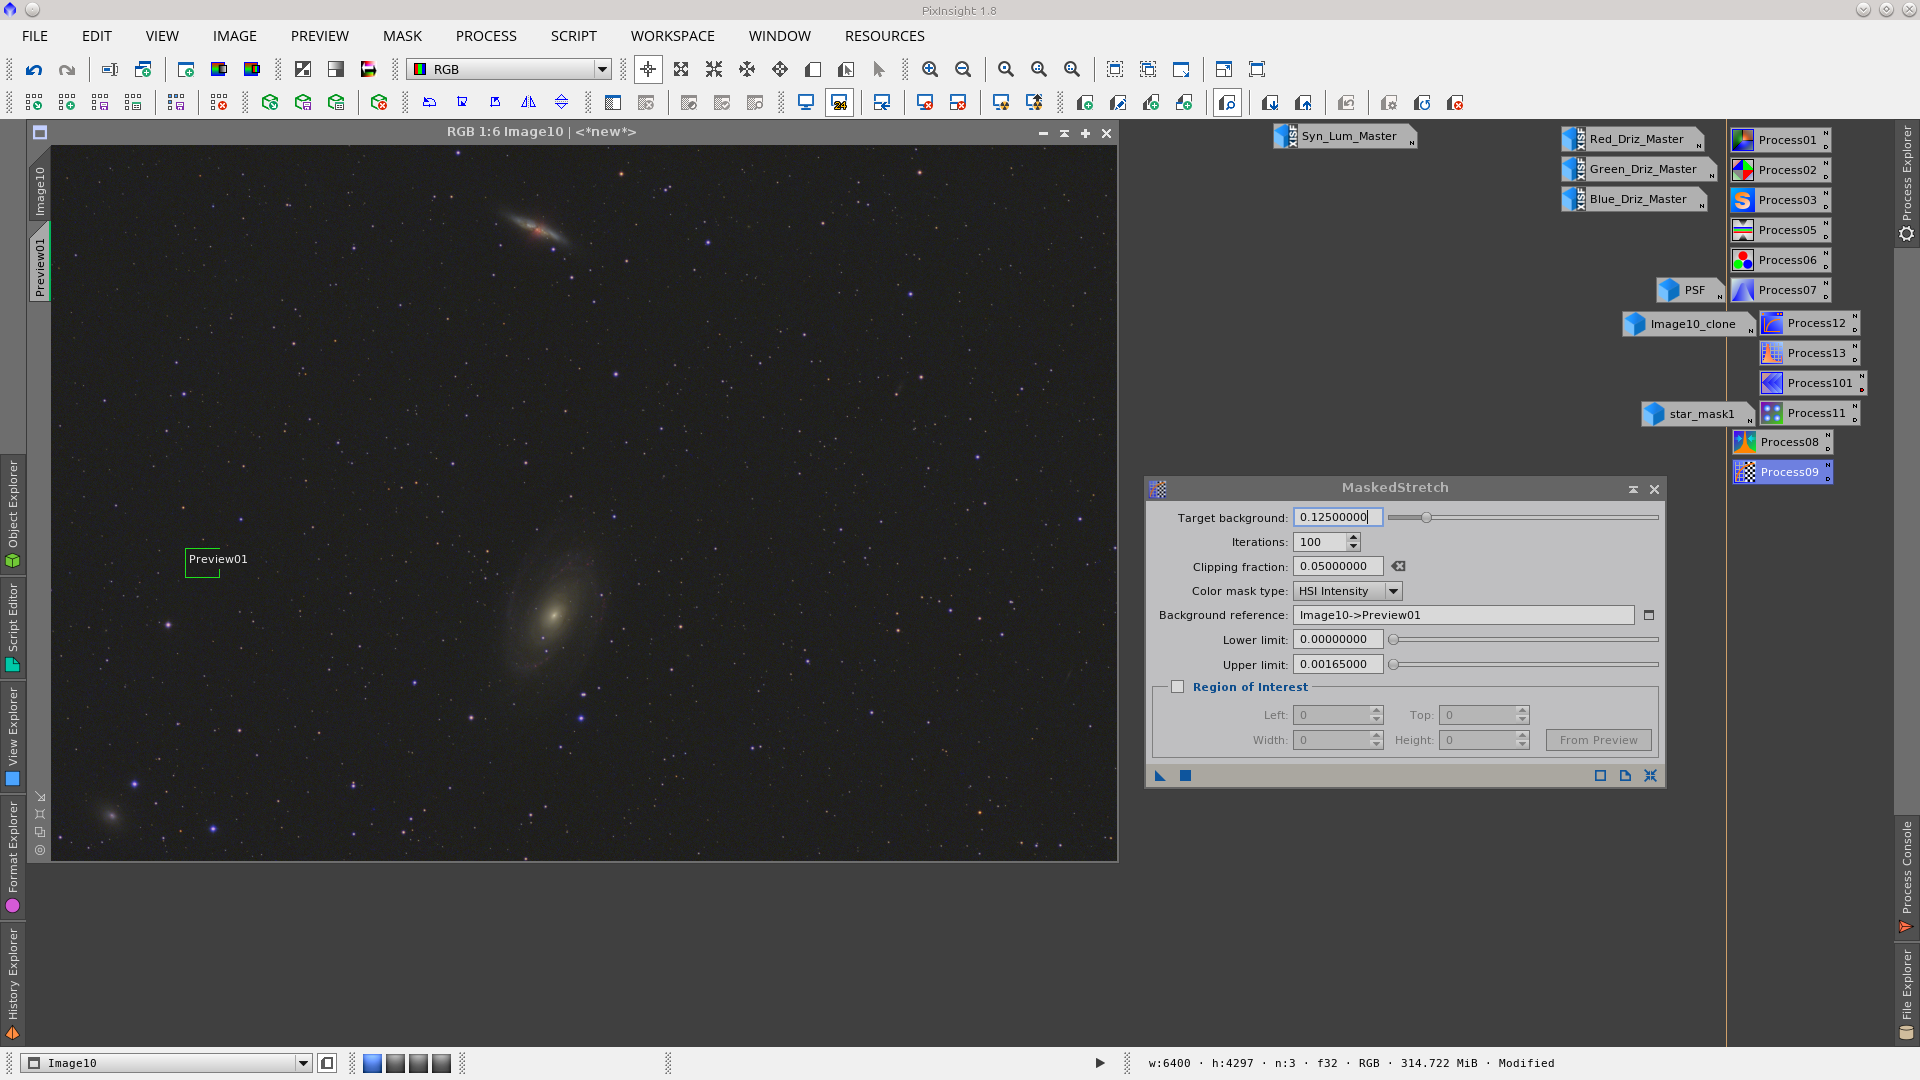
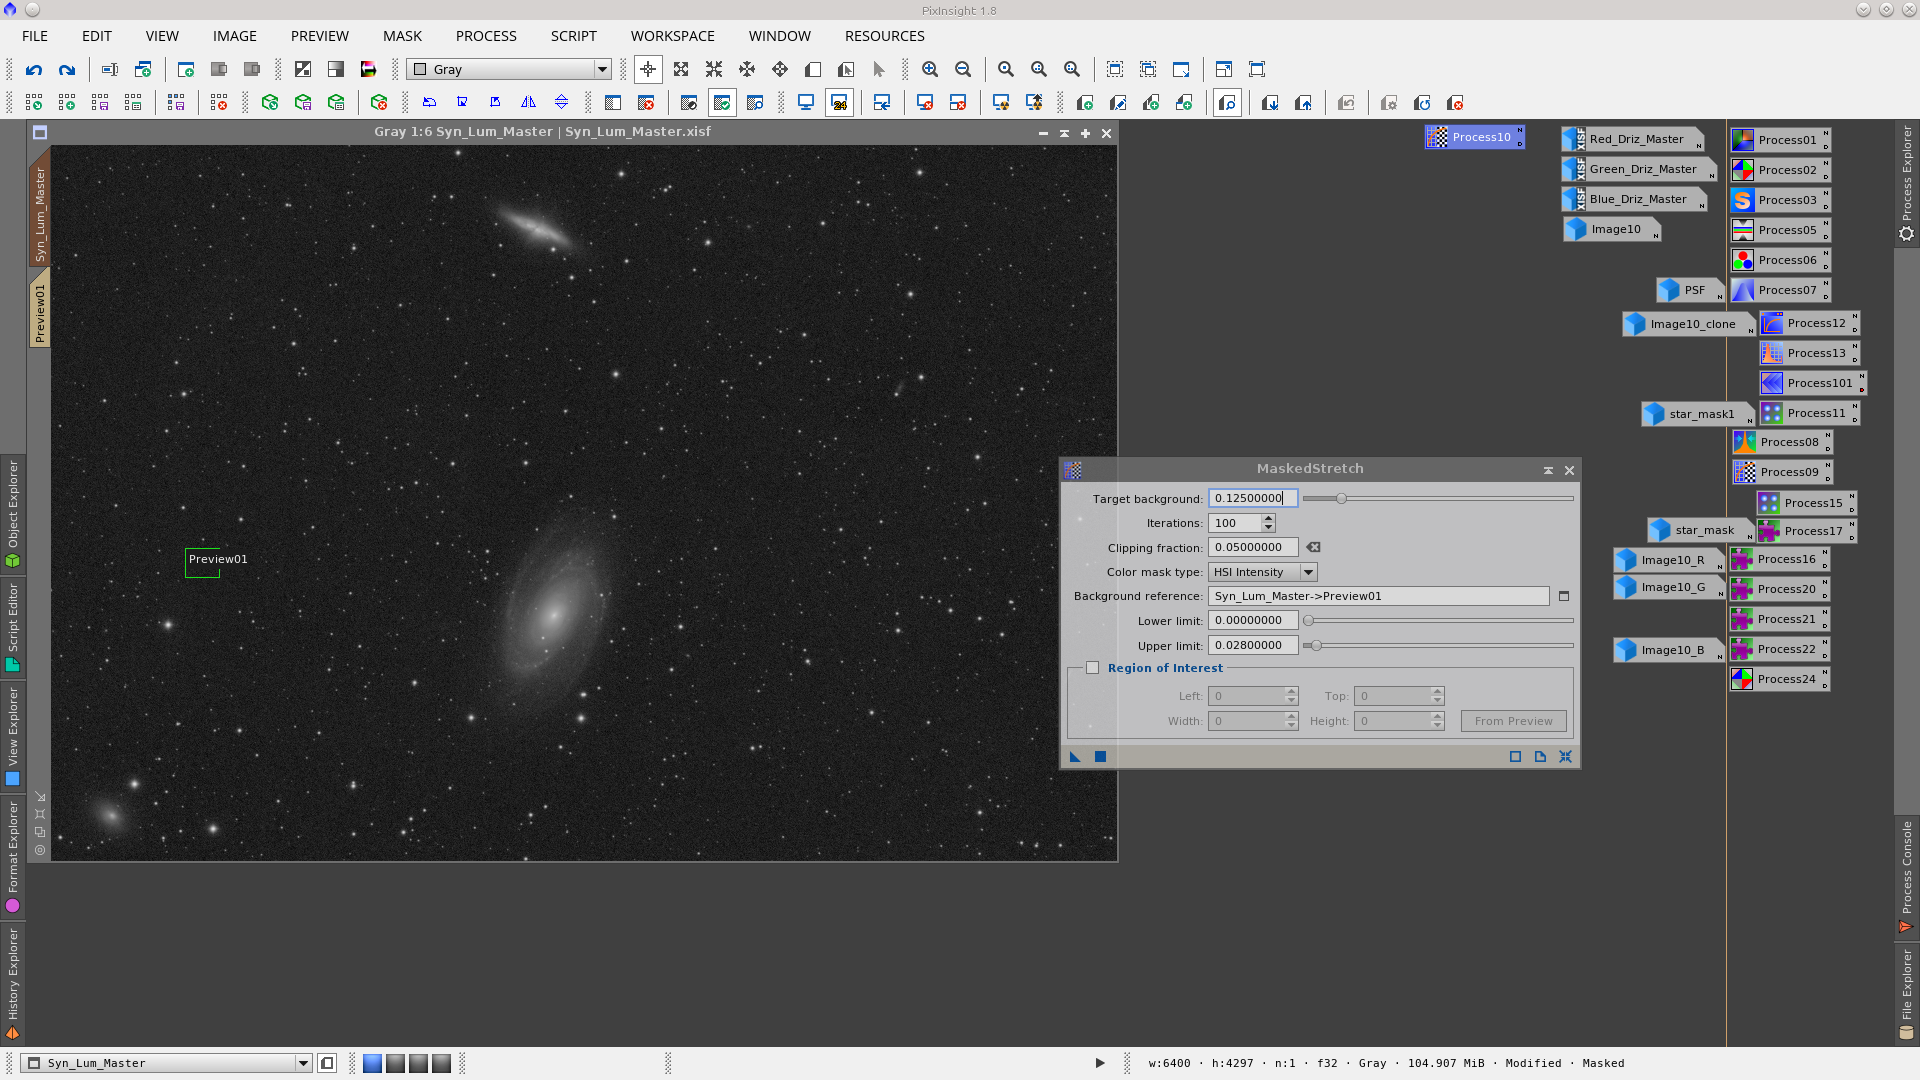
Non linear stretch using the MaskedStretch tool.
After the stretch you can see that the size of the stars is much bigger in the blue channel.
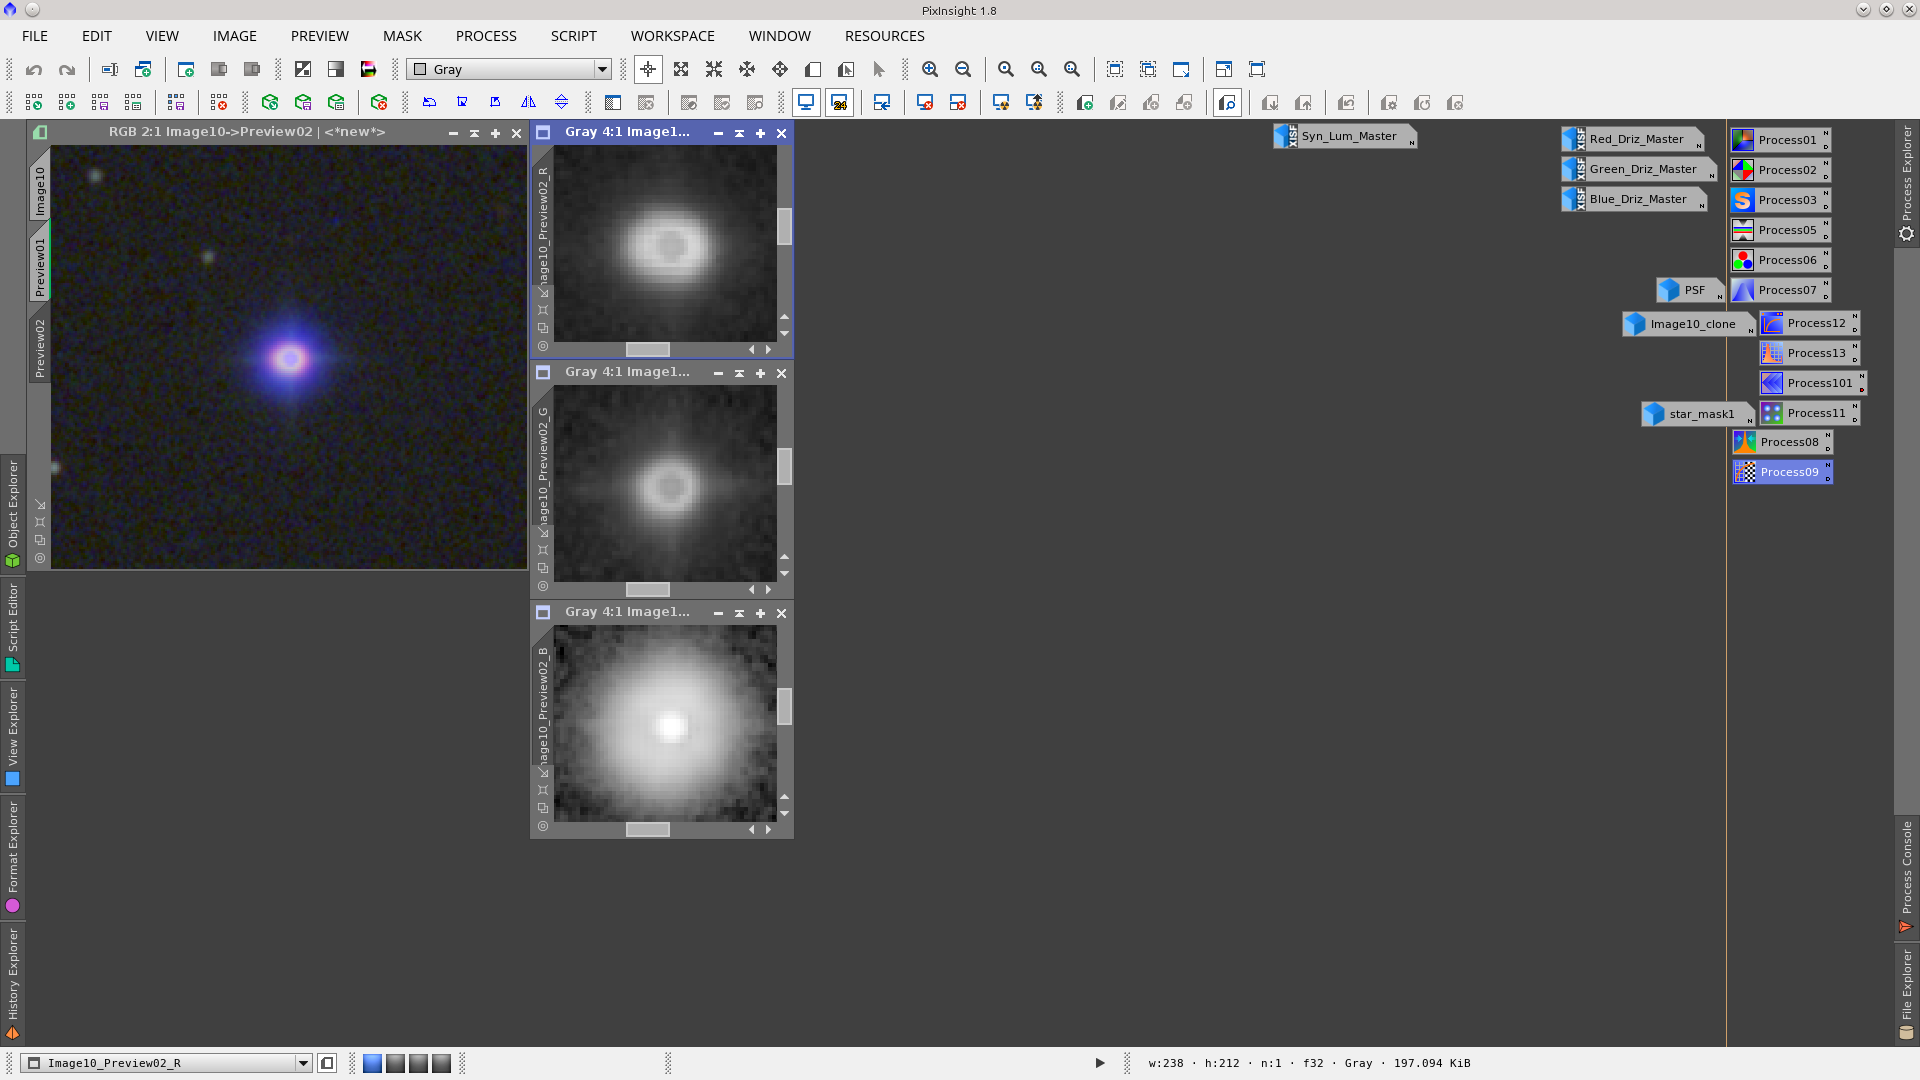
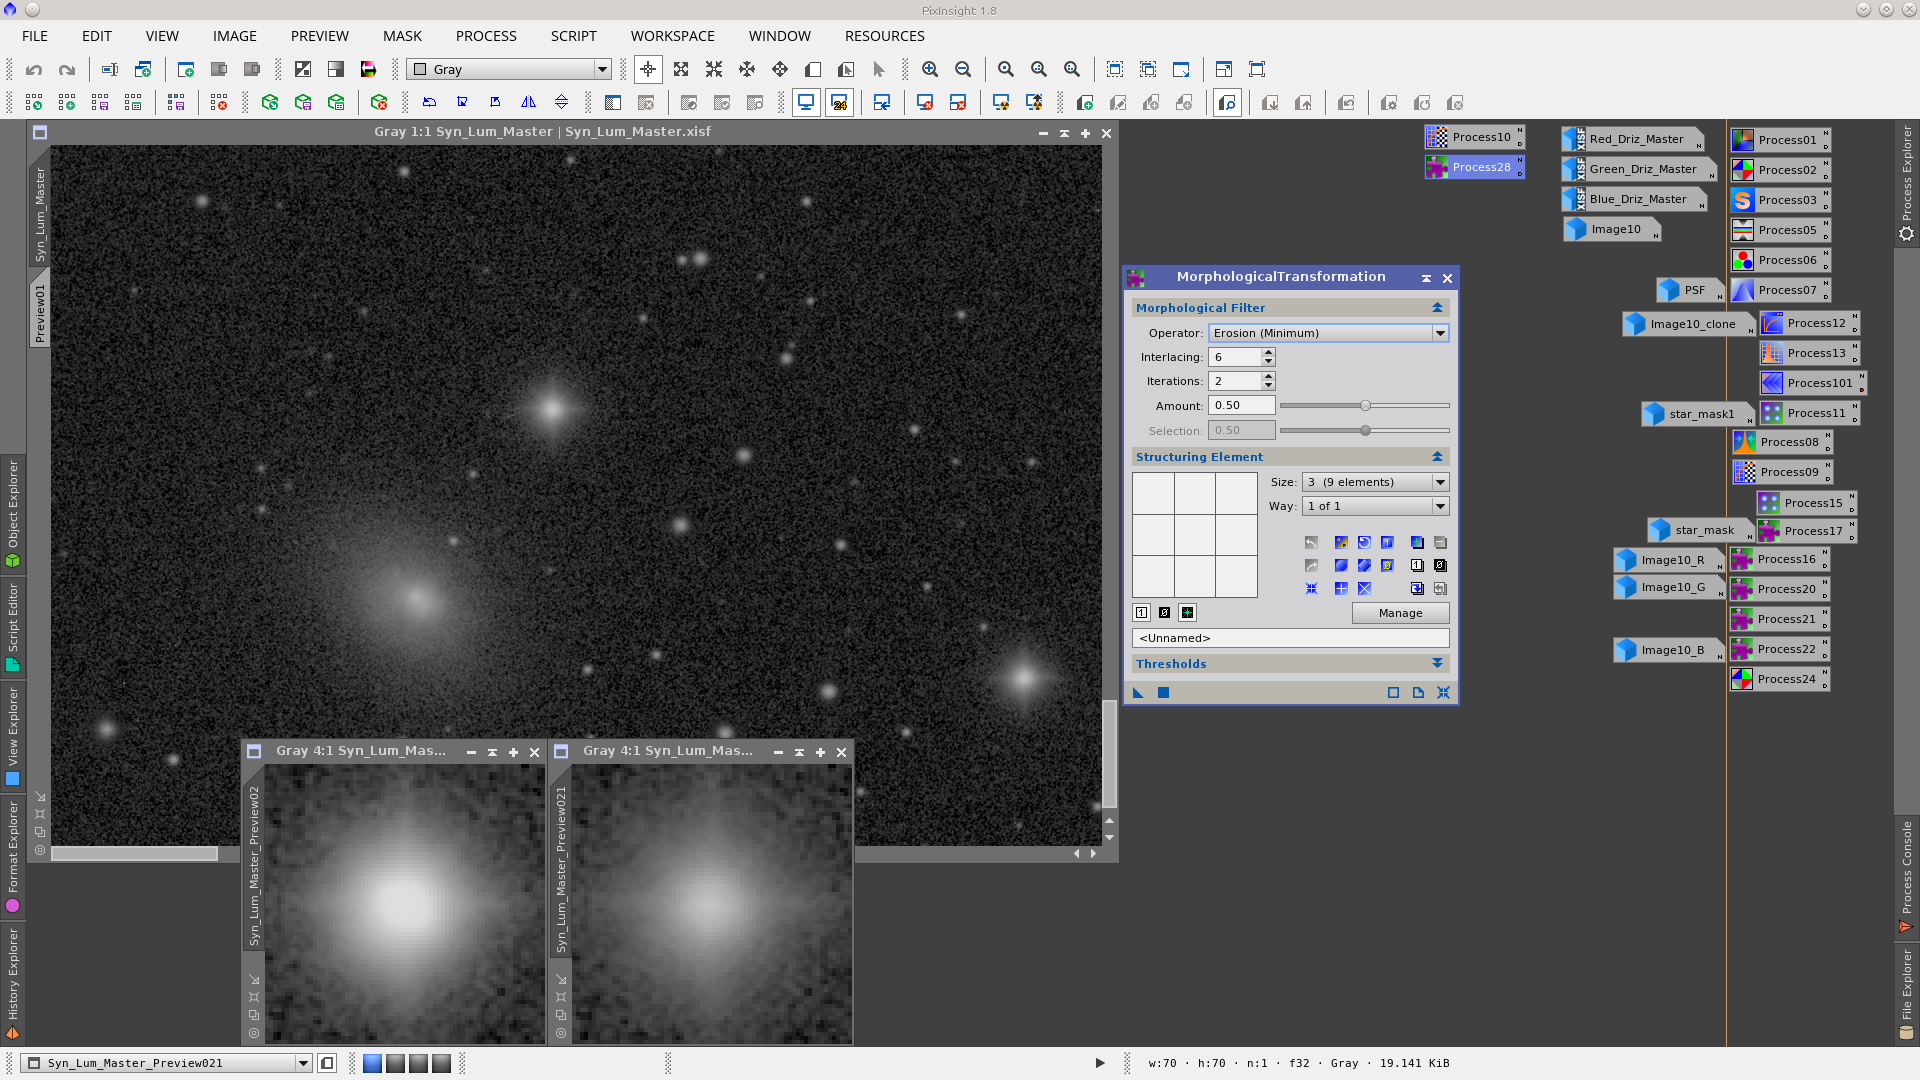
Reduce the stars by applying MorphologicalTransformation to each channel but first generate a star_mask using the StarMask tool to protect the galaxies and the background during this process. Also apply a dilation to the mask using MorphologicalTransformation to increase the area where will be worked on.
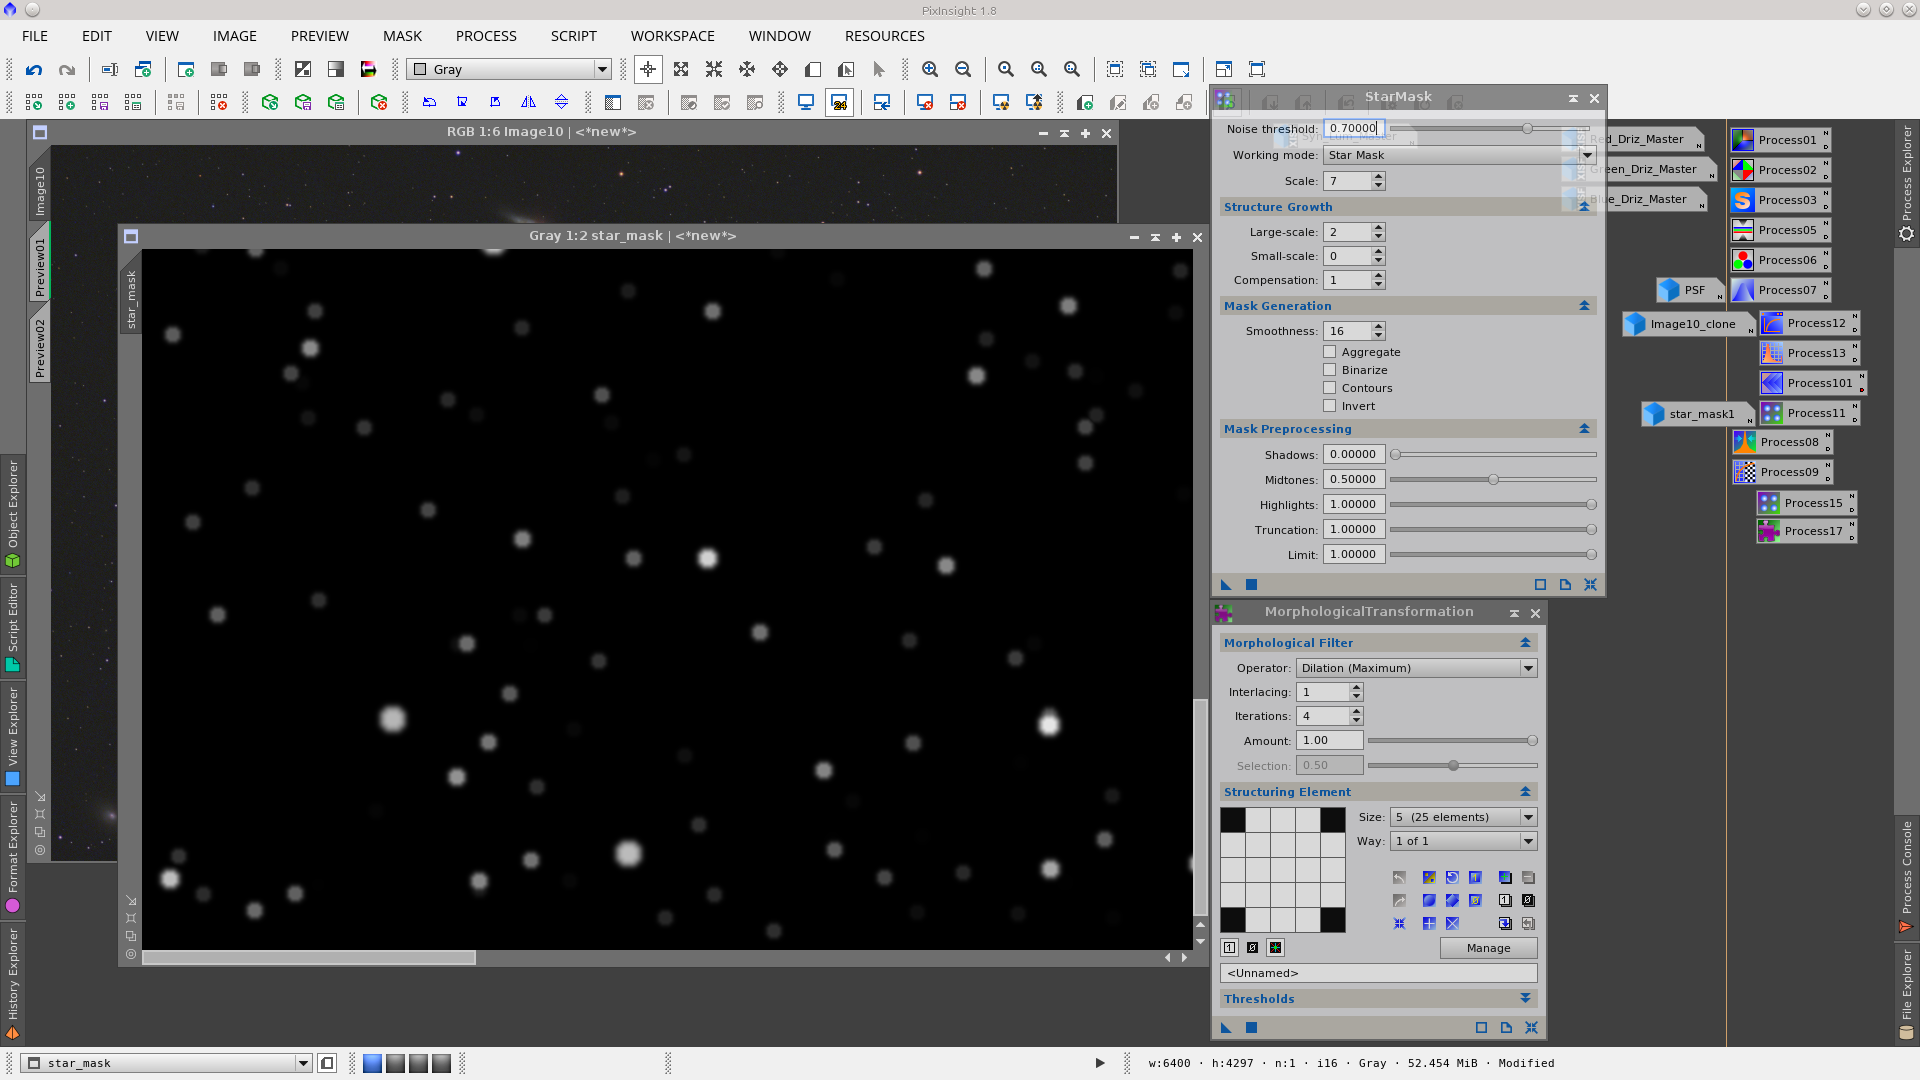
MorphologicalTransformation to the red channel protecting stars with a starmask:
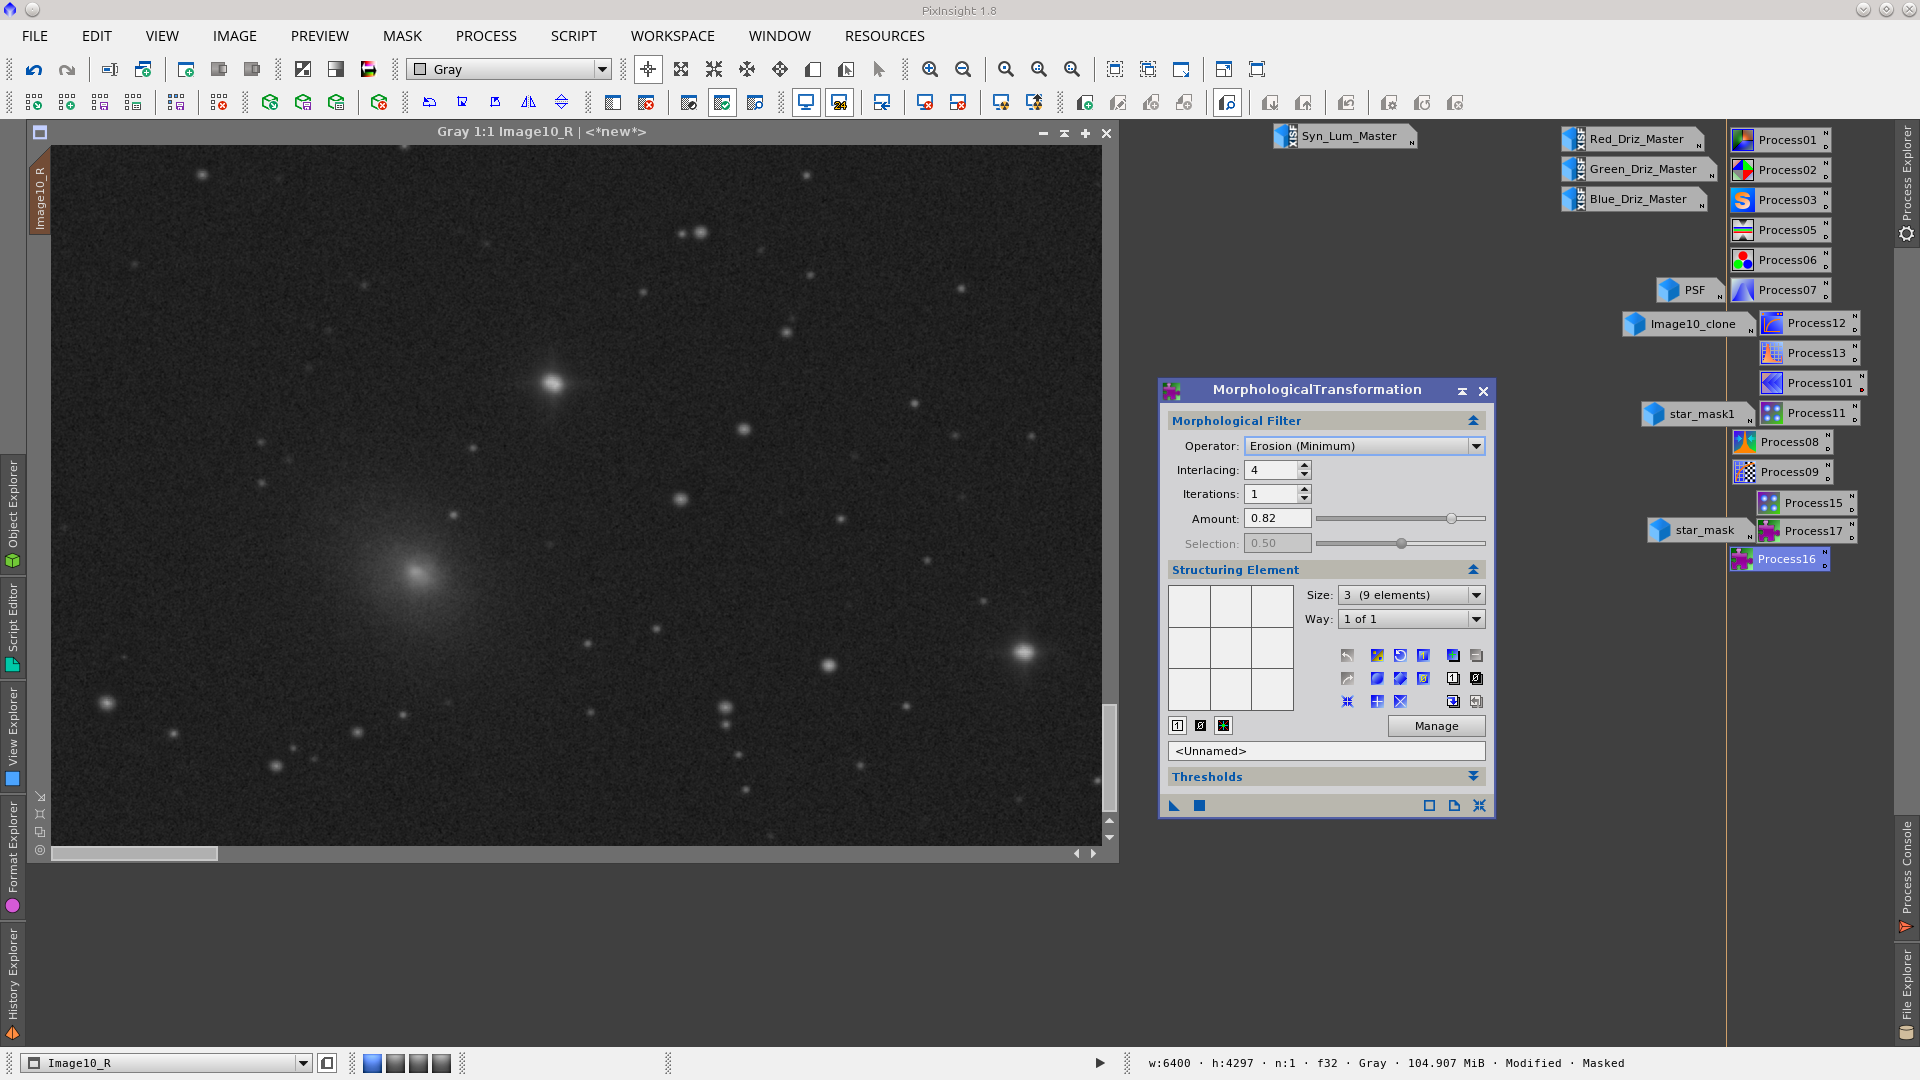
MorphologicalTransformation to the green channel protecting the stars with a starmask:
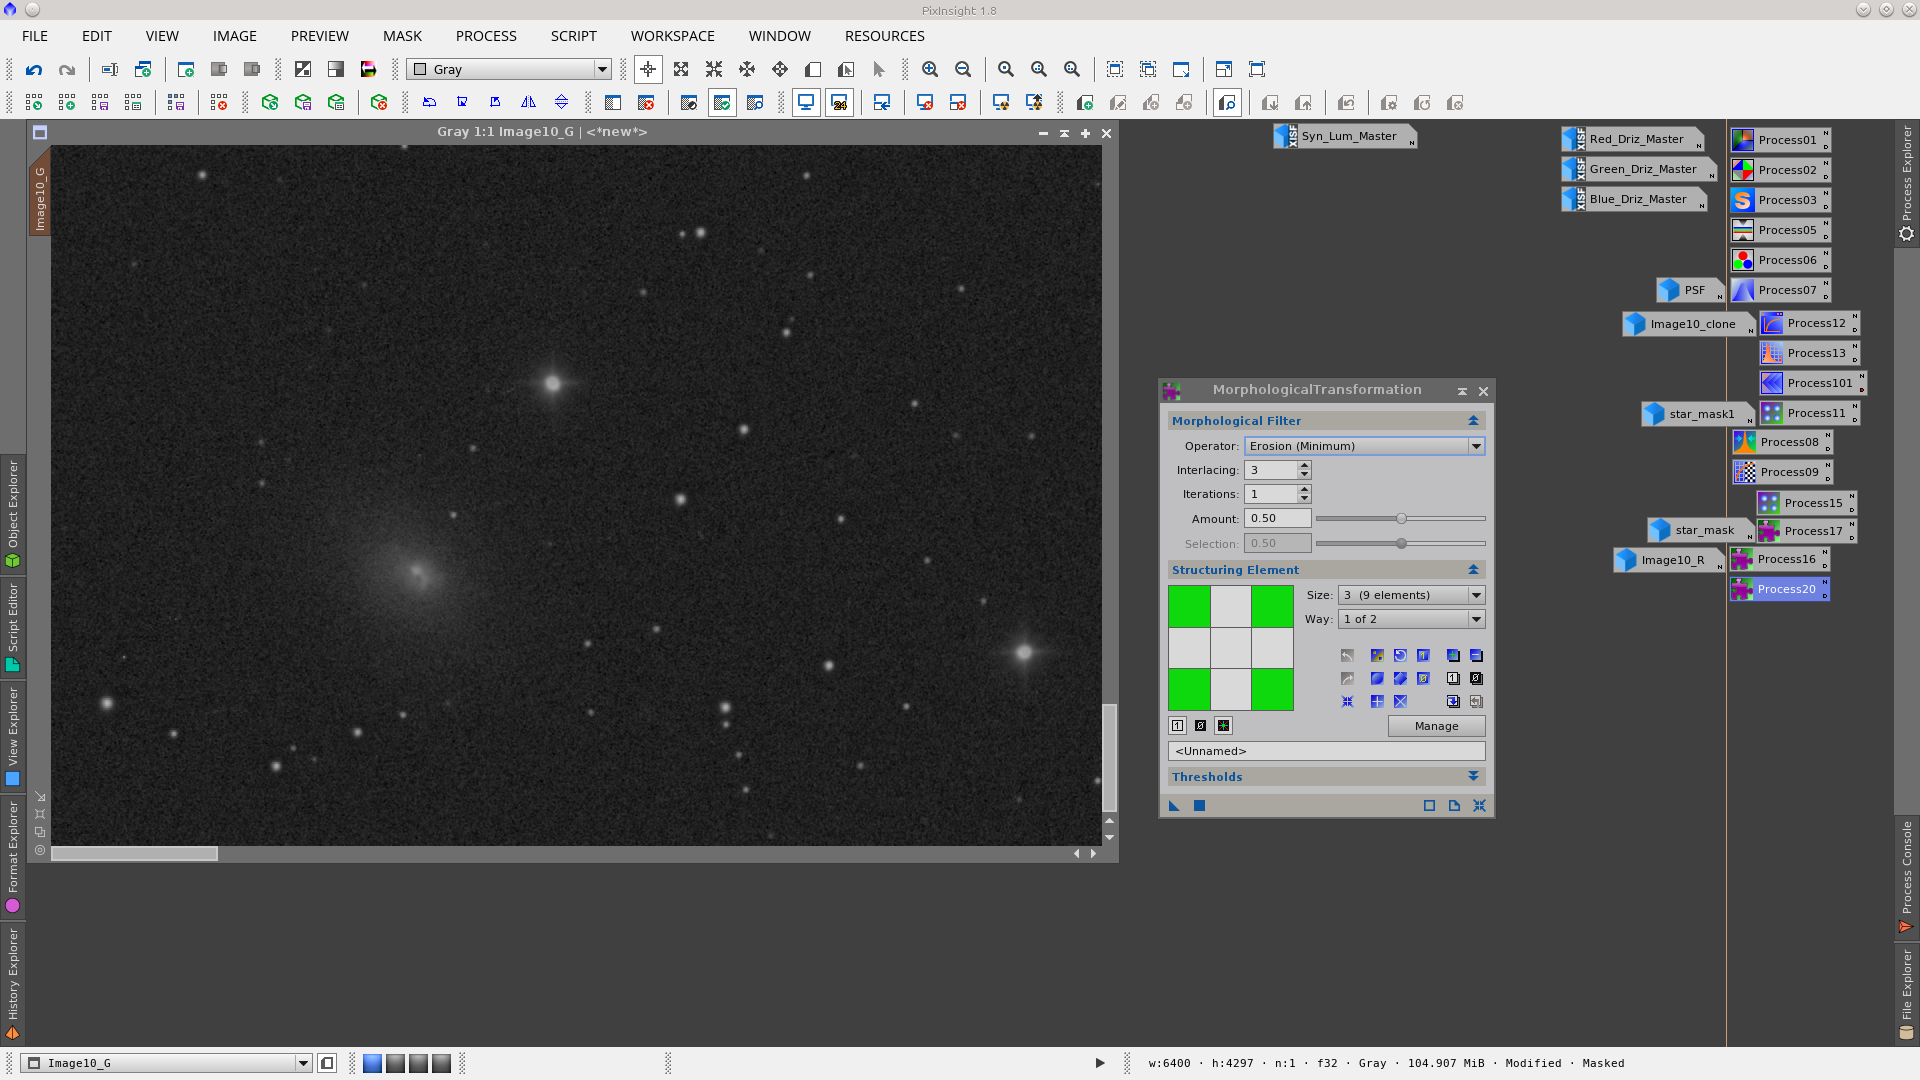
MorphologicalTransformation to the blue channel protecting stars with starmask:
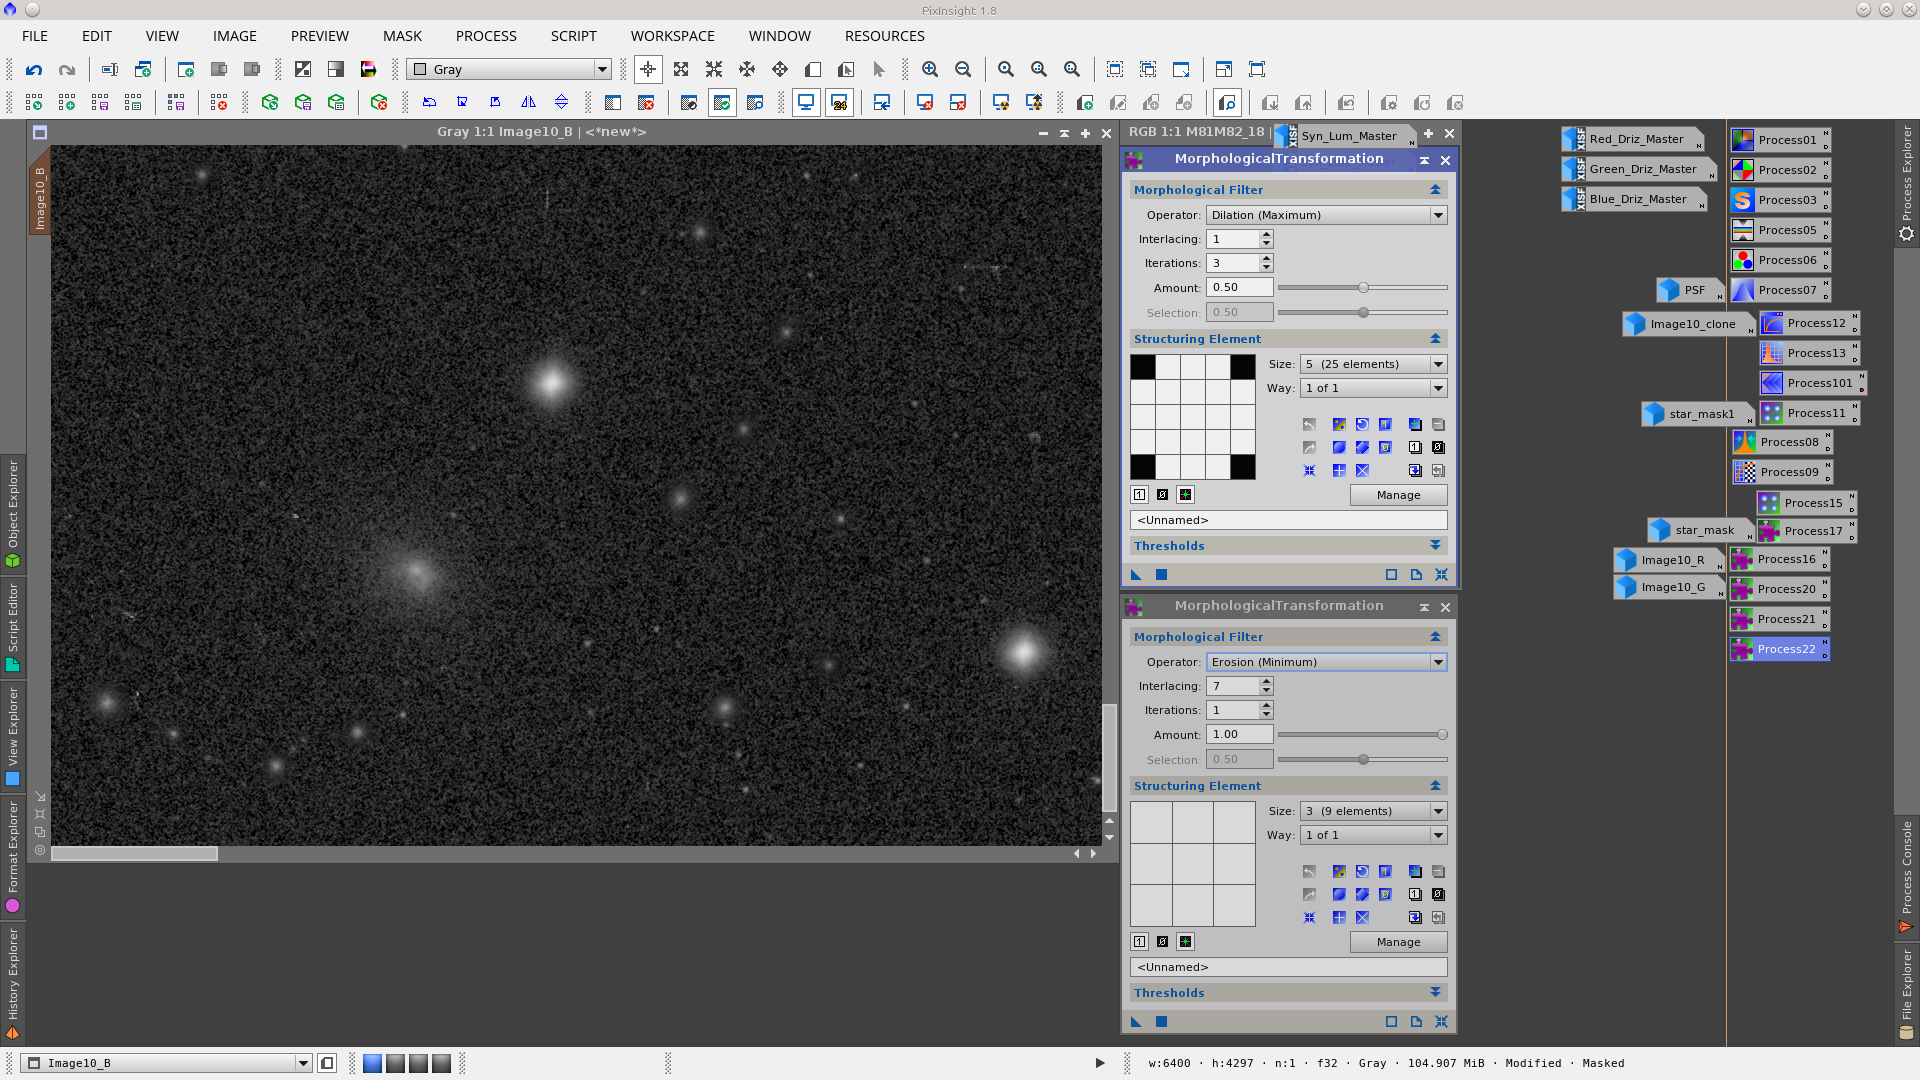
Join the channels using the ChannelCombination tool.
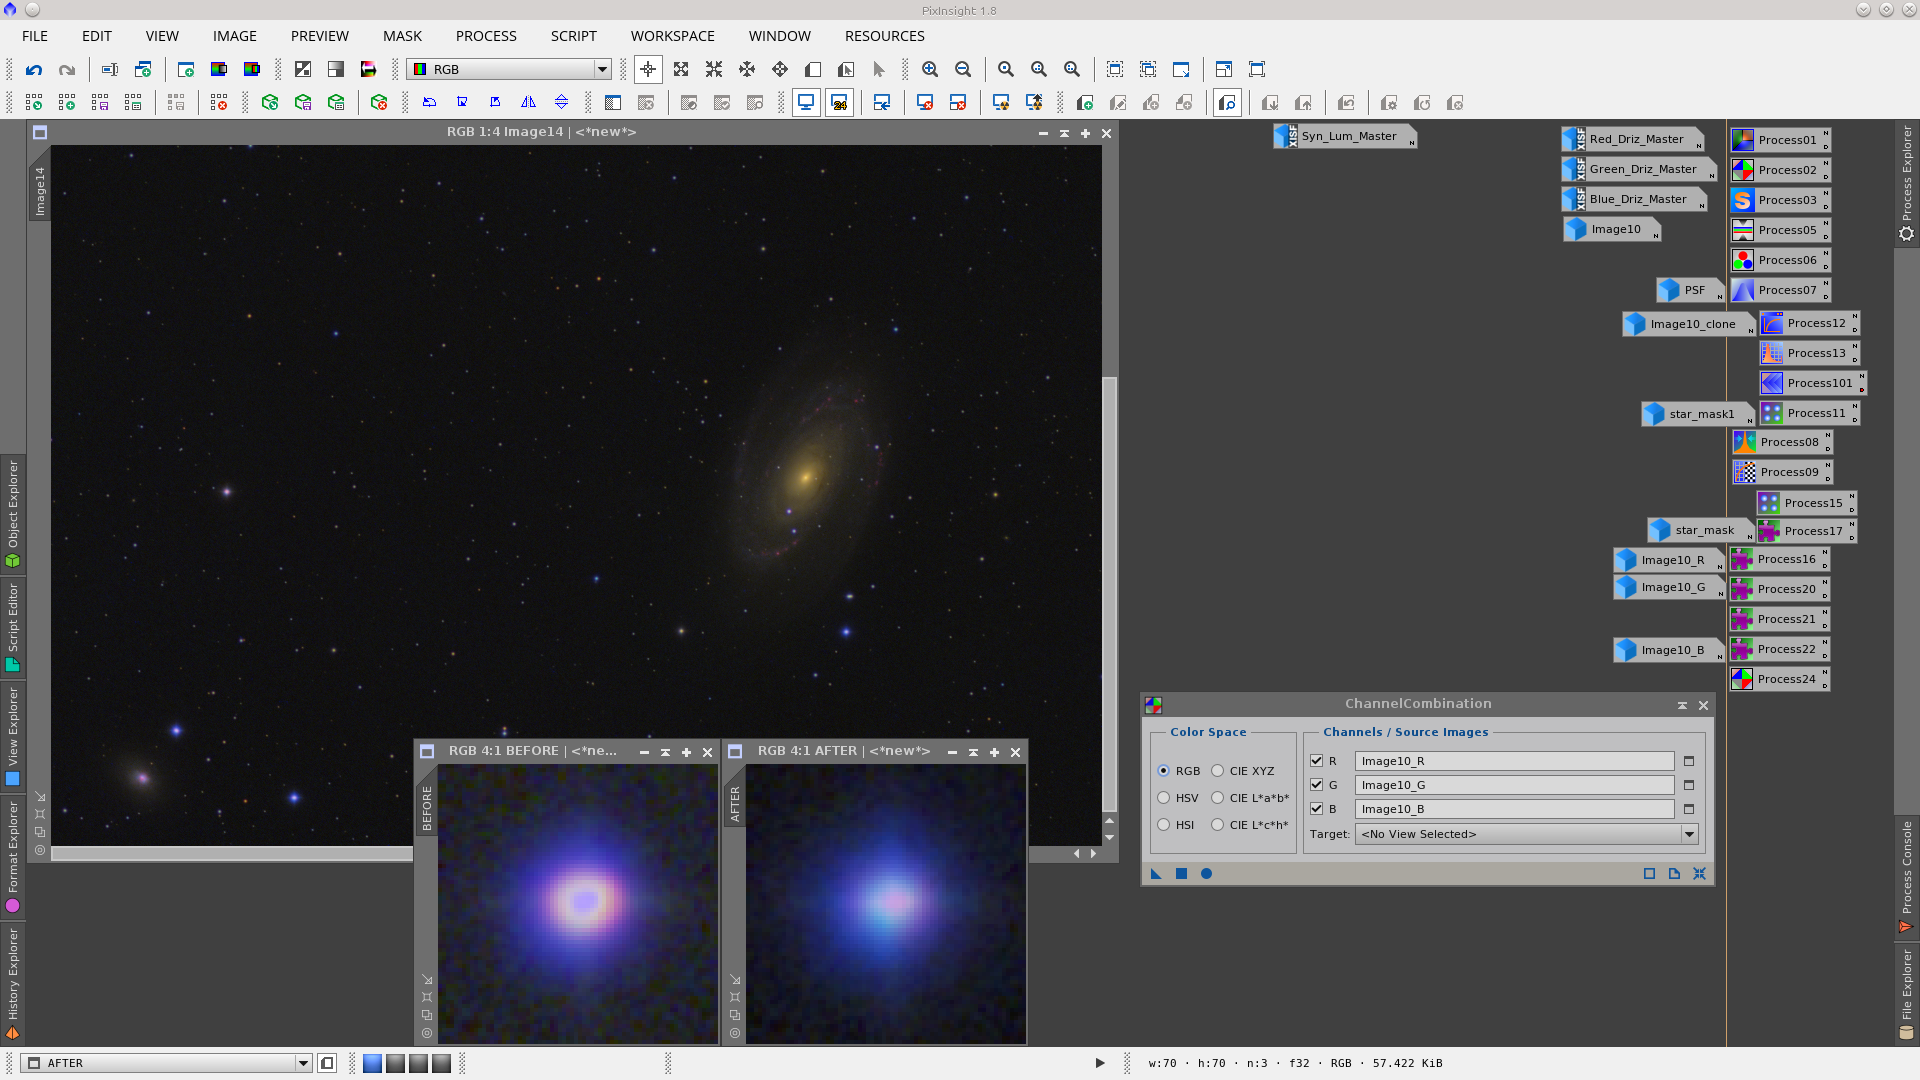
Now I will start processing the Syn_Lum image following the same procedure removing the gradient and correcting the banding.
Apply DynamicBackgroundExtraction
Rotate the image and apply the CanonBandingReduction script and then rotate the image back.
Non linear stretch of the image using the MaskedStretch tool.
I will also perform star reduction to the big stars protecting the images with the previous star_mask and applying MorphologicalTransformation
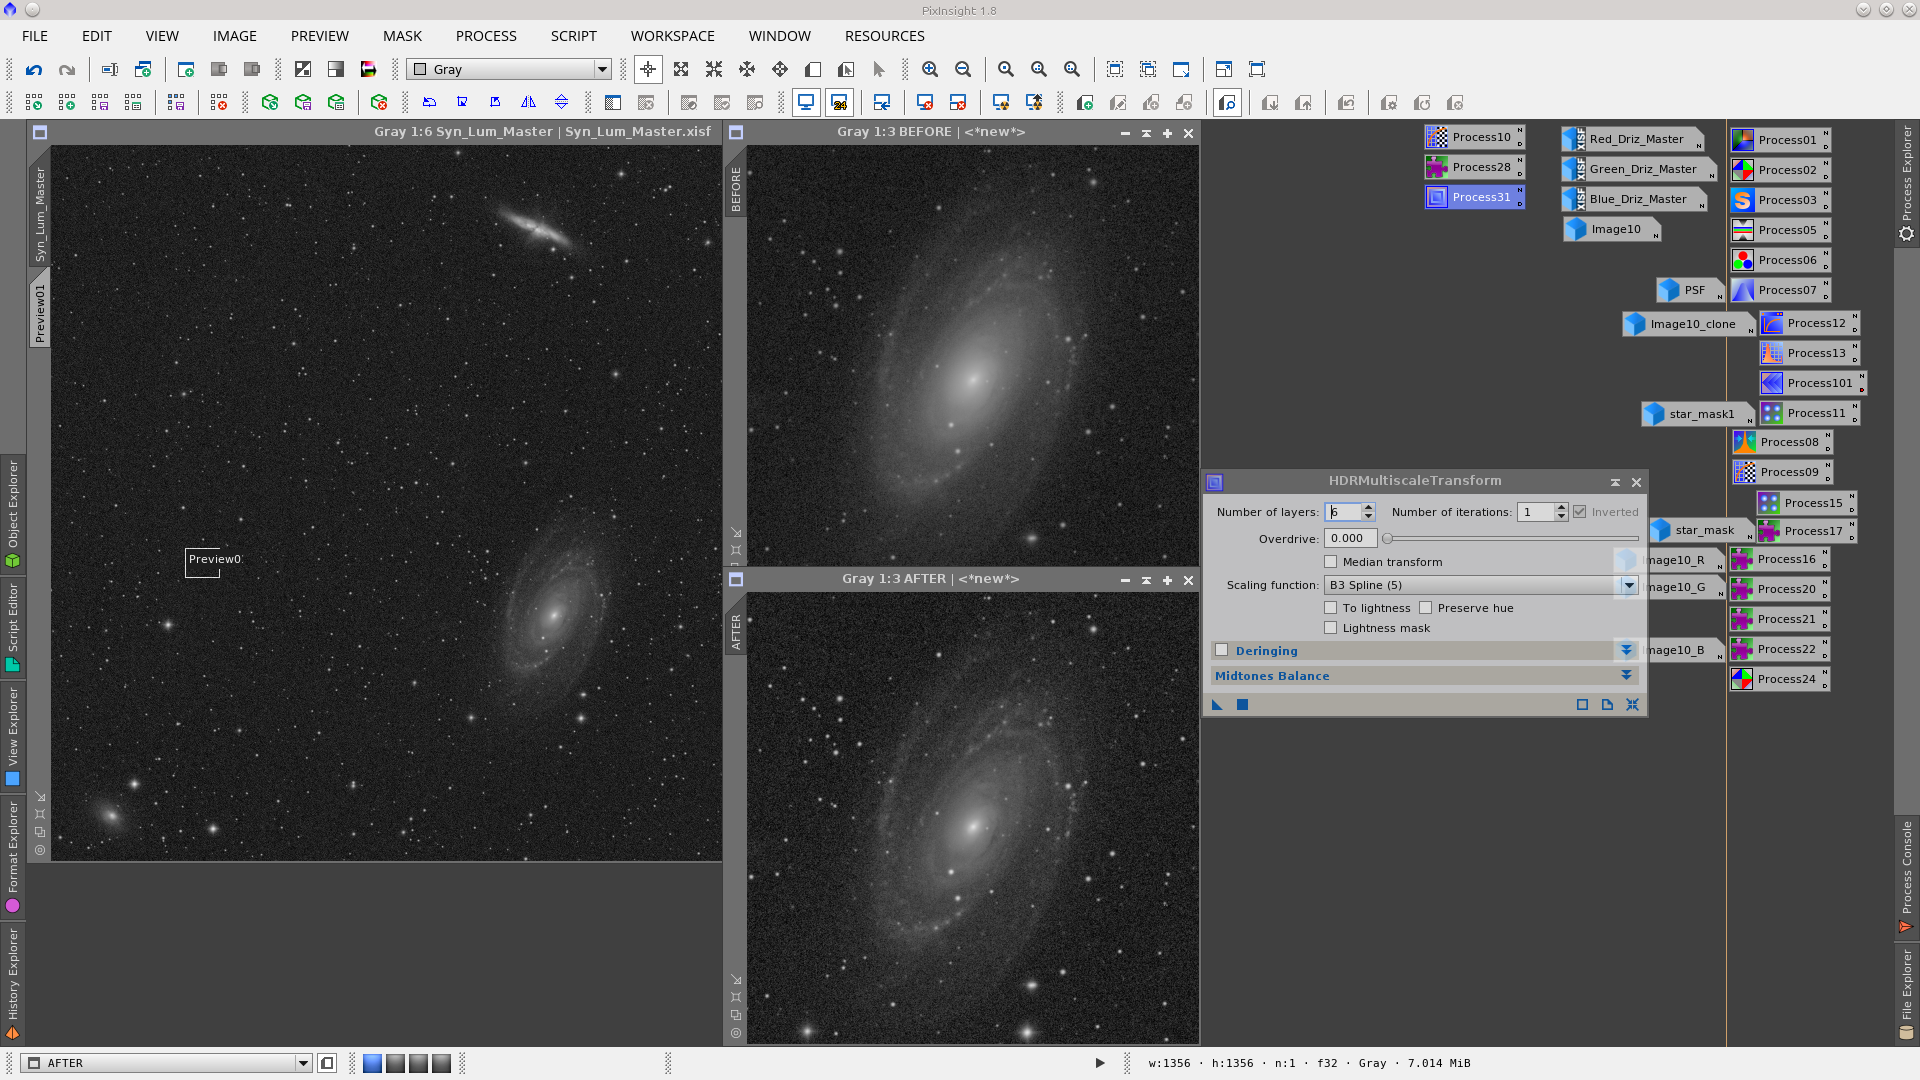
Apply HDRMultiscaleTransform to compress the dynamic range in the galaxies.
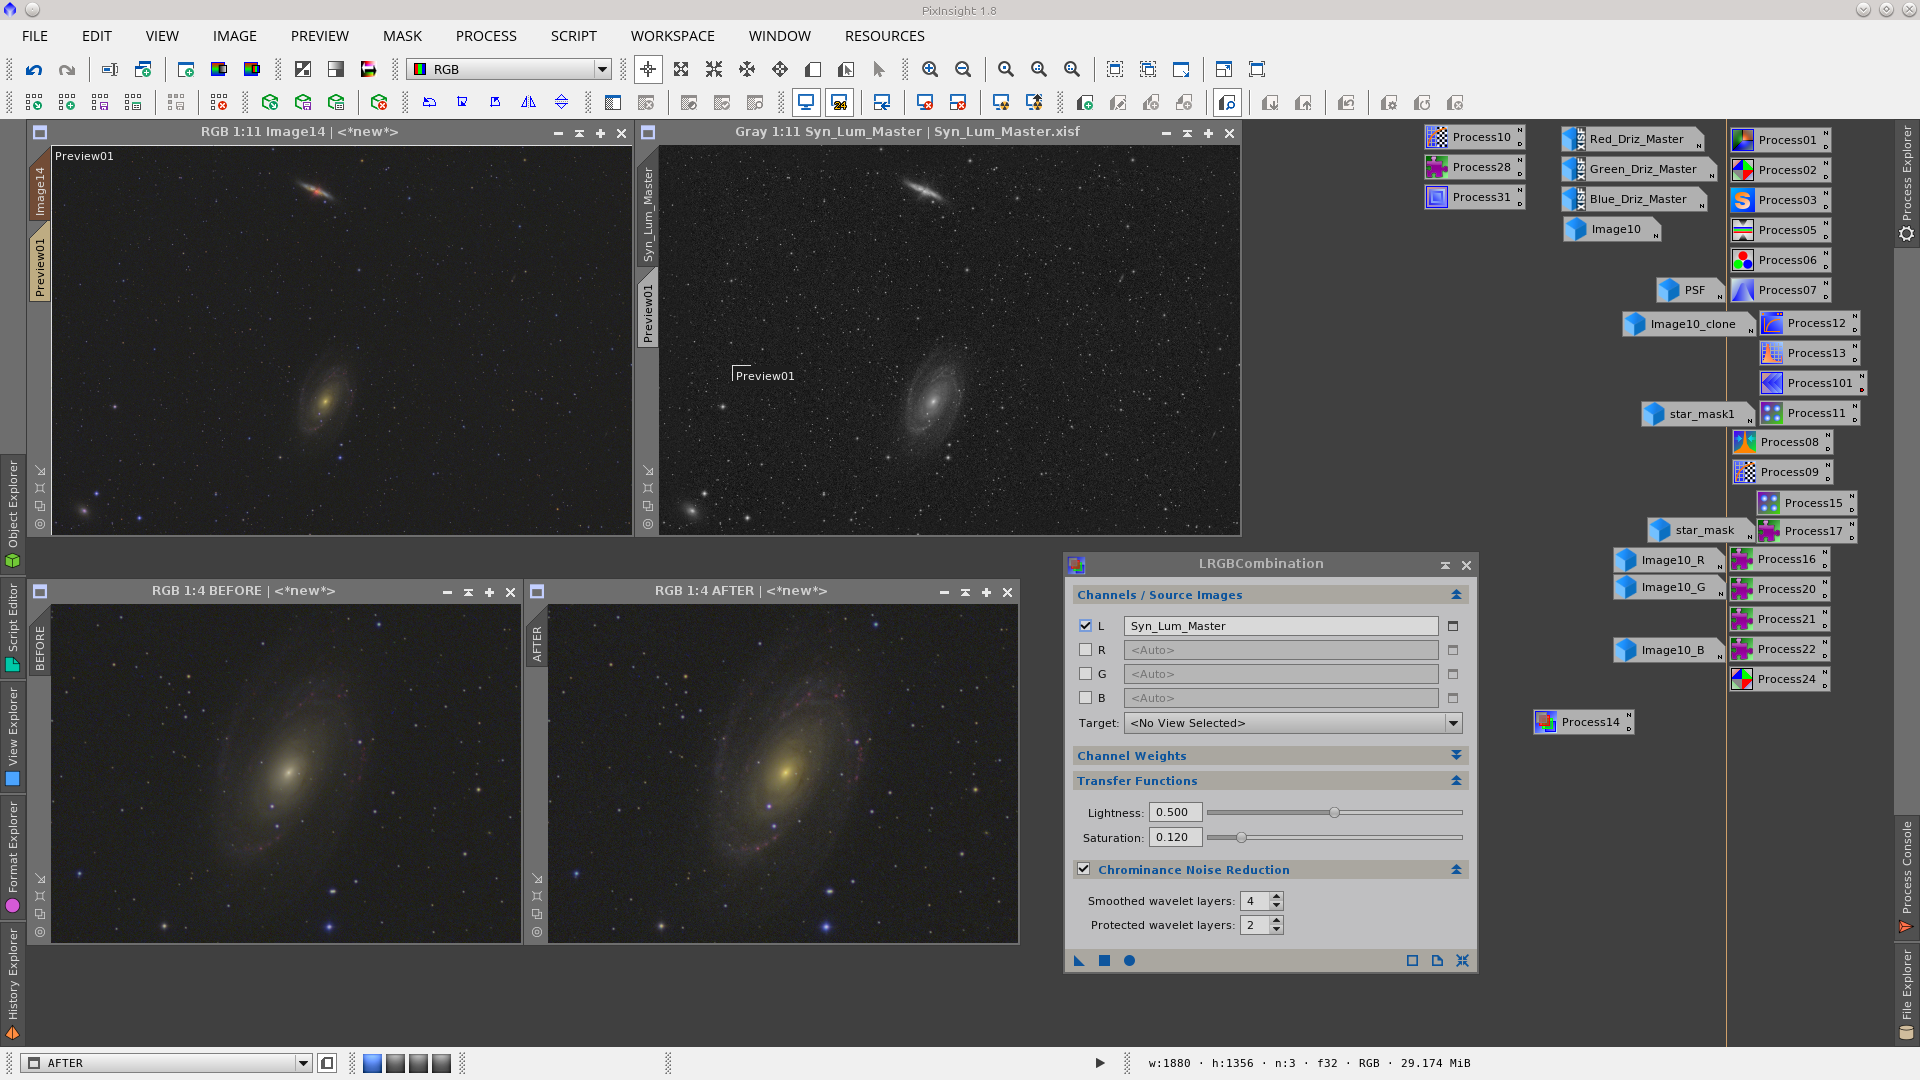
LRGBCombination to add the Syn_Lum to the RGB image. Clone the Syn_Lum_Master image to use as mask protecting the background during the LRGBCombination.
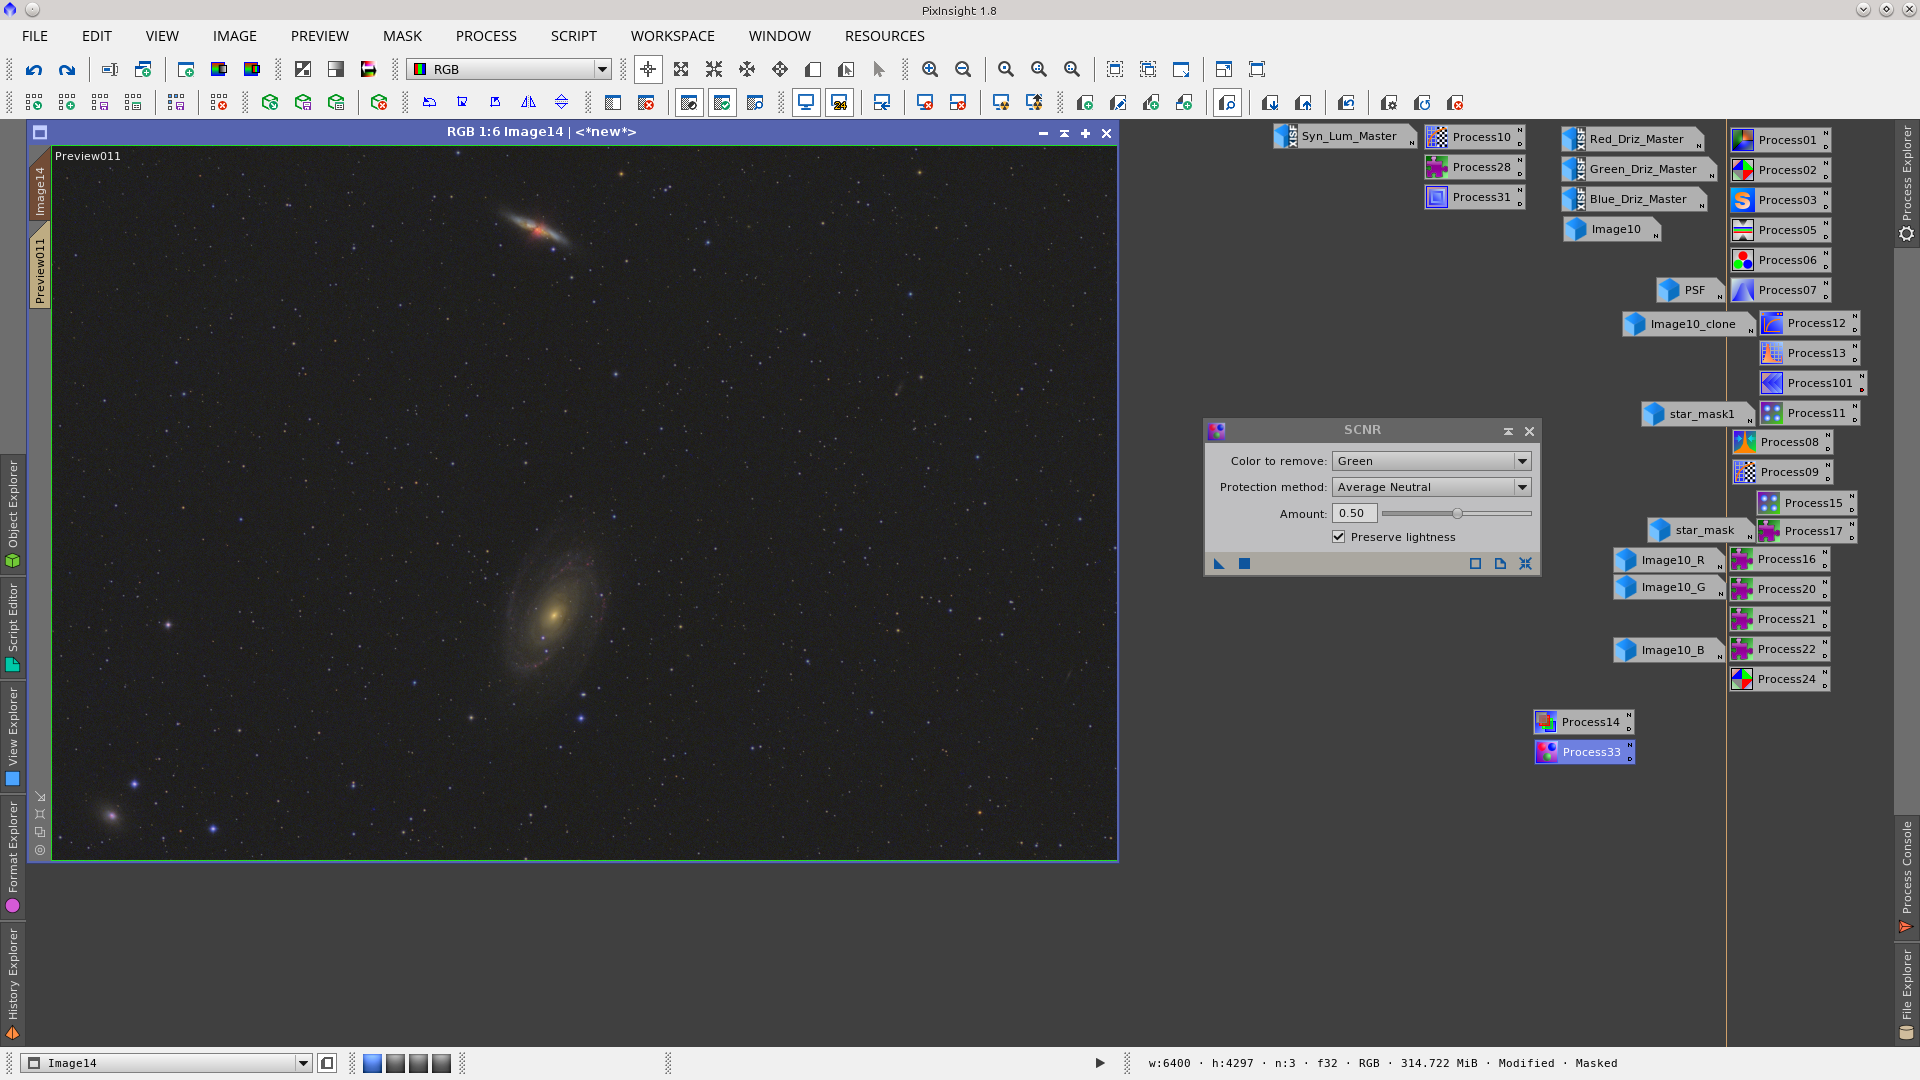
Apply SCNR to remove some green using the Syn_Lum_Master_clone to protect the background.
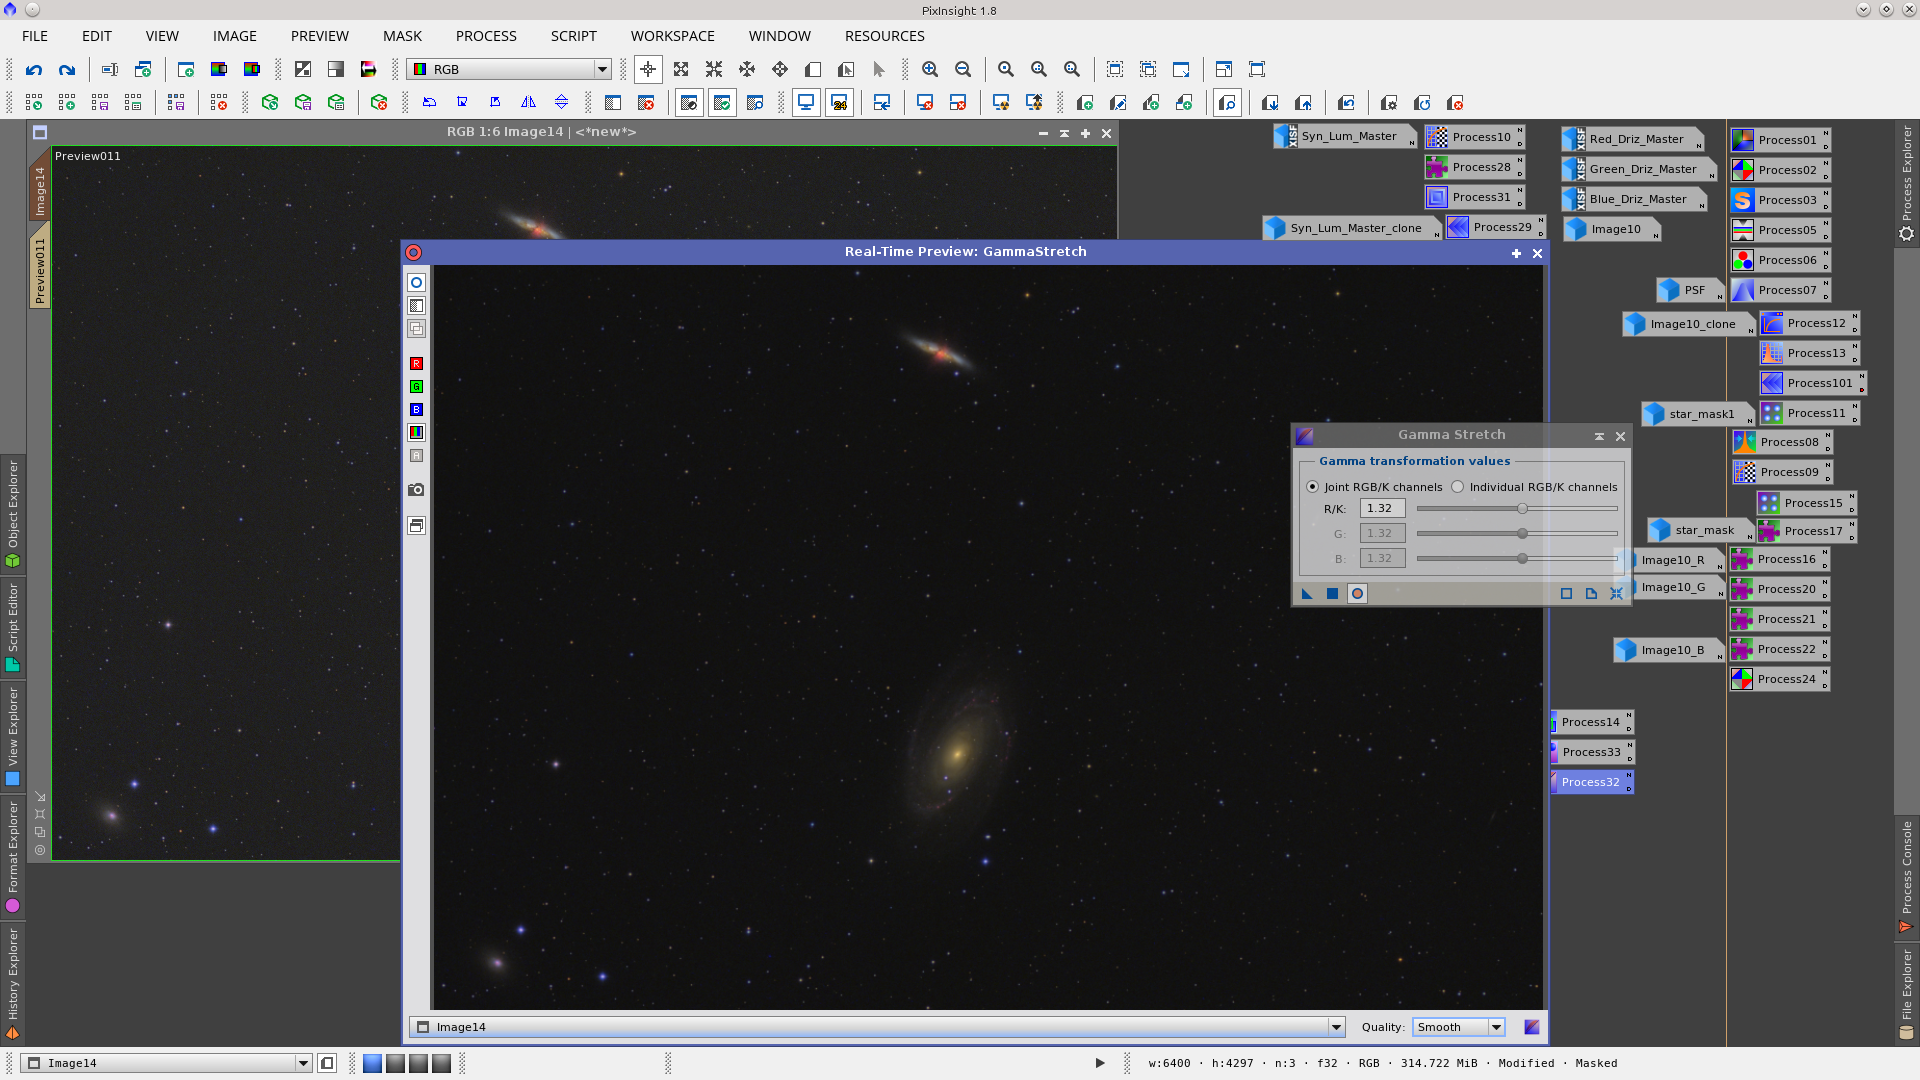
Invert the mask (Syn_Lum_Master_clone) and apply GammaStretch to darken the background
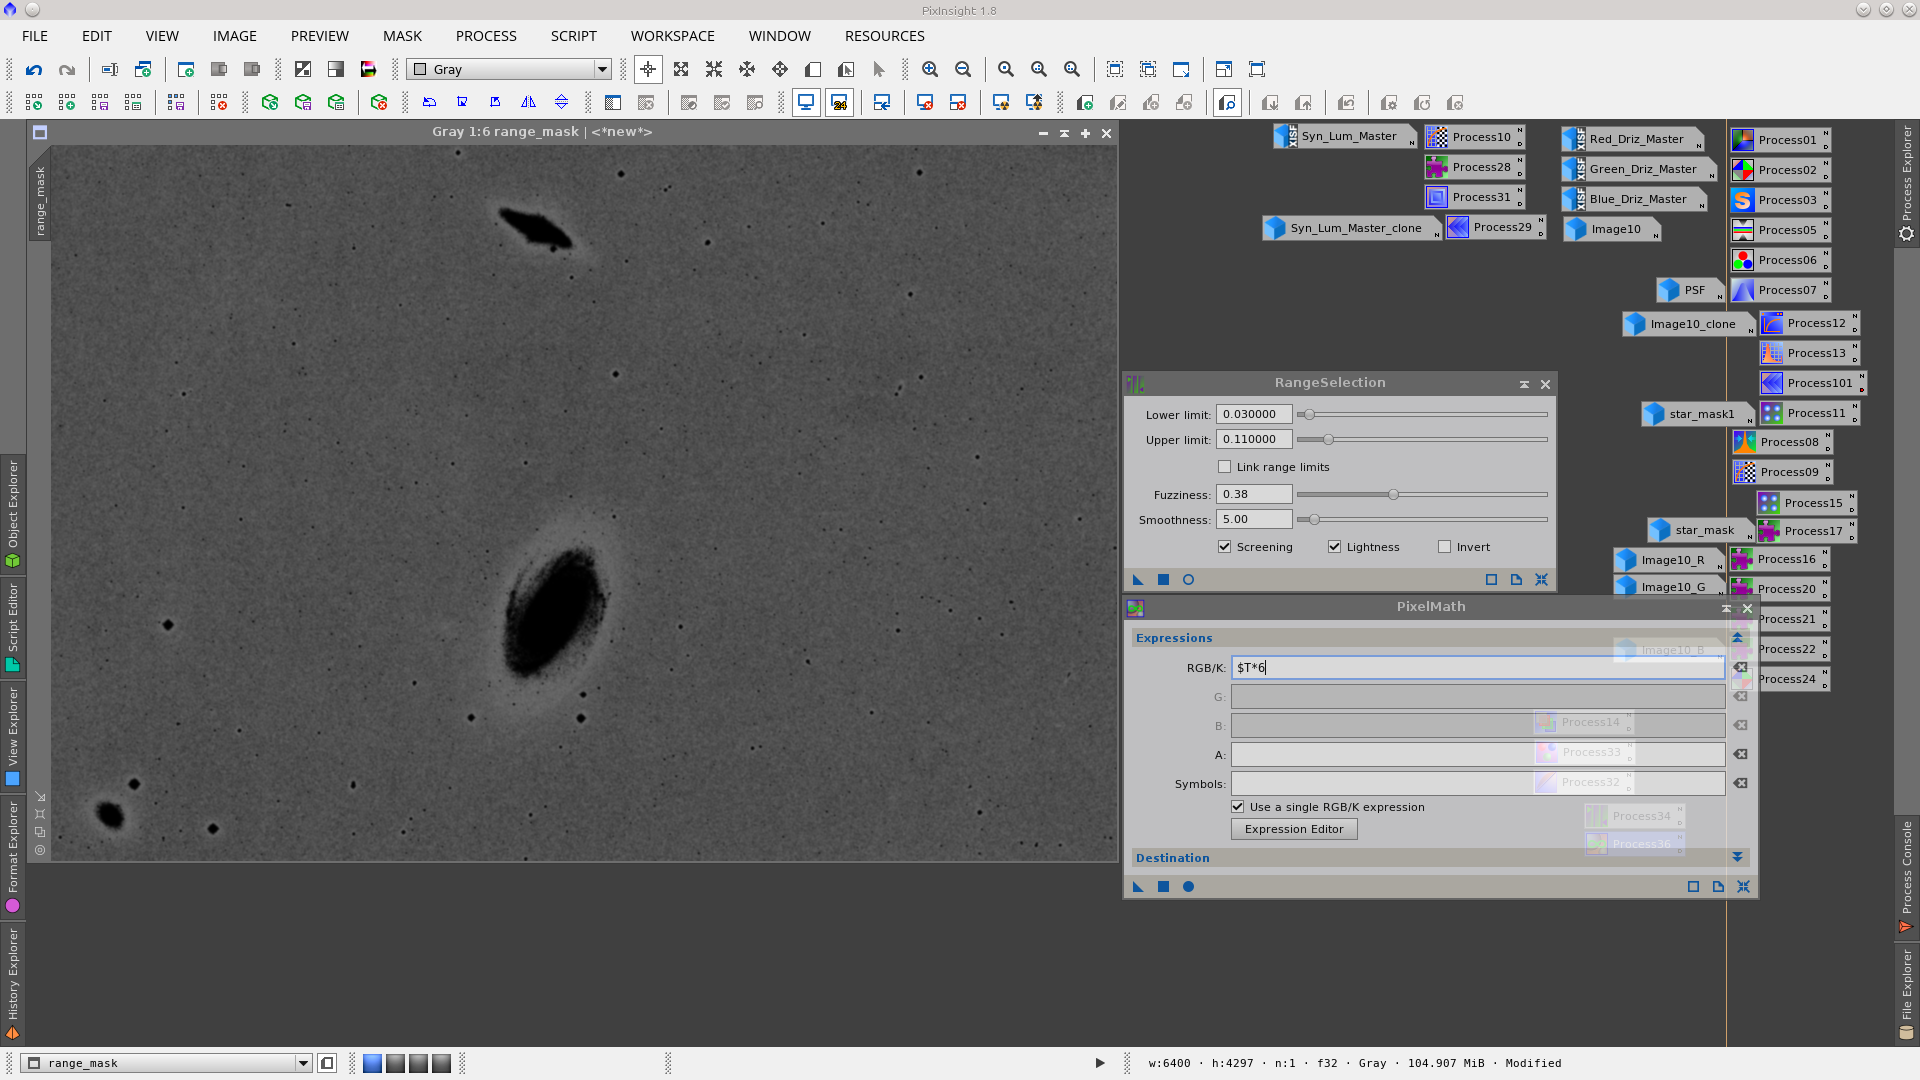
A little noise reduction, protecting the image with a new mask. To build the mask use the RangeSelection tool and then multiply the rangemask by six using the PixelMath tool.
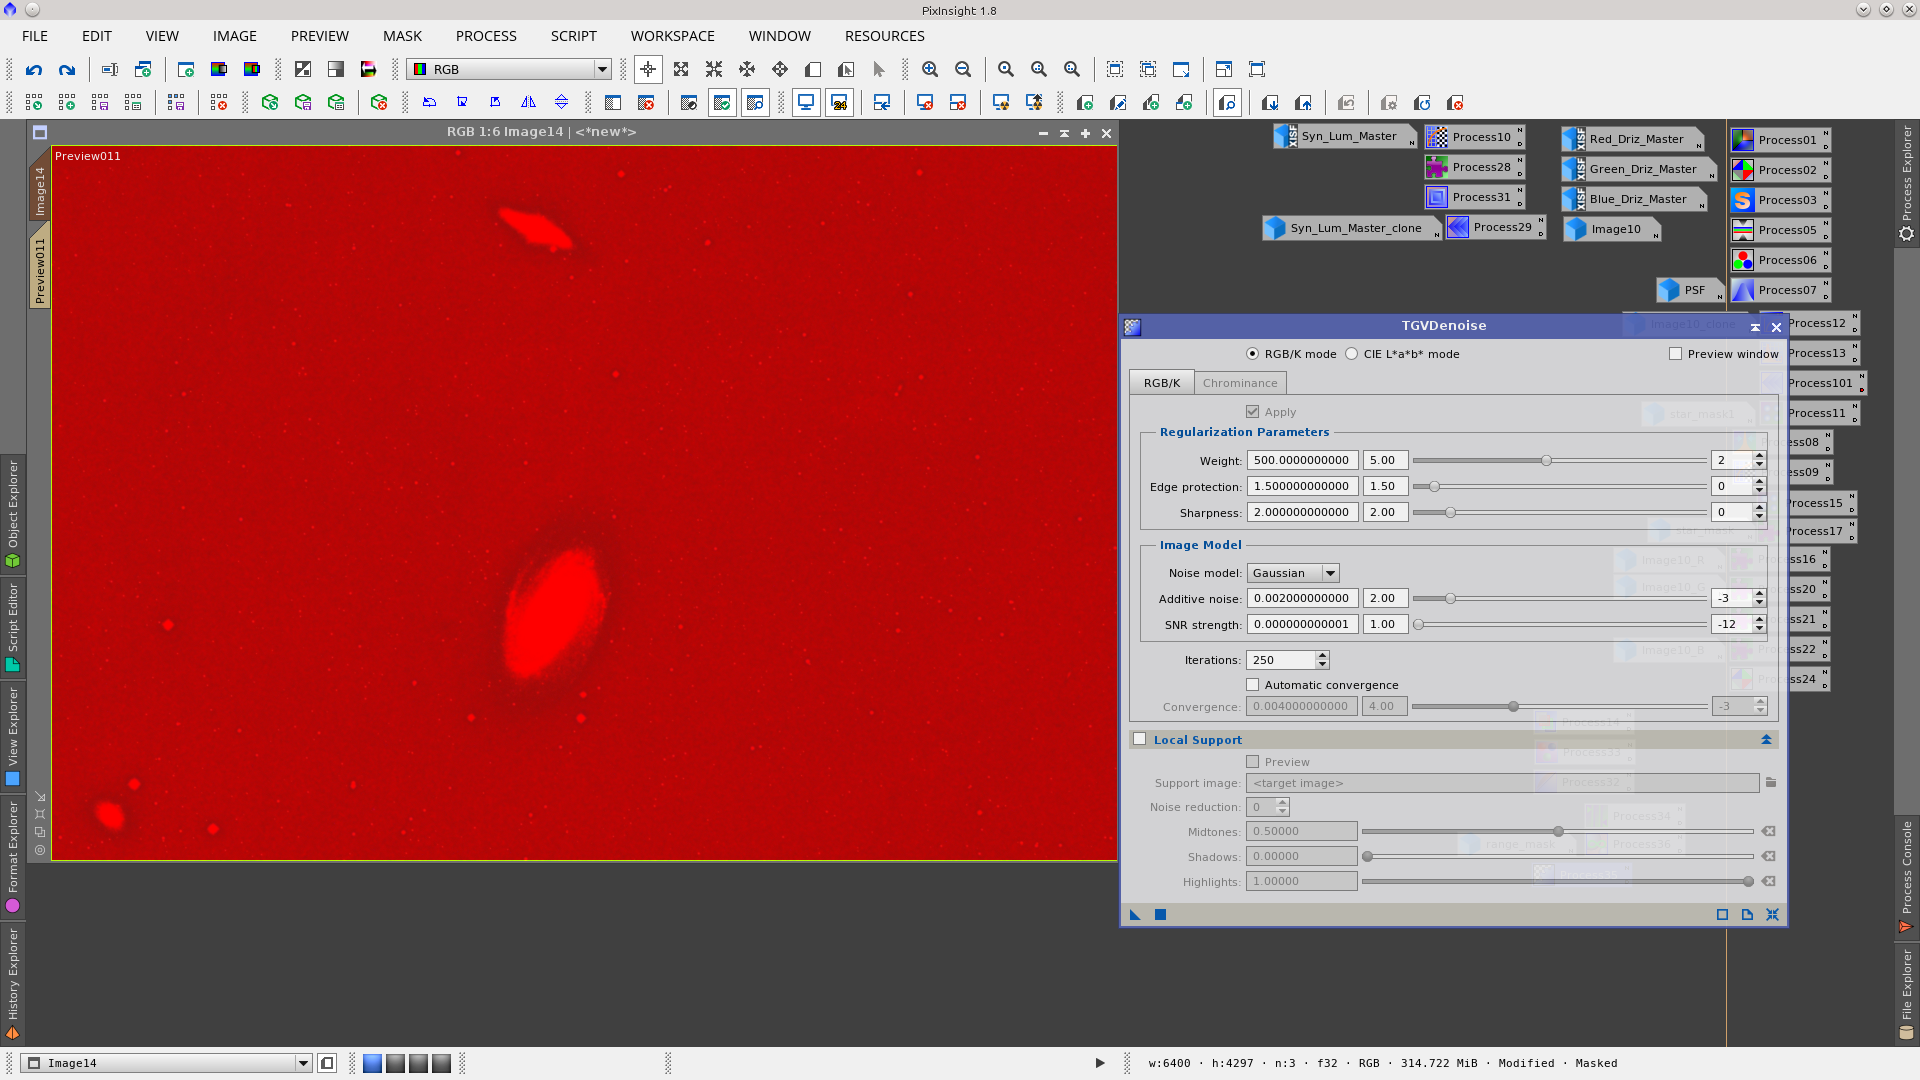
Apply TGVDenoise to the image protecting the background and the periphery of the galaxies.
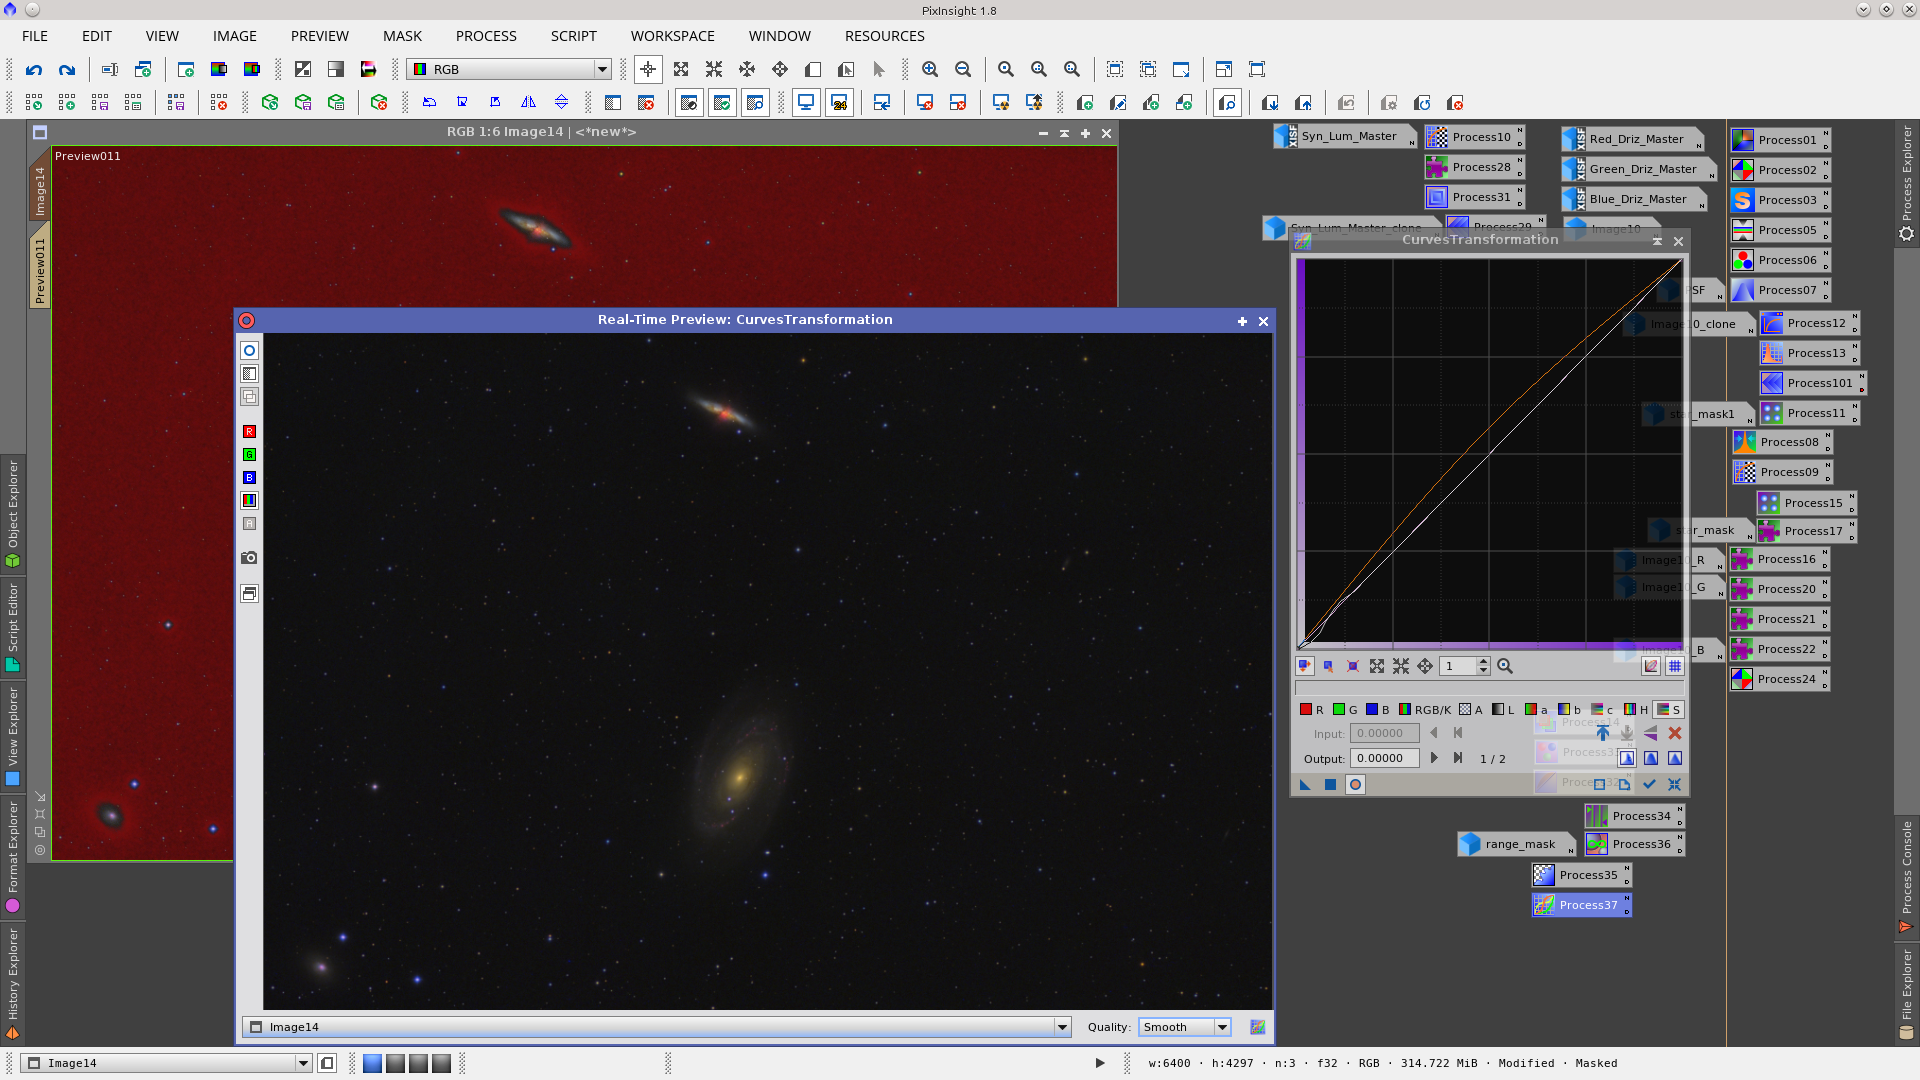
Invert the rangemask and apply CurvesTransformation to increase contrast and add a little saturation.
Final Image
Thanks to Gerrit Barrere for the help in improving the English translation.